False lashes have a reputation for being fiddly, but the truth is that most application disasters come down to skipped steps rather than lack of skill. Glue applied too thick, a band that was never measured, tweezers grabbed at the wrong moment — each of these small missteps compounds into lashes that lift at the corners or sit crooked by lunchtime. The fix is a repeatable process. When you work through the same sequence every time — choose, measure, trim, glue, wait, place, blend — application becomes a five-minute routine instead of a gamble. This guide walks through every stage in order, from picking the right style for your first attempt to cleaning the band so a good pair lasts through many wears.
Step 1: Choose Between Strip Lashes and Clusters
Before anything touches your eyelid, decide which format suits your skill level and the look you want. Strip lashes are a single band that runs the full length of the lash line. They deliver the most drama in one move and are the easiest to remove, which makes them a sensible starting point for beginners. Look for a lightweight, flexible band and a style described as natural or wispy rather than dense, because a heavy band is harder to seat and more likely to lift.
Cluster lashes, sometimes called individual or accent lashes, are small groups of a few hairs applied piece by piece. They look more natural and let you build volume only where you want it, such as the outer corners, but they take longer and demand steadier tweezer work. A reasonable path is to learn on strips first, then graduate to clusters once placement feels automatic. Whichever you choose, check that the lashes are meant for use with a separate adhesive, and set aside a dedicated lash glue rather than improvising with anything else.
Step 2: Measure and Trim the Band
An untrimmed strip is the single most common cause of corner lift. Nearly every strip lash comes longer than the average eye, so measuring is not optional. Hold the strip against your closed lash line without any glue on it. The band should start where your natural lashes become dense — a few millimetres in from the inner corner, never right at the tear duct — and end just at the outer corner of your eye. Anything hanging past that point will poke, itch, and peel.
- Lay the strip along your lash line and note where the excess extends beyond your outer corner.
- Remove the strip and trim the excess from the outer end only, so you keep the longer, flared lashes where they belong.
- Cut between lash hairs, not through them, using small scissors and snipping one small section at a time.
- Re-check the fit against your eye and trim again if needed — it is far better to trim twice than to cut too much at once.
If the band feels stiff, wrap it around a clean finger for a few seconds to give it a gentle curve that matches your eyelid.
Step 3: Prep Your Eye Makeup First
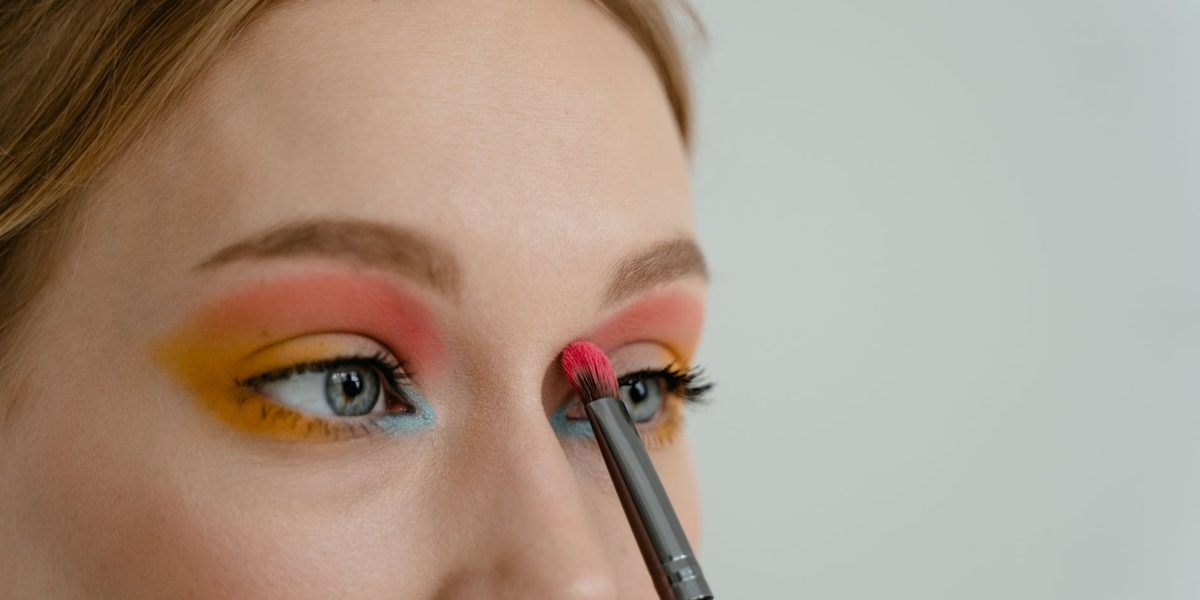
Order matters. Complete your eyeshadow and eyeliner before the lashes go on, because powder falling onto a fresh lash band will loosen the glue, and dragging a liner brush against false lashes can shift them. Curl your natural lashes with a lash curler so they angle upward and meet the false set instead of crossing under it. Apply one light coat of mascara to your natural lashes only and let it set; this gives the falsies something with texture to rest against. Make sure your eyelid is free of oil, heavy cream, or slippery primer along the lash line, since adhesive grips best on a clean, dry surface. A quick swipe with a cotton swab along the lid edge is enough.
Step 4: Master the Adhesive and the Tacky Stage
Adhesive timing is where most beginners go wrong, and it is also the easiest step to get right once you understand it. Squeeze a small amount of lash glue onto the back of your hand, then drag the spine of the lash band through it, or apply a thin line directly along the band with the tube's applicator. Add a tiny extra dab at each end of the band, because the corners take the most stress during the day.
Now comes the crucial part: wait. Fresh, wet glue slides around and will not hold the lash in place. Let the adhesive sit for roughly thirty seconds to a minute, until it turns tacky — slightly dry to a light touch but still sticky. Glue that has gone tacky grips instantly and lets you make micro-adjustments for a few more seconds before setting. If you are using a dark-drying glue, the tacky stage often coincides with the glue turning from bright to matte. Rushing this single step causes more sliding, lifting, and frustration than everything else combined.
Step 5: Place the Lash with Tweezers
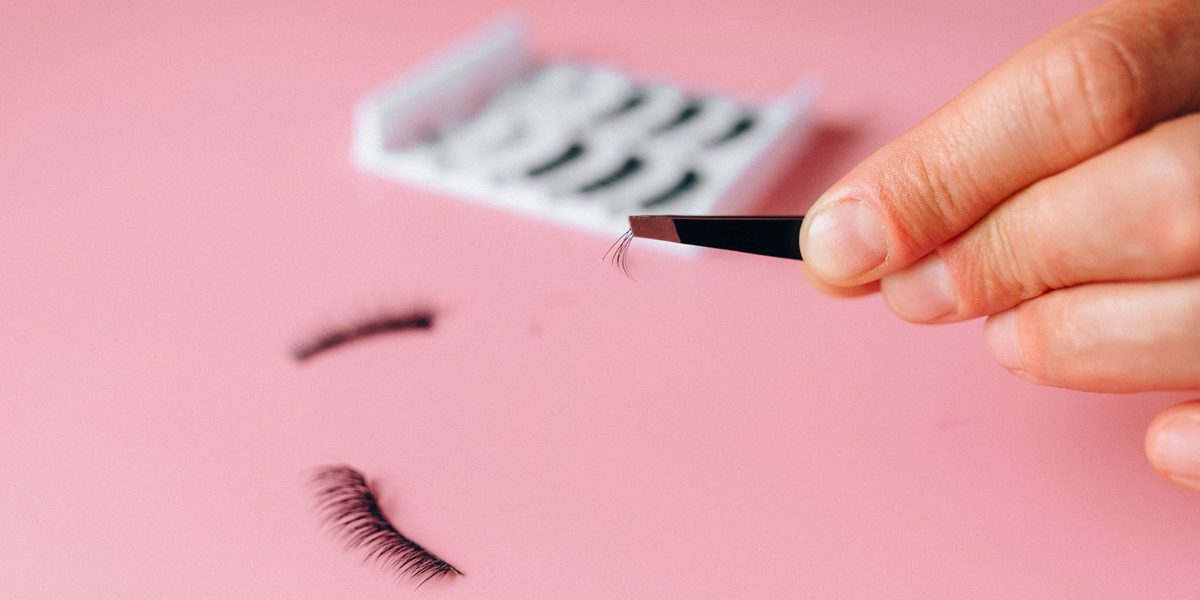
Fingers block your view of the lash line, so use tweezers or a dedicated lash applicator for placement. Grip the strip gently at its centre, look slightly downward into a mirror held below eye level — this flattens your lid and exposes the lash line — and bring the band in from above.
- Set the centre of the band down first, right on top of your natural lash roots, as close to them as possible without touching the waterline.
- Press the inner corner down, then the outer corner, using the tips of the tweezers or a clean fingertip.
- While the glue is still tacky, nudge the band so it sits evenly along the whole lash line with no gaps between band and roots.
- Hold the corners with light pressure for several seconds, then squeeze your natural lashes and the false band together gently so they merge.
If the lash lands crooked, do not tear it off. Lift it slowly while the glue is still flexible, re-tack if needed, and place it again.
Step 6: Blend with Liner and Mascara
A well-placed lash can still look obviously false if the band shows or the two sets of lashes point in different directions. Blending fixes both. First, run a thin line of eyeliner — gel or liquid works best — along the lash line to disguise the band and fill any tiny gaps at the corners. Tightlining, which means working the liner into the roots from just above, hides the seam without adding visible thickness.
Next, curl your natural lashes and the false set together with one soft pump of the lash curler at the base, then apply a light coat of mascara from roots to tips, concentrating on your natural lashes so they lift up into the falsies. Avoid loading mascara onto the false lashes themselves; heavy product clumps the fibres and shortens the life of the pair. Step back from the mirror and check both eyes from the front — symmetry reads at a distance, not up close.
Step 7: Remove and Clean the Band Properly
Removal decides whether your lashes survive for another wear. Never pull a strip straight off, because dried glue can take natural lashes with it. Instead, hold a cotton pad soaked in oil-free makeup remover, or a swab dabbed in a gentle cleansing oil if you wear no lash extensions, against your closed lid for twenty to thirty seconds to soften the adhesive. Then grip the band at the outer corner and peel it inward slowly, supporting your eyelid with the other hand.
Once the strip is off, peel or roll the softened glue from the band with clean fingers or tweezers, working carefully so you do not distort the strip. Wipe the band with a little remover on a swab, let the lashes air-dry fully, and press them back into the curved tray they came in so they hold their shape. A pair treated this way can often be worn many times before the band loses its structure. If your eyes ever become red, swollen, or itchy after wearing lashes or adhesive, stop using them and consult a doctor or dermatologist, as adhesive sensitivities are worth taking seriously.
Final Thoughts
False lashes reward process over talent. Choose a light strip while you learn, measure and trim every new pair, respect the tacky stage, and place with tweezers rather than fingertips. Blend the band with liner, marry the two sets of lashes with a single coat of mascara, and remove everything gently at the end of the night. Run the full sequence a handful of times and you will find the whole routine takes only a few minutes — and looks like it took much longer.