A streaky self-tan is almost never the product's fault. Orange knuckles, tiger-stripe shins, and patchy elbows all trace back to the same handful of process errors: skin that was not prepped, sections that were rushed, and dry zones that drank up too much product. The encouraging flip side is that a flawless, even glow is simply the result of doing a short list of steps in the right order, starting a full day before the tanner ever touches your skin. This guide lays out the entire routine — preparation, application, drying, and maintenance — as a repeatable sequence you can follow every time. Work through it methodically and the finished result looks like you spent a week outdoors rather than twenty minutes in the bathroom.
Step 1: Exfoliate a Full Day Before
Self-tanner works by tinting the outermost layer of dead skin cells, which means the surface it lands on decides how even it looks and how gracefully it fades. Exfoliate your whole body roughly twenty-four hours before you plan to apply — not immediately before, because freshly scrubbed skin can be slightly inflamed and grabby, and any residue left behind interferes with development.
Use a body scrub, exfoliating gloves, or a textured washcloth in warm water, and give extra passes to the roughest zones: elbows, knees, ankles, heels, and the backs of the hands. These areas hold the thickest layer of dead cells and will darken unevenly if they are not smoothed first. This is also the moment to shave or wax if you plan to, since hair removal right before tanning can leave tiny dots where product settles into follicles. After exfoliating, skip rich body oils and heavy creams for the rest of the day; you want clean, bare skin by application time.
Step 2: Moisturize Only the Dry Zones
On application day, resist the urge to slather moisturizer everywhere — a full-body layer of lotion dilutes the tanner and can cause it to slide and break up. Instead, apply a thin layer of light, oil-free moisturizer only to the zones that absorb too much product: elbows, knees, ankles, heels, wrists, and between the fingers and toes. This creates a subtle barrier so those thirsty, rough areas develop the same depth of colour as everywhere else instead of going several shades darker.
Make sure skin is completely dry before you begin — no lingering dampness from the shower, no sweat, and a cool bathroom if you can manage it, since heat and humidity make tanner streak. Put on an application mitt, tie hair back, and have an old, dark towel underfoot. A mitt is not optional equipment: it spreads product in an even veil, keeps your palms stain-free, and buffs out edges in a way fingers cannot.
Step 3: Apply in Sections, Bottom to Top
The core rule of streak-free tanning is to treat your body as a map of sections and complete each one fully before moving on. Working from the feet upward prevents the tan from creasing at the waist and hips as you bend.
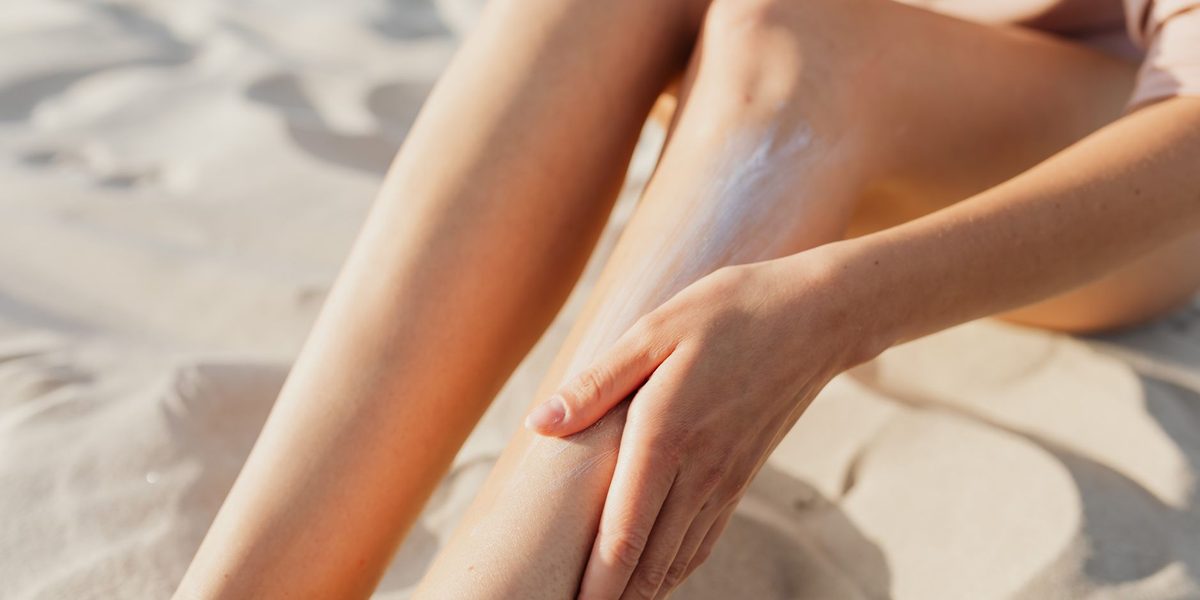
- Lower legs: dispense a generous pump of product onto the mitt and sweep it over one shin and calf in long, vertical strokes, then buff in circular motions to blend. Repeat on the other leg. Skip the feet for now.
- Thighs and hips: continue upward with the same stroke-then-buff rhythm, checking the backs of the thighs in a mirror or by feel.
- Torso: apply to the stomach, chest, and lower back, standing straight while product goes on so skin is not folded.
- Arms: sweep from wrist to shoulder, keeping arms slightly bent so the elbow crease stays open, then buff. Skip the hands for now.
- Shoulders, upper back, and neck: use the mitt lengthwise for reach, or recruit a second mitt-wearing helper for the centre of the back.
- Face, if desired: use a product made for the face or a small amount of body formula mixed with light moisturizer, blending down into the neck and out to the hairline and ears.
Throughout, keep the mitt moving and never park it in one spot. If a section looks dark or wet in one patch, buff it immediately with the drier part of the mitt.
Step 4: Dilute for Hands, Feet, and Joints
Hands and feet are where amateur tans announce themselves, so they get their own diluted step at the very end. Whatever product remains on the mitt is usually enough. Add a small drop of light moisturizer to the mitt to thin it further, then sweep gently over the tops of the feet and the backs of the hands, keeping fingers and toes spread and slightly relaxed.
- Glide over the ankles and toes in one light pass; never scrub product into them.
- On hands, sweep from the wrist toward the knuckles and stop — avoid the palms entirely.
- Use a barely-damp cotton pad or clean corner of the mitt to soften the line at the wrists and ankles, and to wipe the nails, cuticles, and the skin between fingers.
- Give elbows and knees one final feather-light buff with the empty mitt so any excess lifts off before it develops.
These joints and extremities should receive noticeably less product than the rest of the body. When in doubt, under-apply — you can always deepen colour tomorrow, but a dark knuckle takes days to fade.
Step 5: Respect the Drying and Development Window
What you do in the hour after application matters almost as much as the application itself. Stand with limbs slightly apart and let the product dry fully before dressing — typically around ten minutes, or until skin no longer feels tacky. Then put on loose, dark, breathable clothing; anything tight will press lines into the developing tan, and light fabrics can pick up temporary colour.
For the length of the development window stated on your product — commonly several hours, or overnight for gradual formulas — avoid anything that makes you sweat or gets you wet: workouts, hot rooms, dishwashing without gloves, and rain sprints to the car. Sleep in long, loose layers if you are developing overnight. When the window ends, take a brief, lukewarm rinse without soap or scrubbing to wash off the surface guide colour. Do not panic when tinted water runs off; that is the cosmetic bronzer leaving, not your tan. Pat dry gently and inspect your work in daylight.
Step 6: Maintain the Glow and Plan the Fade-Out
A self-tan lives on skin cells that are constantly shedding, so maintenance is a hydration game. Moisturize the whole body morning and night with a rich but non-exfoliating lotion, keep showers short and lukewarm, and pat rather than rub with the towel. Avoid long soaks, chlorinated pools, and anything abrasive, all of which chew through colour unevenly. Most tans hold well for several days to a week; a light reapplication or a gradual tanning lotion every few days extends it. Remember that self-tanner provides no sun protection whatsoever, so sunscreen remains non-negotiable on exposed skin.
When the tan is ready to retire, manage the exit rather than letting it happen. Two to three days before you want bare skin back, begin gentle all-over exfoliation each shower, focusing on the fade-prone joints so colour lifts evenly. A long warm bath followed by a scrub accelerates the process. Once skin is back to baseline and evenly clear, you are prepped to start the cycle again from Step 1. If you ever develop a rash, itching, or irritation from a tanning product, discontinue use and check with a dermatologist before trying another formula.
Final Thoughts
An even self-tan is a schedule, not a skill. Exfoliate a day ahead, barrier-cream the dry zones, work bottom to top in completed sections, dilute over hands, feet, and joints, and protect the development window. Then maintain with moisture and plan a deliberate fade-out so the ending looks as good as the debut. Keep the sequence identical every time and streak-free colour stops being luck — it becomes the predictable output of a process you control.