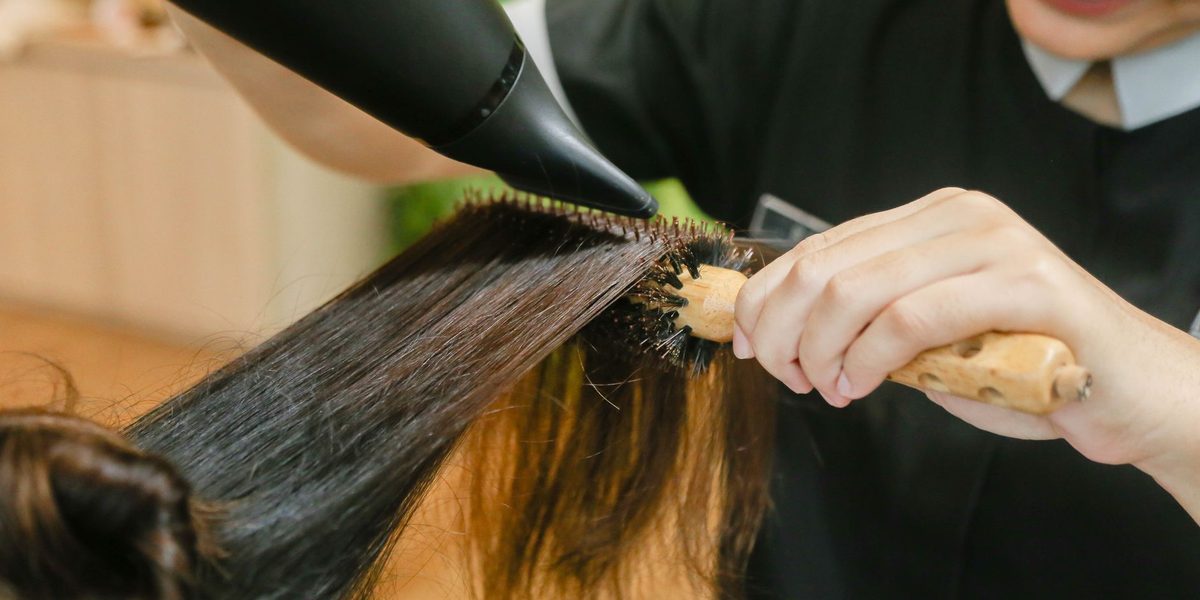
A blow-dryer is not inherently damaging — careless technique is. The difference between hair that emerges smooth and glossy and hair that turns brittle and frizzy comes down to a handful of controllable details: how wet the hair is when heat first touches it, whether a protectant is in place, how the sections are sized, and where the nozzle points. This guide breaks the entire process into stages, from towel to cool shot, so you can dry your hair quickly while treating it gently. Follow the sequence in order; each step sets up the next.
Understand What Actually Causes Damage
Wet hair is at its most fragile. Water swells the hair shaft and stretches its structure, so soaking-wet strands blasted with high heat suffer the most — moisture inside the shaft can overheat and create weak points, which show up later as frizz, split ends, and breakage. The other main culprits are concentrated heat held in one spot, drying with the airflow pointed against the cuticle, and repeated passes over hair that is already dry.
Every step in this guide targets one of those causes: reduce the water first, shield the strand, keep the dryer moving, and stop when the hair is done. Get those right and regular blow-drying can coexist with healthy hair.
Step 1: Blot, Never Rub, With Your Towel
Damage prevention starts before the dryer is even plugged in. After washing, squeeze excess water from your hair gently, then blot and press with a soft towel or an old cotton t-shirt rather than rubbing. Rubbing roughs up the cuticle — the outer layer of overlapping scales on each strand — and roughed-up cuticle is what frizz looks like. Wrapping hair loosely for five to ten minutes while you finish the rest of your routine lets the towel absorb quietly.
Your goal is hair that is damp, not dripping. The less water the dryer has to evaporate, the less total heat exposure your hair receives, and the faster the whole job goes.
Step 2: Apply Heat Protectant From Mid-Length to Ends
Heat protectant is non-negotiable, every single time heat touches your hair. These sprays and creams coat the strand with a thin film that slows heat transfer and helps the cuticle lie flat. Mist or smooth the product through damp hair, concentrating on the mid-lengths and ends — the oldest, most fragile hair — and comb it through with a wide-tooth comb so coverage is even. A patchy application protects patchily.
This is also the moment to detangle completely, working from the ends upward in small increments. Dragging a brush through tangles under hot airflow is one of the fastest ways to snap strands.
Step 3: Rough-Dry to About Eighty Percent
Precision styling on soaking hair wastes time and cooks the most vulnerable strands. Instead, begin with a rough-dry: set the dryer to medium heat and medium-to-high airflow, keep it moving constantly, and dry your hair loosely with your fingers — lifting at the roots, shaking sections out, never lingering anywhere. Hold the dryer at least a hand-width away from your head throughout.
Stop when the hair is about eighty percent dry: mostly dry to the touch, with a little coolness and dampness remaining. This is the sweet spot where hair is dry enough to be safe under focused heat but still moldable enough to take a smooth shape from the brush.
Step 4: Section Your Hair Before Styling
Sectioning feels fussy and saves enormous time. Working in small, organized sections means each pass of the dryer actually finishes the hair it touches, instead of half-drying random pieces over and over — and repeated passes are repeated heat. Divide hair like this:
- Part hair from ear to ear over the crown and clip the top half up.
- Split the lower half into two to four sections, depending on thickness, and clip all but one.
- Work on sections no wider than the brush you are using — about two to three fingers of hair.
- Release the top half only after the bottom is fully dry, and repeat the same pattern.
Fine hair may need only four sections in total; very thick hair may need eight or more. The rule stays the same: one section at a time, each one finished before moving on.
Step 5: Point the Nozzle Down and Keep It Moving
Attach the concentrator nozzle — the flat attachment that usually stays in the drawer. It focuses airflow so you can direct heat along the hair instead of scattering it. Hold each section taut with a round or paddle brush and follow the brush down the section with the dryer, keeping the nozzle angled downward, from roots toward ends. Drying in the same direction the cuticle lies smooths and seals it, which is where shine comes from; blowing upward into the cuticle roughens it and manufactures frizz.
Keep the nozzle a few centimeters off the brush, never resting on the hair, and never stationary. Two or three slow, smooth passes per section on medium heat beat one scorching pass on maximum. If any patch of hair or scalp ever feels hot to the touch, the dryer is too close or too hot — dial one of them back.
Step 6: Finish Every Section With the Cool Shot
The cool-shot button is a finishing tool, not a gimmick. Warm hair is still pliable; cooling it while it is held in shape sets the style and helps the flattened cuticle stay flat. When a section is dry and smooth, give it a final pass of cool air from root to end while it is still wrapped around or held taut by the brush, then release it and let it hang untouched for a few seconds.
Beyond setting the style, the cool shot is your safeguard against the most common finishing error: continuing to pour heat into hair that is already dry. Once a section stops releasing moisture, additional hot passes only bake it.
Aftercare and Habits That Keep Hair Healthy
What happens between blow-dries matters as much as technique. Give hair heat-free days whenever your schedule allows, and let it air-dry partway on days you are not styling precisely. A weekly deep-conditioning treatment replaces moisture that routine heat styling gradually depletes, and regular trims remove the split ends that would otherwise travel up the shaft. Clean your dryer's filter now and then, too — a clogged filter makes the airflow hotter and weaker at the same time. If you notice persistent breakage, excessive shedding, or scalp irritation despite gentle technique, a stylist or dermatologist can help you identify the cause rather than guessing.
Final Thoughts
Blow-drying without damage is a sequence, not a secret: blot gently, protect every strand, rough-dry to eighty percent, work in small sections with the nozzle pointing down the hair shaft, keep the dryer moving, and lock each section with cool air. None of these steps is difficult, and together they turn the dryer from your hair's biggest threat into a tool that leaves it smoother than air-drying ever could. Slow down for the details a few times and the whole routine becomes muscle memory — faster, safer, and shinier with every wash. If you only change one habit today, make it the heat protectant; if you can manage two, stop drying hair that is already dry. Those two adjustments alone prevent the majority of everyday heat damage, and the rest of the technique will follow with practice.