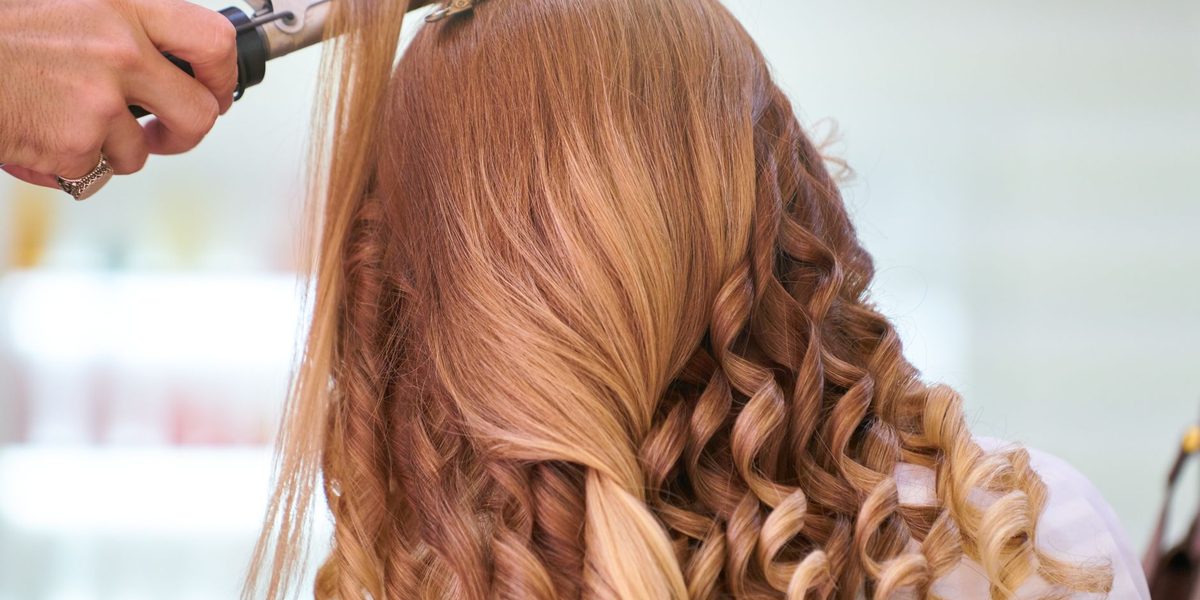
A curling wand can produce anything from polished ringlets to undone beach waves — but only if the technique underneath is sound. Most disappointing results trace back to the same handful of errors: curling damp hair, grabbing uneven sections, wrapping in random directions, and brushing curls out before they have cooled. This tutorial walks through the entire process in order, from prep to final set, with the timing, angles, and small habits that make curls last past lunchtime. Work through it slowly once or twice; after that, a full head of waves takes fifteen minutes.
Step 1: Start With Completely Dry, Prepped Hair
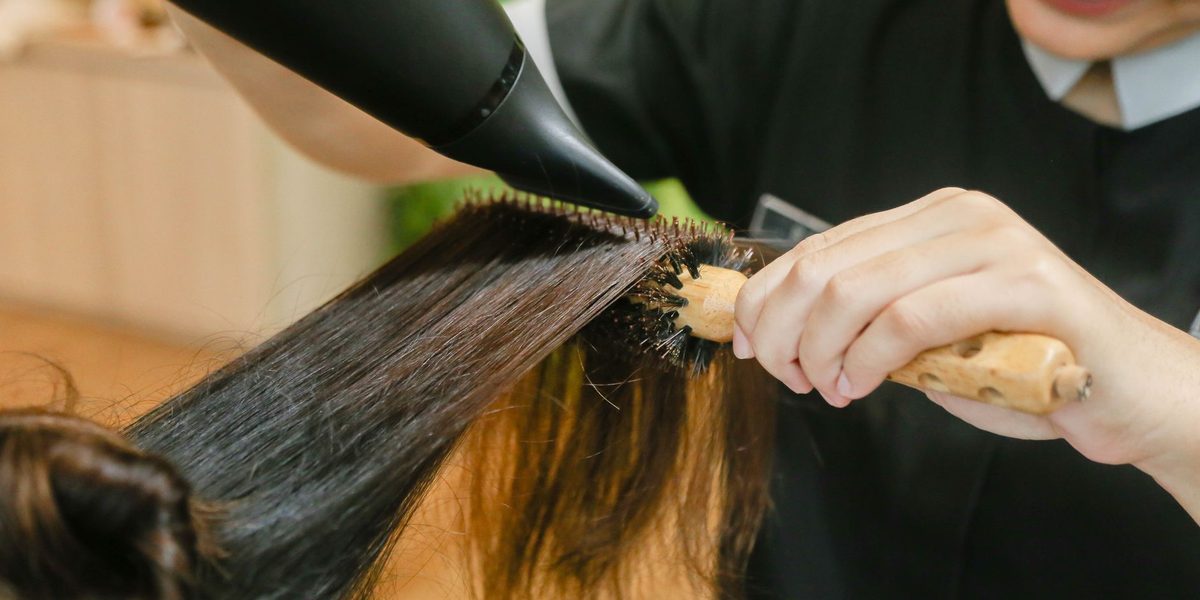
Hair must be one hundred percent dry before the wand touches it. Wrapping damp hair around a hot barrel overheats the moisture inside the strand, which damages hair and produces limp, steamy non-curls. If you have just washed, blow-dry fully first.
Next, apply a heat protectant spray from mid-lengths to ends and comb it through so every strand is coated — this step is mandatory every time heat is involved, not an optional extra. Freshly washed, slippery hair holds curl poorly, so if your hair is very soft or fine, mist a light texturizing or setting spray through it as well, or curl on day-two hair, which grips better. Finish prep by detangling completely with a brush; the wand should never meet a knot.
Step 2: Choose Your Barrel Size and Temperature
Barrel width decides the curl. A slim barrel produces tight, springy curls; a medium barrel gives classic bouncy waves; a wide barrel creates loose, relaxed bends. If your wand is tapered, wrapping closer to the base gives looser curl and the narrow tip gives tighter ends. There is no wrong choice — just match the barrel to the result you want.
Temperature should be the lowest setting that actually sets your hair. Fine or damaged hair generally curls well at low-to-medium heat; thick, coarse, or very straight hair may need medium-high. Maximum heat is almost never necessary and mostly just accelerates damage. Test one curl at a moderate setting: if it sets and holds, that is your temperature. Let the wand heat fully before you begin so hold times stay consistent.
Step 3: Section Like a Stylist
Organized sections are the difference between a uniform head of curls and a patchy one. Part your hair as you normally wear it, then divide it into horizontal layers:
- Clip the top half of your hair up, leaving a layer at the nape of the neck loose.
- Divide that bottom layer into pieces roughly two to three centimeters wide — about the width of two fingers.
- Curl the entire layer piece by piece, then release the next layer down from the clip and repeat.
- Finish with the top layer and the face-framing pieces last, since they are the most visible.
Smaller sections curl faster, hold longer, and need less heat per pass. Oversized sections are the number-one reason curls fall out within an hour — the middle of a thick section never gets warm enough to set.
Step 4: Wrap Away From the Face
Hold the wand vertically or at a slight diagonal, tip pointing down, with the barrel behind the section of hair. Starting near the root — leaving a few centimeters of space from the scalp — wrap the section around the barrel away from your face: sections on the left side wrap clockwise, sections on the right wrap counterclockwise. Away-from-the-face wrapping opens up the features and gives that swept-back, salon-finished movement.
Wrap the hair flat, like ribbon around a pole, keeping the section smooth and untwisted, and leave the last two or three centimeters of the ends out of the wrap. Leaving the ends straight is what creates the modern, relaxed wave; wrapping them fully gives a more formal ringlet. Keep your wrapping hand near the cool tip and use the heat-resistant glove if your wand came with one — fingertips near a hot barrel deserve protection.
Step 5: Time the Hold, Then Release Gently
Hold each section on the barrel for eight to twelve seconds — closer to eight for fine hair, closer to twelve for thick or stubborn hair. You should feel gentle warmth through the section, never a burning sensation at the scalp or a sizzle. When time is up, tilt the wand down and let the curl slide off into your free hand rather than tugging it loose.
Consistency matters more than speed. Counting the same hold for every section produces even curls; rushing some and lingering on others produces a mixed bag that never quite looks intentional.
Step 6: Cool Each Curl in Your Palm
This is the step that separates curls that last until evening from curls that are gone by mid-morning. Hair sets its shape as it cools, not while it is hot. As each curl slides off the barrel, catch it coiled in your palm, hold it for five to ten seconds until the warmth fades, then release it gently — or, for maximum hold on special occasions, pin the still-warm coil against your head with a clip and let it cool completely there.
Resist every urge to touch, stretch, or brush the fresh curls while any warmth remains. A curl disturbed while warm is a curl that has already started to unravel.
Step 7: Break Up and Set the Finished Style
Once every section is curled and fully cool, it is time to turn rows of uniform coils into a finished style. Flip your head over and shake gently at the roots, then rake your fingers — never a brush — loosely through the lengths to merge the curls into soft waves. For extra volume, massage the roots lightly with your fingertips.
Finish with a light mist of flexible-hold hairspray from arm's length, or a small amount of texture spray scrunched into the mid-lengths for a beachier finish. Heavy, crunchy products weigh curls down, so build product up gradually. If your curls tend to drop, a light spray on each section before curling, plus the palm-cooling step, will do more than any amount of spray afterward.
Keeping Curls Overnight and Between Washes
Good curls can survive to a second day with minimal effort. Sleep with hair gathered in a loose topknot secured with a soft scrunchie, or in a loose braid for a wavier day-two texture; a silky pillowcase reduces frizz-causing friction either way. In the morning, shake the hair out, refresh any flattened pieces with a quick pass of the wand, and smooth flyaways with a drop of lightweight oil warmed between your palms. Skipping a full re-curl saves your hair a complete round of heat — the single best thing you can do for its long-term health.
Final Thoughts
Curling-wand technique is a chain of small, learnable steps: fully dry and protected hair, sensible heat, two-finger sections, away-from-the-face wrapping with the ends left out, a counted hold, and a patient cool-down in the palm before anything touches the finished curl. Master the sequence and the same wand delivers everything from soft bends to defined waves on demand. Be patient with your first few attempts — the coordination becomes automatic quickly, and your hair will thank you for every degree of heat and every rushed step you learn to skip. Start on the back layers where mistakes hide, keep your hold times consistent, and let cooling do the work that extra heat cannot. Within a handful of sessions the wand will feel like an extension of your hand.