A professional-looking manicure is not about a steady hand so much as an orderly process. Salons follow the same sequence every time — remove, shape, soak, tend the cuticles, buff, then build polish in thin, patient layers — and every stage exists because skipping it shows up in the final result. This guide walks through the complete at-home manicure from bare prep to topcoat and aftercare. Set aside forty-five unhurried minutes, lay out your tools before you start, and treat each step as its own small task. The finish will look like you paid for it.
Gather Your Tools and Set Up the Station
Half of a smooth manicure is never having to stop mid-process with wet nails. Before anything else, assemble everything on a towel-covered table: polish remover and lint-free pads, a nail file and buffer, cuticle remover or softening cream, a wooden cuticle stick or metal pusher, nail clippers, cuticle nippers, hand cream or cuticle oil, base coat, your color, topcoat, and a small brush or cotton swabs for cleanup. Good light matters more than people expect — daylight or a bright lamp reveals streaks and flooding that dim light hides.
Work somewhere you can rest your forearms on the table. Painting with floating, unsupported hands is where most wobbles come from.
Step 1: Remove Every Trace of Old Polish
Start with completely bare nails, even if the old color looks mostly gone. Press a remover-soaked pad onto the nail for a few seconds to let it dissolve the polish, then wipe outward in one firm stroke — pressing and holding lifts color cleanly, while immediate scrubbing smears it into the cuticles. Repeat with fresh sections of the pad until nothing tints it, and swipe once over each bare nail at the end to clear residue and oils. If you use glitter or very dark shades regularly, an acetone-based remover works faster; gentler acetone-free formulas trade speed for less dryness.
Step 2: Clip and Shape in One Direction
Shape while nails are dry — wet nails are soft, bend under the file, and tear rather than shape. If you are taking length down, clip first, cutting straight across in small bites rather than one big squeeze. Then refine with the file, holding it at a slight angle under the free edge and stroking in one direction only, from the outer corner toward the center of the nail. Sawing back and forth heats and frays the nail's layers, which is where peeling starts.
Pick a shape that follows your natural nail bed — squoval and soft round shapes are the most forgiving and the least prone to snagging. Check your work by looking at the nails edge-on and by running a fingertip along each free edge; you are done when every edge is smooth and the lengths match.
Step 3: Soak Briefly, Then Tend Your Cuticles
Soak your fingertips in a bowl of warm, slightly soapy water for three to five minutes — long enough to soften the cuticles, not so long that the nail plate swells with water. Pat dry, then apply cuticle remover or softening cream around each nail and give it a minute to work.
With the wooden stick or pusher held at a shallow angle, gently ease the softened cuticle back off the nail plate using small circular nudges. Never force or dig. Use the nippers only to trim loose hangnails and clearly dead, lifted tags of skin — the intact cuticle seals the nail against irritation and infection, so cutting into healthy skin trades a week of neatness for months of trouble. If your cuticles are chronically inflamed or painful, skip the nippers entirely and ask a professional to look.
Step 4: Buff Lightly and Cleanse the Plate
Run the fine side of a buffer over each nail in a few light passes to smooth ridges and knock down shine — polish grips a matte surface noticeably better. Stop at a soft, even haze; over-buffing thins the nail. Then wash your hands or wipe each nail with remover one final time. This last cleanse is quietly essential: any oil, cream, or dust left on the plate is a future chip waiting to happen.
Step 5: Base Coat — Thin, Complete, and Capped
The base coat is insurance: it grips the nail, gives the color something to bond to, and blocks pigments from staining. Wipe one side of the brush on the bottle's neck so you are working with a small bead of product, then apply a thin layer in three strokes — one down the center from just above the cuticle to the tip, then one down each side. Finish by capping the free edge: a light swipe of product across the very tip of the nail, which seals the layer and dramatically slows tip wear. Give it a couple of minutes to set before color.
Step 6: Build Color in Two Thin Coats
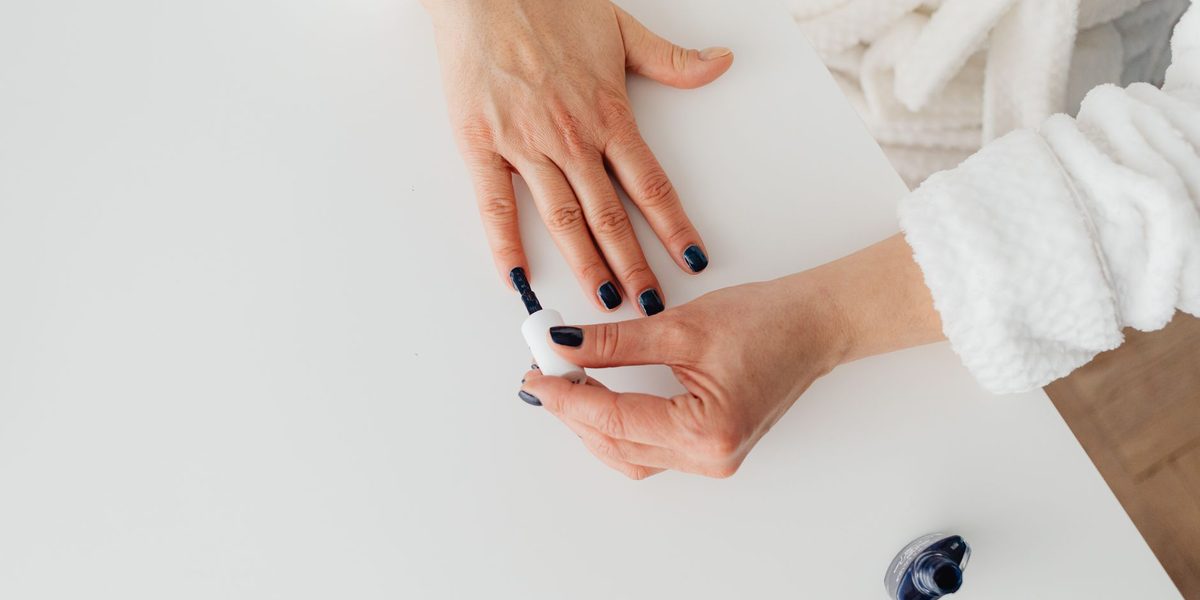
Thin coats are the entire secret of a durable manicure. One thick coat looks done in the bottle-cap gleam of the moment, then bubbles, dents, and peels because it never dries through. Load the brush lightly and repeat the three-stroke pattern: center first, starting a hair's width away from the cuticle, then each side, then cap the edge. Do all ten nails, wait a full two to three minutes, and apply the second coat the same way. Streaks and thin patches after coat one are normal — resist the urge to fix them by loading more polish; the second coat evens everything out.
If polish floods a cuticle, stop and drag it out immediately with a bare fingertip of your other hand or the cleanup brush — thirty seconds later it will have started to set.
Step 7: Topcoat, Drying, and Cleanup
Apply the topcoat in the same thin three-stroke pattern, capping the edge one last time. It adds gloss, but its real job is structural: a hard, flexible shell over the color layers. Then comes the discipline stage — real drying. Polish is touch-dry in minutes but remains soft underneath for far longer, so give your hands a genuine rest: no rummaging in bags, no tight jean pockets, no hot water for at least an hour. A drop of quick-dry oil or a burst of cool air from a hair dryer speeds the surface set.
While the nails dry, dip a small flat brush or a cotton swab in remover and trace around each nail to erase any smudges on the skin. Crisp edges are most of what reads as "professional" at a glance.
A manicure survives on habits, not luck. Massage cuticle oil or hand cream into the nails once or twice a day — flexible polish chips less than dry, brittle polish. Wear gloves for dishes and cleaning, since hot water and detergents are the fastest route to lifting edges. Every two or three days, add a fresh layer of topcoat to reinforce the shell and revive the shine. And when the color's week is up, remove it properly with remover rather than picking, which peels away layers of the nail itself along with the polish.
Final Thoughts
The at-home manicure is a sequence anyone can execute: clean removal, one-direction shaping, a short soak, gentle cuticle work, a light buff, then base coat, two thin color coats, and topcoat — each layer thin, each edge capped, each stage given its drying time. The first run takes the better part of an hour; by the third it is a practiced routine you can do while catching up on a show. Neat nails come from the process, and the process is entirely learnable.