There is a reason a salon pedicure feels so different from a quick coat of polish applied on the couch: it follows a strict sequence, and every stage prepares the foot for the one that comes after it. The soak softens skin so the file can do its job. The trim happens before the cuticle work so nothing snags or tears. The polish goes on last, over nails that are clean, dry, and completely smooth. Reproduce that sequence at home, in order and without shortcuts, and you can get results remarkably close to the professional version using tools you probably already own.
Set Up Your Station and Gather Your Tools
Before you touch a single toe, assemble everything within arm’s reach. Stopping mid-pedicure to hunt for a towel while your feet are dripping is exactly how polish gets smudged and steps get skipped. Spread a towel on the floor, choose a comfortable chair, and set out the following:
- A basin deep enough to cover your feet up to the ankle
- Nail clippers and an emery board
- A foot file or pumice stone
- A gentle scrub or exfoliating wash
- Cuticle softener and a cuticle pusher
- A rich foot cream or thick body moisturizer
- Polish remover, cotton pads, base coat, color, and top coat
Remove any old polish completely before you begin, including the faint traces that cling along the side edges of the nail. Leftover pigment stains the nail plate over time and keeps fresh polish from sitting evenly.
Step One: Soak, but Not for Too Long
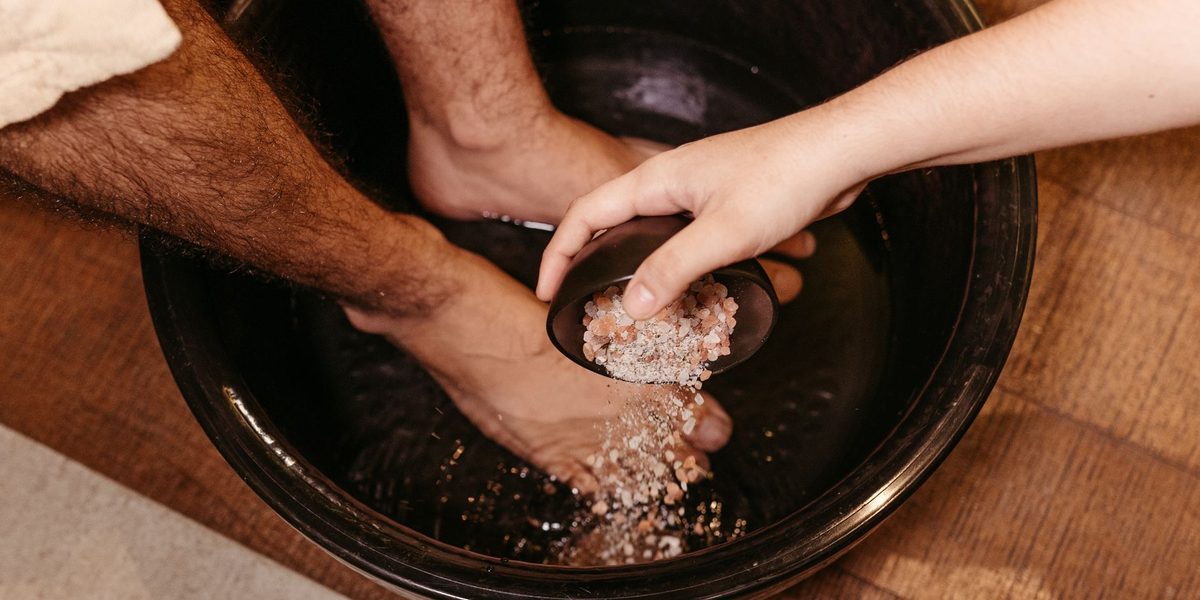
Fill the basin with comfortably warm water — warm enough to relax into, never hot enough to redden the skin. A small squeeze of gentle soap or a handful of bath salts is a pleasant addition, but plain water works perfectly well. Soak for five to ten minutes and set a timer, because the window genuinely matters. Any shorter and the skin will not soften enough for exfoliation to work; much longer and the skin becomes waterlogged, which makes filing uneven and leaves the nails too soft to trim cleanly.
While you soak, massage your feet under the water, pressing your thumbs in slow lines along each arch. When the time is up, lift one foot out and pat it mostly dry, leaving the skin slightly damp for the stage that follows.
Step Two: Exfoliate and File Away Rough Skin
Work on one foot at a time while the other stays warm in the water. Massage a scrub over the entire foot, spending extra time on the heel, the ball of the foot, and the outer edge of the big toe — the three places where thickened skin builds up most. Rinse, then move to the foot file or pumice stone.
Use the file on slightly damp skin with long, light strokes in one direction, and only on areas that are visibly thickened. The goal is smooth, not raw: stop as soon as the roughness is gone, because over-filing signals the skin to grow back thicker. Never use razor-style callus shavers or metal graters at home; they remove too much skin too quickly and can easily cause injury. If you have deep cracks, painful calluses, or any broken skin, leave that area alone and see a professional instead. Rinse both feet and dry them thoroughly, including between the toes.
Step Three: Trim Straight Across, Then Shape Gently
Trim toenails only after they have dried for a few minutes, because freshly soaked nails bend under the clipper and can tear instead of cutting cleanly. Cut straight across the nail rather than curving down into the corners — rounding the corners is the single most common cause of ingrown toenails. Leave a narrow band of white free edge showing; cutting all the way down to the quick invites soreness and infection.
Once trimmed, use the emery board to soften the two sharp corners just slightly and to smooth the cut edge. File in one direction rather than sawing back and forth, which frays the nail. Check your work by running a fingertip along each edge; if it catches on skin or fabric, keep smoothing.
Step Four: Care for Cuticles Without Cutting Them
Apply a drop of cuticle softener or a dab of rich cream to the base of each nail and let it sit for a minute or two. Then, holding the pusher at a shallow angle almost flat to the nail, nudge the cuticle back with short, gentle strokes. You are tidying the frame of the nail, not excavating it — light pressure is enough once the skin is softened.
Resist the urge to cut. The cuticle is a living seal that protects the nail root from bacteria, and trimming it invites redness, infection, and ragged regrowth. The only thing worth nipping is a clearly dead, lifted hangnail, and only with clean nippers, taking the smallest amount possible. When you finish, wipe each nail plate clean so no residue interferes with polish later.
Step Five: Massage and Moisturize
This is the stage that turns a maintenance task into a treatment. Warm a generous amount of foot cream between your palms and massage each foot for a minute or two: knuckles pressed in slow circles along the arch, thumbs sweeping across the ball of the foot, each toe given a gentle pull and roll. Work the cream into the heels and around the ankles, where dryness shows up first.
If you plan to polish, remember that moisturizer on the nail plate is now your enemy — polish cannot grip an oily surface. Either keep the cream away from the nails as you massage or simply plan to clean the plates thoroughly in the next step.
Step Six: Polish in Stages, Never in a Hurry
Weave a rolled tissue between your toes or use foam separators, then swipe each nail with polish remover on a cotton pad to strip away every trace of oil. From there, the sequence is fixed:
- Apply one thin layer of base coat and let it set for a minute or two. It grips the nail, prevents staining, and gives the color something to hold onto.
- Apply the first thin coat of color using three strokes: one down the center, then one along each side. Thin is the rule — two sheer coats always beat one thick one.
- Wait a couple of minutes, then apply the second coat of color the same way.
- Finish with top coat, sweeping it across the tip of each nail to seal the free edge against chips.
Then wait longer than feels necessary. Polish that is dry to the touch is still soft underneath, so give it a good long while before closed shoes, and choose sandals or bare feet for the rest of the evening.
Aftercare: Make the Results Last
A pedicure is maintained, not just performed. Apply foot cream every night before bed — this single habit does more for soft heels than any file ever will. Reapply a layer of top coat every few days to keep the color glossy and chip-resistant, and smooth any snag on a nail edge the moment you notice it, before it can tear lower. A quick once-over with the foot file once a week keeps hard skin from ever building back to where you started.
Plan a full repeat of the whole process every four to six weeks. And if you notice persistent nail discoloration, thickening, pain, or skin that cracks and bleeds, skip the home treatment and have a podiatrist or dermatologist take a look first.
Final Thoughts
The secret to a salon-quality pedicure is not expensive equipment — it is sequence and patience. Soak, exfoliate, trim, tidy, moisturize, polish, and protect, in that order, giving each stage the few minutes it deserves. Follow the process without skipping steps and your results will rival the professional chair, on your own schedule and at a fraction of the cost.