Facial massage is one of the few beauty rituals that requires nothing but your own hands, a few minutes, and a little slip. Done regularly, it can leave the face looking less puffy and more rested, ease tension held in the jaw and brow, and turn an ordinary skincare routine into something genuinely relaxing. The technique is not complicated, but it does follow a deliberate sequence: you prepare the skin, create slip with an oil, then work from the neck upward using strokes that always travel up and out. This guide walks through the full routine stage by stage, including how much pressure to use, how to adapt the strokes for a roller or stone tool, how often to practice, and when to skip massage altogether.
Step 1: Start With Clean Hands and a Clean Face
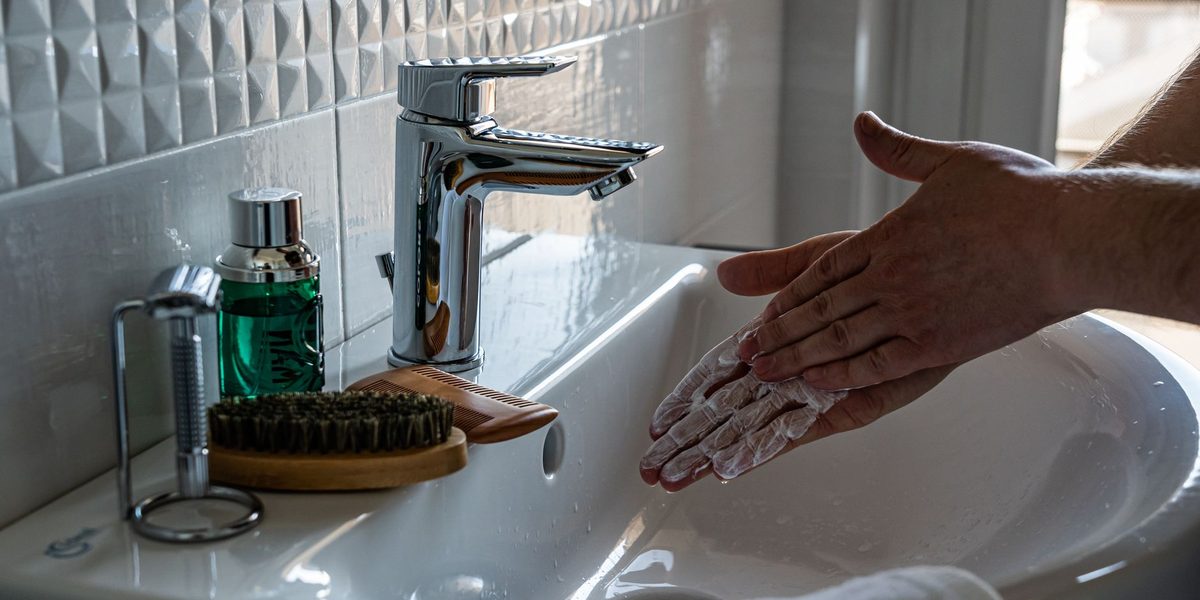
Massage presses whatever is on your skin deeper into it, so cleanliness is non-negotiable. Wash your hands thoroughly with soap and warm water, taking a moment to clean under the nails. Then cleanse your face completely, removing all makeup, sunscreen, and the day's buildup, and pat it barely dry with a clean towel. Slightly damp skin is ideal because it helps the oil in the next step spread evenly. Tie hair back so you can reach the hairline and temples, and if you plan to use a tool, wash it with mild soap and dry it before it touches your face.
Step 2: Apply a Facial Oil for Slip
The single most common massage mistake is working on dry skin, which drags and stretches rather than glides. Warm several drops of a facial oil between your palms and press it over the face and the front and sides of the neck. You want enough slip that your fingers slide smoothly without skipping, but not so much that you cannot maintain gentle contact. A rich cream or balm can substitute if oils do not suit your skin, and if you are acne-prone, choose a lightweight oil that your skin already tolerates. If any product has ever irritated your skin, do not use it for massage; the extended contact and friction will only amplify the reaction.
Step 3: Open at the Neck
Professionals begin at the neck, and the routine works noticeably better when you do the same, since the neck is the pathway along which puffiness drains away from the face. With flat fingers, stroke gently down the sides of the neck from just below the ears toward the collarbone, five to ten times per side. Keep the pressure feather-light here, much softer than you would use on the cheeks. Finish by sweeping across the front of the neck upward from the collarbone to the chin with alternating hands, like you are smoothing on a scarf. Clearing the neck first gives everything you move in later steps somewhere to go.
Step 4: Work the Jaw and Chin
The jaw stores more tension than almost anywhere else on the face, especially if you clench or grind your teeth. Make loose fists and place the flat of your knuckles at the center of the chin, then glide them along the jawbone up to the ears, letting the stroke finish with a small circle in front of each ear. Repeat five to eight times. Next, use your thumbs underneath the jawbone and your index fingers on top, and trace the same chin-to-ear path, gently pinching along the bone. If you find a spot that feels tight or tender, pause and make slow, small circles with your fingertips, breathing out as you work; do not press hard enough to cause pain.
Step 5: Lift Through the Cheeks
Cheek strokes always travel upward and outward, from the center of the face toward the ears, which counters the downward habits of gravity and screen-hunching posture.
- Place flat fingers beside the nostrils and sweep across the cheeks to the tops of the ears, five to eight passes.
- Starting at the corners of the mouth, glide up and over the cheekbones toward the temples, following the smile line.
- With knuckles or fingertips, make slow upward circles over the fleshiest part of the cheeks, moving out toward the hairline.
Use a medium, comfortable pressure through this zone, firm enough to feel the muscle move beneath the skin, never so firm that you are dragging or reddening the skin. The skin should glide with your fingers, not be pulled behind them.
Step 6: Finish With the Eyes and Forehead
The skin around the eyes is the thinnest on the face, so this stage uses the lightest touch of the entire routine, with the ring fingers only. Starting at the inner corners under the eyes, sweep outward beneath the lower lash line toward the temples, then continue from the temples down in front of the ears. Repeat five times. For the brow area, pinch gently along each eyebrow from the inner end to the tail using thumb and index finger, which releases the subtle tension that builds from squinting and concentration. Finish with three light presses at the temples. Never rub back and forth on the eye area and never stretch the skin taut.
Move up to the forehead to close the sequence. Place the flat fingers of both hands at the center of the forehead and glide them outward toward the temples, five to eight times, then switch to upward strokes from the brows to the hairline with alternating hands, as if smoothing the forehead upward. If you hold tension between the brows, make tiny upward circles there with a ring finger. Close the routine the way you opened it: sweep down the sides of the neck to the collarbone a few final times to send everything you have moved on its way. Then apply the rest of your skincare while the skin is warm and receptive.
Using a Roller or Stone Tool
A face roller or a flat, smooth stone tool follows exactly the same map as your hands: up and out on the face, downward on the sides of the neck, light pressure around the eyes. With a flat-edged tool, hold it nearly flat against the skin rather than digging the edge in, and always brace at the start of the stroke so the first contact is gentle. Tools feel especially pleasant chilled, which can calm puffiness in the morning, but they add convenience rather than magic; clean hands remain the most precise instrument you own. Wash any tool after each use and let it dry fully before storing.
How Often, and When to Skip
Consistency matters more than duration. Five minutes, three to five times a week, delivers more than an occasional half-hour session, and many people simply attach the routine to their nightly skincare. Skip massage entirely when you have an active breakout, since friction can spread bacteria and worsen inflammation, and avoid massaging over irritated, sunburned, or broken skin, cold sores, or any rash. If you have a skin condition such as eczema, rosacea, or severe acne, or you experience pain, persistent redness, or new breakouts after massaging, stop and consult a dermatologist or licensed esthetician before continuing. Gentle guidance from a professional beats guessing.
Final Thoughts
Facial massage rewards rhythm and repetition: clean skin, real slip, and a sequence that starts at the neck and climbs to the forehead with strokes that lift up and out. Keep the pressure kind, the pace slow, and the habit regular, and those few quiet minutes become both a skincare step and a small daily decompression that your face visibly appreciates.