Most households own a few scattered bandages, a half-empty tube of ointment, and a vague sense that everything is in one of the bathroom drawers. That is not a first-aid kit; it is a scavenger hunt scheduled for the worst possible moment. A proper kit is assembled deliberately, stored where everyone can find it, and restocked on a schedule. The good news is that building one is a satisfying afternoon project. Follow the steps below in order and you will end up with a kit that actually serves you when a scraped knee, a kitchen burn, or a splinter interrupts an ordinary day.
Step 1: Choose the Right Container
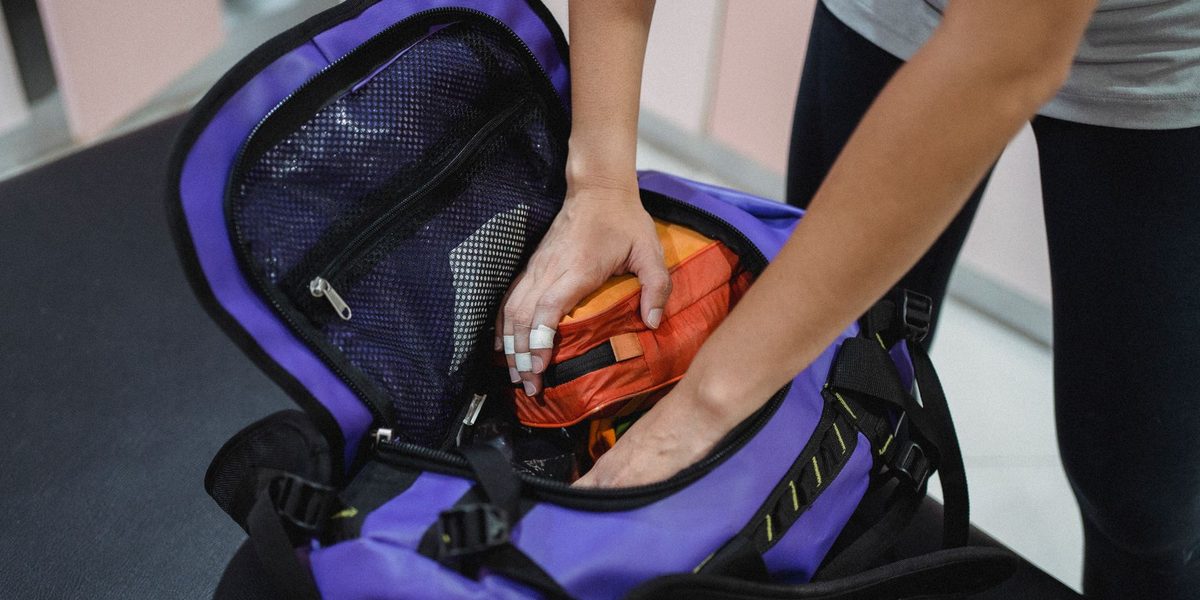
Before buying a single supply, decide what will hold everything. The container shapes how usable the kit is. Look for something roomy enough to hold more than you think you need, with compartments or pouches that keep categories separated, a lid that seals against moisture and dust, and a handle so it can travel from bathroom to kitchen to backyard in one grab. A hard toolbox-style organizer, a tackle box, or a zippered soft case with internal pockets all work well.
Label it clearly on the top and at least one side. If you have children in the house, choose something they cannot easily open but can easily recognize, and teach older kids where it lives and how to bring it to an adult. Avoid containers that lock with a key; in a genuine emergency you do not want to be hunting for anything.
Step 2: Stock the Wound-Care Core
Wound care is the heart of any home kit, because cuts and scrapes are the injuries households see most. Build this layer first and be generous with quantities, since these are the items that run out fastest.
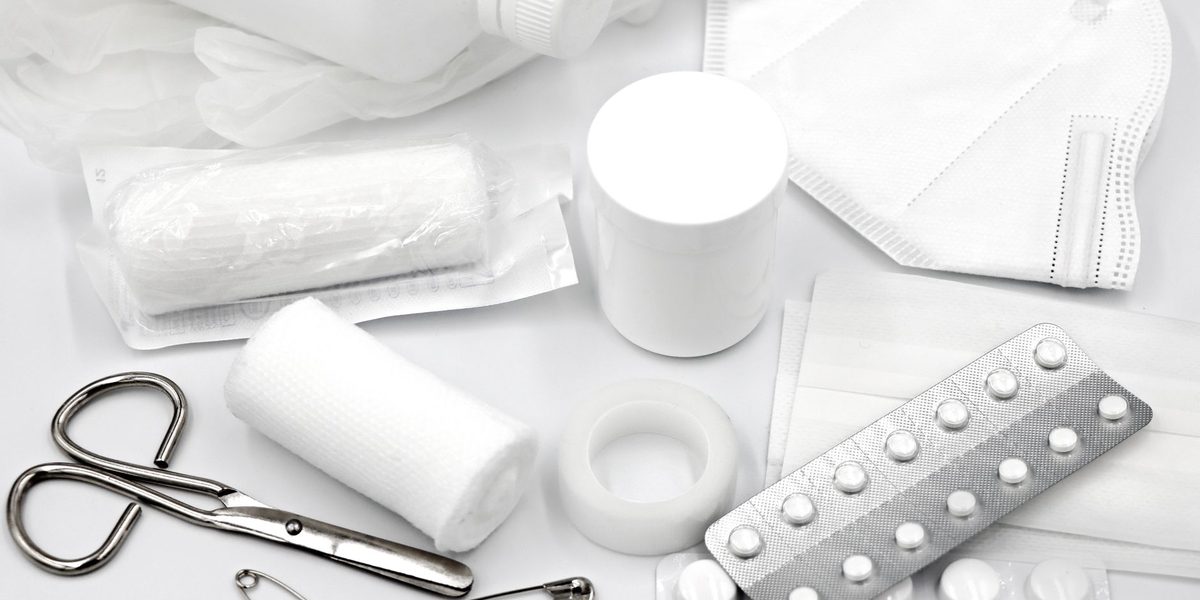
- Adhesive bandages in several sizes, including small dots and large patches
- Sterile gauze pads in at least two sizes, plus a roll of gauze
- Medical tape that tears by hand
- An elastic wrap bandage for sprains and for holding dressings in place
- Antiseptic wipes or solution for cleaning around wounds
- Antibiotic-style first-aid ointment as recommended by your pharmacist
- Butterfly closure strips for keeping the edges of a small cut together
- A pair of nitrile gloves, and ideally several
Keep everything in its sterile packaging until the moment it is needed, and group these items in one pouch or compartment so the whole wound-care layer comes out together.
Step 3: Add the Tools
A handful of simple instruments turns a bag of supplies into a functional kit. Include fine-tipped tweezers for splinters and debris, small scissors capable of cutting tape and gauze cleanly, a digital thermometer with spare batteries, safety pins for securing wraps, an instant cold pack or two, and a small flashlight. A pocket-sized first-aid instruction booklet earns its place as well; in a stressful moment, a printed reference is faster and calmer than a phone search.
Test each tool before it goes in. Scissors that cannot cut cloth and tweezers that do not close properly are worse than useless, because you will not discover the problem until you need them. Wipe tools down after every use before returning them to the kit.
Step 4: Include Over-the-Counter Basics Thoughtfully
A small selection of common non-prescription remedies rounds out the kit: a pain and fever reliever, an antihistamine for minor allergic reactions, an anti-itch cream, oral rehydration salts, and any stomach-settling basics your household uses. Buy the smallest sensible sizes, since these expire faster than bandages, and keep each item in its original packaging so the label, dose instructions, and expiry date stay attached.
This is the layer where professional guidance matters most. Ask your pharmacist to review your choices, especially if anyone in the household is pregnant, takes regular medication, or has known sensitivities. A pharmacist can flag interactions and suggest child-appropriate options in a five-minute conversation, and that advice is free. Never treat the kit as a substitute for medical care; it exists to handle small problems and to steady the situation while you seek help for bigger ones.
Step 5: Personalize for Your Household
A generic kit becomes genuinely yours when it reflects the people who rely on it. Walk through each member of the household, including pets, and ask what a bad day looks like for them. Add a few days' supply of essential personal items where appropriate and safe to store, spare items for anyone who depends on devices such as glasses, and child-sized versions of anything an adult dose would not suit.
Add an information card in a sealed plastic sleeve: emergency contact numbers, the local poison-control line, your address written out for anyone who might call for help from your home, each family member's known allergies, and your doctors' phone numbers. Laminate it or use a zip bag so it survives spills. This card is often the most valuable item in the entire kit, and it costs almost nothing.
Step 6: Decide Where the Kit Lives
Location is a safety decision, not a storage afterthought. Choose a spot that is cool, dry, and consistent — heat and humidity shorten the life of many supplies, which makes the bathroom one of the worst common choices. A hallway closet shelf or a kitchen cabinet away from the stove works better. The kit should live at adult height if small children are around, but never buried behind other items.
Tell everyone in the household where it is, and keep that location permanent. Many families also build a second, smaller kit for the car and a compact version for travel, stocked from the same checklist. If you do, put a note in the main kit listing where the satellites are, so supplies can be shuffled when one runs low.
Step 7: Set a Restocking Routine
Every kit decays quietly: ointments expire, adhesives dry out, and borrowed scissors never come back. The fix is a simple maintenance loop. Twice a year, on dates you already remember such as the start of summer and the start of winter, empty the kit completely, discard anything expired or damaged, list what is missing, and restock within the week. Set a recurring reminder on your phone so the habit does not depend on memory.
Between audits, follow one rule: whoever uses the last of something writes it on a sticky note attached to the lid. Restocking then becomes a shopping-list item instead of a discovery made mid-emergency. Dispose of expired medicines properly; many pharmacies take them back, and your pharmacist can tell you the right method for anything you are unsure about.
Know When the Kit Is Not Enough
A home kit handles minor injuries. It is not for chest pain, difficulty breathing, heavy bleeding that does not slow with pressure, suspected broken bones, severe burns, or any allergic reaction involving the face or throat. For those, call emergency services first and use the kit only to help while you wait. When in doubt, seek professional care; the cost of overreacting is small, and the cost of underreacting is not. Consider taking a basic first-aid course, which turns the contents of your kit from objects into skills.
Final Thoughts
Building a first-aid kit is a procedure anyone can complete in an afternoon: pick a container, stock wound care, add tools, layer in over-the-counter basics with a pharmacist's input, personalize it, choose a permanent home, and put restocking on the calendar. Do it once, maintain it twice a year, and the next minor emergency in your home will be met with calm competence instead of a drawer full of loose bandages.