Most people treat the end of a workout as a hard stop: the last rep finishes, the timer beeps, and they head straight for the shower or the car. But the ten minutes after exercise are part of the workout, not an optional extra. A structured cool-down helps your heart rate come back to its resting rhythm gradually, gives your muscles a gentler transition out of effort, and sets up the recovery habits that make the next session feel better. Like any good procedure, a cool-down works best when you follow the same steps in the same order every time. This guide walks through a complete post-workout cool-down routine, from the final minutes of activity to what you do in the hour that follows. As with any exercise guidance, this is general wellness information; if you have a health condition or any concerns about how your body responds to exercise, talk with a doctor or qualified professional first.
Step 1: Taper Your Effort Before You Stop
The cool-down actually begins before the workout ends. Instead of going from full effort to standing still, spend the last three to five minutes of your session gradually lowering the intensity. If you were running, drop to a slow jog and then to a walk. If you were cycling, ease into light spinning with little resistance. If you were lifting weights, finish with a lighter movement or simply walk around the room between putting equipment away.
This tapering phase matters because it keeps your blood circulating while your body shifts gears. Stopping abruptly after hard effort can leave you feeling lightheaded, because blood that was being pumped vigorously to your working muscles needs a transition period to redistribute. Gentle movement acts like a valve that closes slowly instead of slamming shut. A simple rule of thumb: keep moving at an easy pace until your breathing feels close to normal conversation level.
Step 2: Bring Your Breathing Under Control
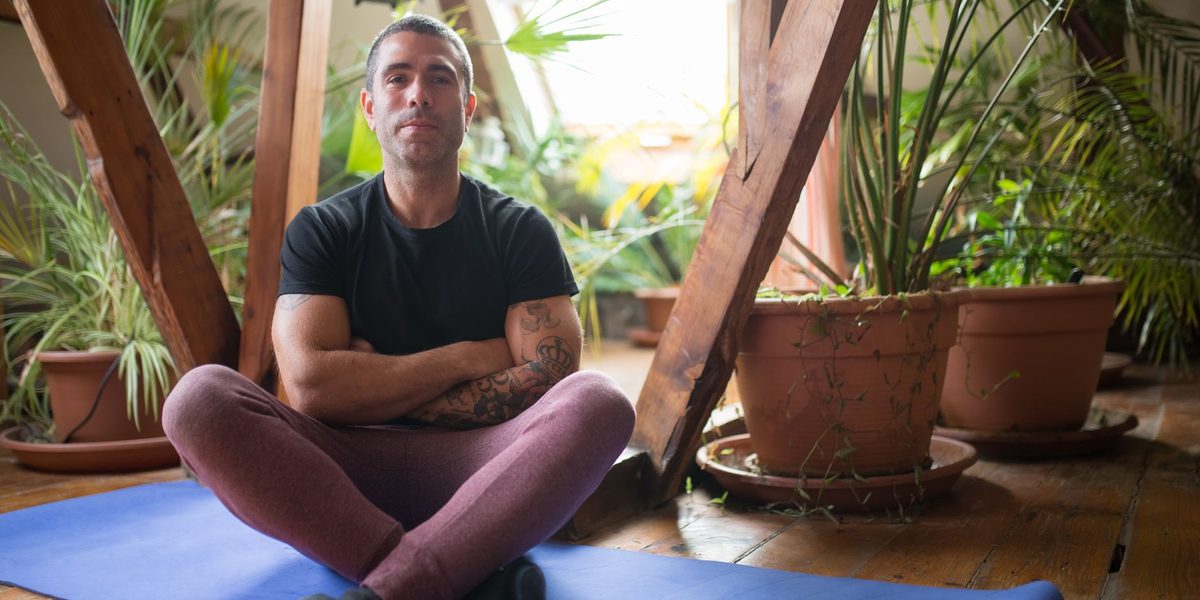
Once you have stopped moving, spend one to two minutes focused only on breathing. Stand or sit comfortably, place one hand on your stomach if it helps you focus, and breathe in slowly through your nose, letting your belly expand. Then exhale slowly through your mouth, taking a little longer on the exhale than the inhale.
Controlled breathing signals your nervous system that the effort is over, which helps your whole body downshift from work mode to recovery mode. It also gives you a built-in checkpoint: if you cannot slow your breathing after a couple of minutes of rest, your taper was probably too short, and you should extend it next time. Treat this step as the hinge of the routine — everything before it is winding down the engine, and everything after it is maintenance.
Step 3: Walk Through a Gentle Stretching Sequence
With your breathing settled, move into a short stretching sequence while your muscles are still warm. The goal here is not to force new flexibility but to move each major muscle group you used through a comfortable range. Hold each stretch at the point of mild tension, never pain, and keep breathing normally throughout.
- Quadriceps: Standing on one leg, pull the opposite heel gently toward your glutes and hold for about twenty to thirty seconds per side.
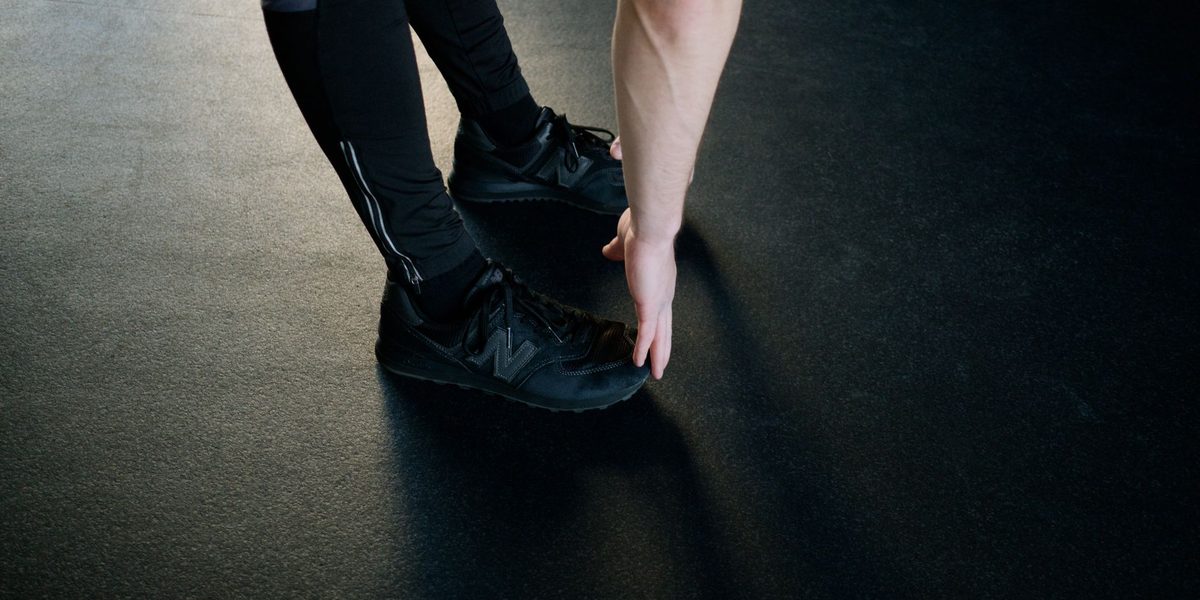
- Hamstrings: Place one heel on a low step or the floor in front of you, hinge forward slightly at the hips, and hold.
- Calves: Step one foot back, press the heel toward the floor, and lean into a wall or sturdy surface.
- Chest and shoulders: Clasp your hands behind your back or rest a forearm on a doorway and turn gently away.
- Hips and glutes: Sitting or lying down, cross one ankle over the opposite knee and ease into the stretch.
Work through the list in the same order every time so the sequence becomes automatic. The whole circuit should take about five to eight minutes. If a particular area feels unusually tight or sore in a sharp way, do not push into it — note it, skip it, and mention it to a professional if it persists.
Step 4: Rehydrate Deliberately, Not Randomly
Rehydration works better as a procedure than as an impulse. Rather than gulping whatever is nearby, have a plan: start sipping water during the stretching sequence and continue steadily over the next hour rather than drinking a large amount all at once. Water is the right default for most everyday workouts. For longer or sweatier sessions, some people prefer a drink with electrolytes; a simple option is water alongside a normal meal, since food naturally supplies sodium and other minerals.
A practical checkpoint is to notice how you feel and what your body tells you over the following hours. Thirst, headache, or dark urine later in the day are common signs you finished behind on fluids and should start sipping earlier next time. Keep a dedicated water bottle in your gym bag so this step never depends on finding a fountain.
Step 5: Refuel Within a Reasonable Window
You do not need anything elaborate, but eating something sensible in the hour or two after exercising supports the repair work your body is about to do. A useful template is a small portion of protein plus some carbohydrate: yogurt with fruit, eggs on toast, a sandwich, or simply an earlier-than-usual regular meal. If your workout ends close to a mealtime, the meal itself covers this step and nothing extra is required.
Build this into your routine the same way you build in the stretch sequence. Decide in advance what your post-workout food usually is, keep the ingredients on hand, and you remove the decision fatigue that leads to skipping it entirely or defaulting to whatever is fastest. People with specific dietary needs or medical conditions should shape this step with guidance from a doctor or registered dietitian.
Step 6: Do a Quick Body and Equipment Check
Before you fully close out the session, run a two-minute inspection, the same way you would check tools after a job. First, the body scan: mentally move from feet to shoulders and note anything that feels off — a hot spot on a foot, a joint that feels irritated rather than worked, a muscle that seems strained rather than fatigued. Normal post-exercise tiredness is dull and general; pain that is sharp, localized, or getting worse deserves rest and, if it continues, a conversation with a healthcare professional.
Second, the equipment check: wipe down anything you used, loosen your shoelaces rather than yanking shoes off, and hang damp clothing and towels so they can dry. Set out or repack whatever you will need for the next session. This small ritual turns the end of one workout into the setup for the next, which is one of the quiet secrets of people who stay consistent.
Step 7: Schedule the Recovery That Happens Later
The cool-down at the gym is only the first half of recovery; the second half happens over the rest of the day. Put the key items on your mental checklist. Plan to keep moving lightly — a short walk in the evening helps far more than collapsing on the couch for six hours. If you enjoy them, a warm shower and a few minutes of foam rolling or gentle stretching before bed can make the next morning noticeably more comfortable. Most importantly, protect your sleep on training days, since sleep is when the real repair happens.
It also helps to log the session briefly: what you did, how it felt, and anything the body scan turned up. Two lines in a notes app is enough. Over weeks, that log becomes a reference manual for your own body, showing you which routines leave you feeling strong and which leave you dragging.
Final Thoughts
A good cool-down is not complicated: taper your effort, settle your breathing, stretch while you are warm, rehydrate and refuel on purpose, run a quick body check, and hand off to the rest of the day. The entire routine adds ten to fifteen minutes, and it pays that time back in comfort and consistency. Run the same checklist after every session until it becomes automatic, adjust it as you learn what your body responds to, and bring any persistent aches or health questions to a qualified professional rather than pushing through them. The workout builds the fitness — the cool-down is how you keep it.