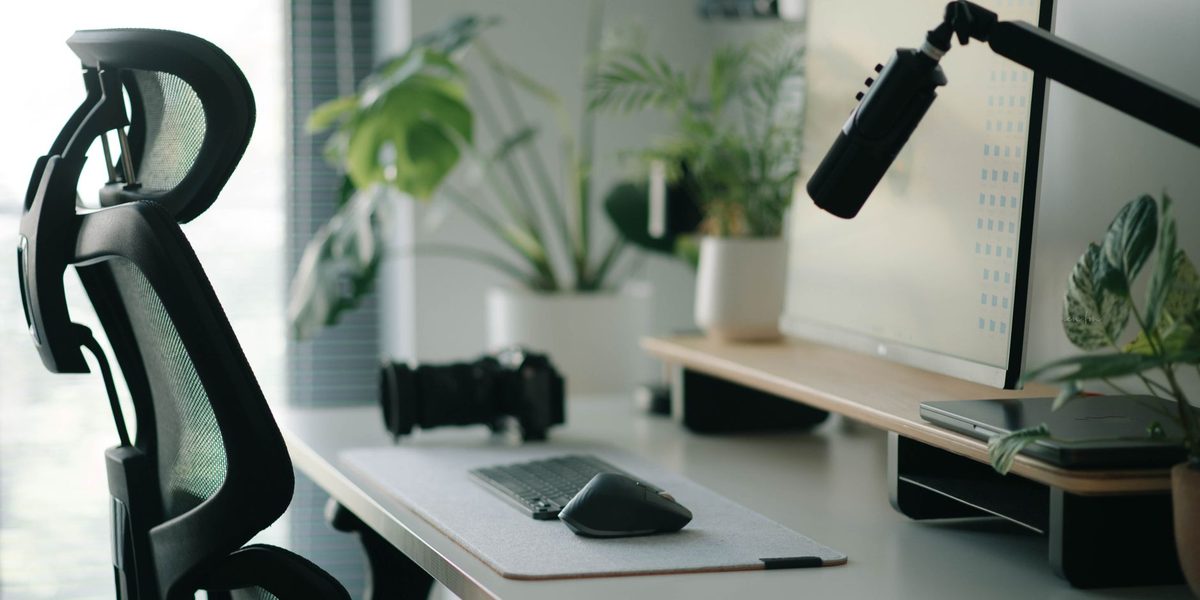
Desks are where many of us spend more waking hours than anywhere else, yet most are assembled by accident: a chair inherited from somewhere, a monitor wherever the cable reaches, a keyboard shoved wherever there is space. The aches that follow — nagging necks, tight shoulders, sore wrists, stiff lower backs — are usually not mysterious; they are the predictable output of a workstation that fights the body using it. Setting up an ergonomic desk is a one-hour procedure. Work through the steps in order, because each one builds on the last.
Step 1: Start With the Chair, Not the Desk
Everything in an ergonomic setup is measured from a properly adjusted chair, so begin here. Sit all the way back so your lower back rests against the backrest, then adjust the seat height until your feet sit flat on the floor with your knees bent at roughly a right angle, level with or slightly below your hips. There should be a two- or three-finger gap between the front edge of the seat and the backs of your knees; if the seat pan slides, adjust it until there is.
Next, shape the back support. If your chair has adjustable lumbar support, position it so it fills the natural inward curve of your lower back; if it does not, a small cushion or a rolled towel does the same job. Set the backrest at a slight recline rather than bolt upright — a little openness in the hip angle takes pressure off the lower back. If your feet cannot reach the floor once everything else is right, add a footrest or a sturdy box rather than lowering the chair and ruining your arm position.
Step 2: Set Your Arms and Desk Height
With the chair right, relax your shoulders and bend your elbows to roughly a right angle. Your forearms should now be parallel to the floor, and this is exactly the height at which your keyboard should sit. If your desk is too tall — most fixed desks are — raise the chair to bring your elbows level with the desk surface and give your feet a footrest to compensate. If the desk is adjustable, move the desk instead of the chair.
Adjust armrests so they lightly support your forearms without pushing your shoulders up toward your ears; if they force your arms wide or block the chair from pulling in, lower them out of the way entirely. The test for this whole step is simple: sitting naturally, your shoulders should feel heavy and relaxed, not perched, and your wrists should float level rather than bending upward to reach the keys.
Step 3: Position the Monitor
Monitor placement drives neck posture more than any other choice at the desk. Position the screen directly in front of you, roughly an arm's length away — a little farther for large screens. Set the height so the top of the screen sits at or slightly below eye level, letting your eyes look gently downward at the center of the display; monitor arms, adjustable stands, or a stack of sturdy books all get you there. Tilt the screen slightly upward toward your face.
If you use two monitors equally, center the pair in front of you and angle them inward like an open book. If one is primary, center that one and place the second beside it at the same height. Whatever the arrangement, the goal is a neutral neck: no craning down, no tilting up, and no twisting to one side for anything you look at more than occasionally.
Step 4: Place the Keyboard and Mouse
Center the keyboard on your body — specifically, center the letter area, not the full board including the number pad — and place it close enough that your elbows stay comfortably at your sides. Keep the keyboard flat or tilted slightly away from you; flipping up the little rear feet actually bends the wrists backward, which is the direction they least appreciate.
Put the mouse immediately beside the keyboard at the same height, and move it with your whole forearm rather than by planting the wrist and swiveling. If you feel strain on the mouse side, a compact keyboard without a number pad lets the mouse sit closer to your midline, and alternative mouse shapes are worth exploring. Type with wrists floating and straight, and treat any soft wrist rest as a home for pauses, not a platform to lean on while typing.
Step 5: Sort Out Lighting and the Rest of the Surface
Glare makes people crane and squint, so place the monitor at a right angle to windows rather than in front of or behind them, and use blinds to tame direct sun. Add a desk lamp for paper tasks, positioned so it lights the page without reflecting off the screen. The screen itself should be about as bright as the room around it; a display that glows like a lantern in a dim room is a recipe for tired eyes.
Then arrange the surface by frequency of use. Things you touch constantly — phone, notepad, water — belong within easy reach of a relaxed arm. Things you use occasionally can live farther away, and honestly, a few of them are better placed slightly out of reach so you have a reason to stand. If you work from documents, a document holder between keyboard and monitor spares you hundreds of daily neck rotations.
Step 6: Fix the Laptop Problem
A laptop on its own violates the two rules you just established: when the screen is at the right height, the keyboard is wrong, and when the keyboard is right, the screen is wrong. For any regular desk work, break the conflict with two additions — a laptop stand (or book stack) that lifts the screen to monitor height, and an external keyboard and mouse placed at proper elbow height. This transforms a laptop into a legitimate workstation for very little money.
For occasional short stints away from the desk, perfection is not required, but the same principles help: sit somewhere with back support, raise the machine on whatever is handy, and change position often. The laptop's real ergonomic danger is not the occasional couch session; it is the permanent hunched setup that was always meant to be temporary.
Step 7: Build Movement Into the Day
Even a flawless setup cannot make eight motionless hours healthy, because the best posture is the next posture. Set a quiet reminder to stand, stretch, or walk for a minute or two at least once an hour — refill water, take calls standing, or run through a few shoulder rolls and gentle back extensions. Micro-adjust constantly as well: shift in the chair, vary your recline, alternate tasks between screen-heavy and screen-light.
If you have a sit-stand desk, alternate positions through the day rather than standing all day, and apply the same measurements when standing: elbows at right angles, screen top near eye level, weight balanced on both feet.
The Final Checklist
Run this quick audit whenever you sit down at a newly arranged desk.
- Feet flat on floor or footrest, knees near a right angle
- Lower back supported against the chair
- Shoulders relaxed, elbows at your sides at desk height
- Wrists straight and floating, keyboard centered, mouse close
- Screen an arm's length away, top at or just below eye level
- No glare on the screen, room and display brightness matched
- Frequently used items within relaxed reach
- A movement reminder set for every hour
If discomfort persists despite a correct setup, do not push through it — talk to a doctor, physiotherapist, or occupational health professional, because lingering pain deserves individual assessment rather than another accessory.
Final Thoughts
An ergonomic desk is not a shopping list; it is a sequence of adjustments that costs mostly attention. Set the chair, match the desk and arms, raise the monitor, center the keyboard, calm the lighting, rescue the laptop, and keep moving. One careful hour of setup pays dividends every working day that follows.