The hardest part of a home workout usually is not the workout — it is the fifteen minutes of moving furniture, hunting for the resistance band, and clearing a patch of floor before you can even begin. A dedicated workout space removes that friction. It does not require a spare room, a garage conversion, or a rack of equipment; it requires a deliberate setup process, the same way a good kitchen requires a sensible layout more than expensive appliances. This guide walks through creating a functional exercise area step by step, whether you have a whole basement or a two-metre strip beside the bed. As always with exercise, the setup advice here is general; if you are new to training or managing an injury or health condition, have a professional help you choose what you will actually do in the space.
Step 1: Choose the Location Deliberately
Walk your home and evaluate candidate spots against four criteria. Clearance: you need enough room to lie down full length with your arms extended overhead, and to stand with arms out to the sides without hitting anything — roughly a two-by-two-metre footprint for most bodyweight and dumbbell work. Ceiling height: stand in the spot and reach up; if your knuckles graze the ceiling or a light fixture, overhead movements and jumping are out. Ventilation and light: a window or at least decent airflow makes a bigger difference to whether you show up than any piece of equipment. Visibility: spaces you walk past daily get used; spaces behind a closed door in the basement quietly die.
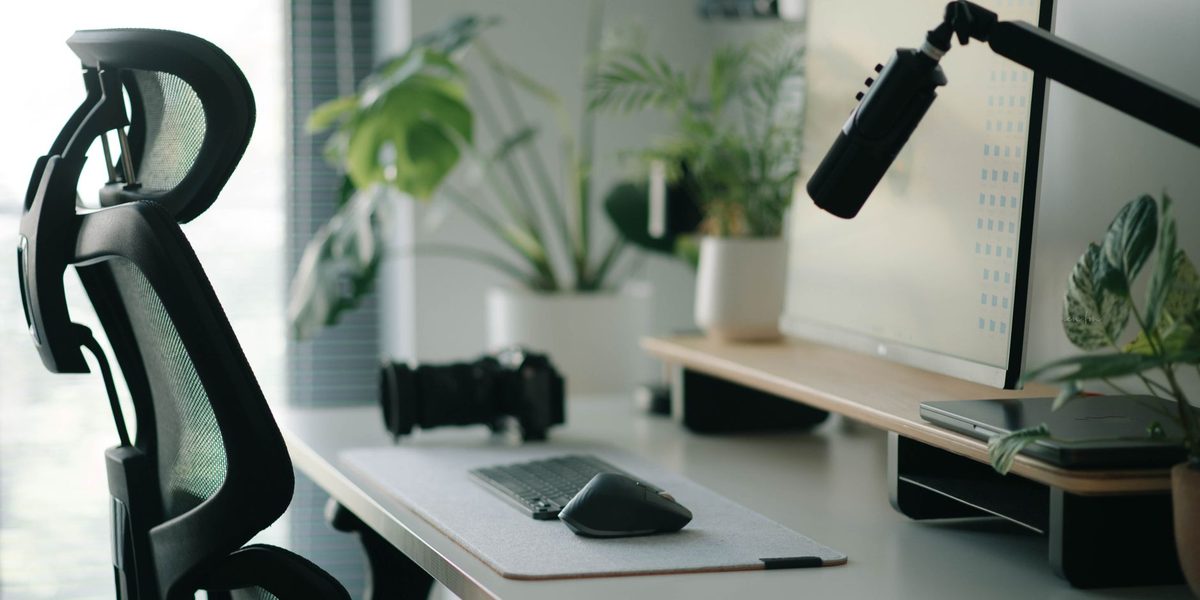
Common winners are the corner of a living room, the end of a bedroom, a home office with a foldable setup, or a covered balcony in mild climates. If the only viable spot doubles as living space, that is fine — the storage steps below are designed exactly for that situation. Pick one location and commit; a space that migrates around the house never becomes a habit anchor.
Step 2: Sort Out the Floor First
Flooring is the most overlooked part of the setup and the first thing to get right. Hard tile and concrete are unforgiving on joints and slippery under sweaty hands; thick carpet is unstable for standing balance work and unpleasant for push-ups. The workhorse solution is a good exercise mat for floor work, plus interlocking foam or rubber tiles if you plan to use weights — they protect the floor underneath, dampen noise for anyone below you, and stop dumbbells from rolling away.
Before laying anything, vacuum the area and check for hazards at floor level: cables that cross the space, rug edges that curl, furniture legs that jut into your clearance zone. Re-route the cables, tape or remove the rug, and shift the furniture. If you live above someone, do a courtesy test — a few jumps while someone listens below — so you know whether high-impact moves belong in your plan or whether you should favor low-impact alternatives.
Step 3: Buy the Starter Kit, Not the Fantasy Gym
Equipment should follow your actual routine, not the other way around. Most people build a complete beginner setup with a handful of items, and everything on this list stores in a corner or under a bed.
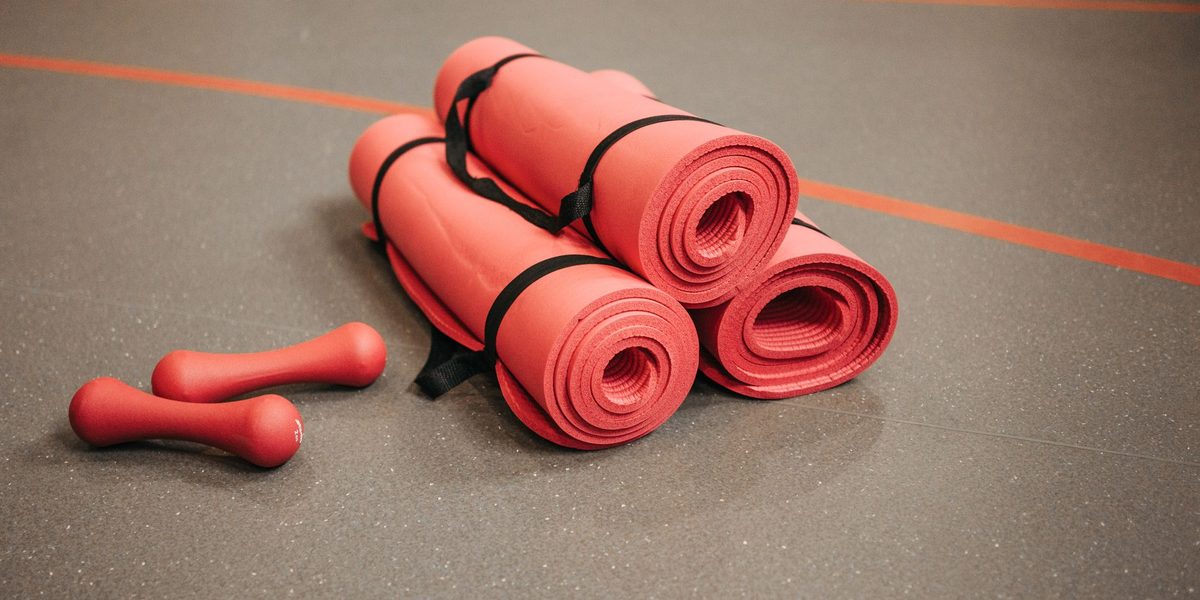
- Exercise mat — the foundation for stretching, core work, and floor exercises.
- A set of resistance bands in light, medium, and heavy — the most versatile and space-efficient strength tool available.
- One or two pairs of dumbbells, or a pair of adjustable ones — start moderate; you can add weight later.
- A water bottle and a small towel that live in the space permanently.
- Optional extras: a foam roller for recovery, a skipping rope for cardio, and a low step or sturdy box.
Resist buying large machines at the start. A treadmill or multi-gym purchased before the habit exists usually becomes expensive clothes storage. The upgrade rule is simple: add equipment only when your current routine repeatedly runs into its absence. That single rule keeps the space lean, affordable, and honest.
Step 4: Solve Storage So Reset Takes One Minute
In a shared or multipurpose space, the workout area must be able to appear and disappear quickly, and that is a storage problem. Give every item exactly one home within arm's reach of the workout zone: a basket or crate for bands, rope, and towel; dumbbells on a low shelf or in a corner rack rather than loose on the floor; the mat rolled and stood in a corner, hung on hooks, or slid under the sofa.
Run the one-minute test: from a fully tidied room, can you have the mat down and gear out in sixty seconds, and can you reset the room just as fast afterward? If setup takes five minutes of shuffling, the space will lose to the couch on tired days. Trim and rearrange until both directions pass. This test, more than any purchase, determines whether the space gets used in month three.
Step 5: Add the Supporting Details
A few small additions turn a cleared corner into a place you actually want to be. Position a fan where it will hit you during cardio, or make sure the window opens. Sort out sound: a small speaker, or a designated spot where your phone props up safely if you follow along with workout videos — at standing eye level for standing work, low and angled up for mat work. A cheap wall mirror is genuinely useful rather than vain; watching your form on squats and hinges is how you coach yourself between professional check-ins.
Finally, put a small hook or shelf by the space for the boring essentials — hair ties, a spare pair of socks, your log book or a phone stand. Every item that lives permanently in the space is one less trip around the house between deciding to exercise and actually starting, and those trips are where home workouts go to die.
Step 6: Run a Safety Walkthrough
Before the first real session, inspect the finished space the way you would check a ladder before climbing it. Confirm your clearance zone is genuinely clear — swing your arms through the movements you plan to do and verify nothing is within reach, paying attention to ceiling fixtures, shelf corners at head height, and pets' favorite pathways. Check that mats and tiles lie flat with no lifted edges, that dumbbells have a stable parking spot where they cannot roll underfoot, and that any furniture you might grab for balance is actually sturdy enough to hold you.
If children share your home, decide where the heavier items live so small hands cannot pull them down, and make a habit of never leaving weights standing loose after a session. Repeat a thirty-second version of this walkthrough whenever the room changes — new furniture, holiday decorations, a rearranged layout — because most home-exercise mishaps are collisions with things that were not there last month.
Step 7: Schedule the Space's First Two Weeks
A finished space still needs a launch plan. Decide which days and times the space gets used, and start embarrassingly small: two or three sessions of fifteen to twenty minutes in the first week, using simple routines you already know or a beginner-friendly follow-along video. The goal of the first two weeks is not fitness progress; it is proving the setup works — that setup takes a minute, the flooring holds, the equipment suits your plan, and the location does not create conflicts with housemates or family.
Keep a note of every friction point you hit, and fix each one before the next session: the mat that slides gets a grippier surface, the video you cannot see gets a better phone position, the time slot that always collides with dinner prep gets moved. By the end of the pilot, the space should feel like a tool that is ready before you are.
Final Thoughts
A home workout space is a system, not a shopping list: a deliberately chosen spot, a safe floor, a small kit of versatile equipment, storage that makes setup and reset almost instant, and a safety walkthrough to catch problems before they find you. Build it in a weekend, pilot it for two weeks, and upgrade only when your routine demands it. The space's real job is to shrink the distance between deciding to move and moving — and once that distance is a single minute, consistency stops being a battle. For the training itself, especially if you are starting out or working around a condition, let a qualified professional help you fill the space with the right plan.