The ten minutes after you receive rental car keys are the most valuable ten minutes of the entire rental. Spend them well and you protect yourself twice over: against being billed for damage someone else caused, and against discovering a mechanical problem at highway speed instead of in the parking lot. Most travelers spend those minutes adjusting the radio and pulling into traffic. The better procedure is a fixed checklist, performed in the same order every time, before the car moves an inch. It looks fussy the first time. By the third rental it takes less time than the walk from the counter, and it will eventually save you real money, real hassle, or both.
Document Existing Damage With a Photo Walk-Around
Before touching a single control, walk the car with your phone camera and record its condition. Rental damage disputes come down to evidence, and the traveler with timestamped photos wins. Follow the same circuit every time so nothing gets skipped:
- Start at the front and photograph the whole front end, then move clockwise, taking wide shots of each side, each corner, and the rear.
- Take close-ups of every scratch, dent, chip, or scuff you find, with at least one wider shot showing where on the car it sits.
- Photograph all four wheels and rims, which collect curb damage that agencies notice at return.
- Capture the windshield and glass, looking for chips and cracks in raking light.
- Open the doors and photograph the interior, the seats, and the odometer and fuel gauge readings.
- Check the roof and both bumpers, the two areas most often damaged and least often checked.
Compare what you found against the damage diagram on the rental agreement, and insist that every mark be noted on the paperwork before you leave. If an agent waves off a scratch as too small to matter, note it anyway. Repeat the same photo circuit when you return the car, so you hold before-and-after proof of the condition you left it in.
Check Tires, Lights, Wipers, and Fluids
A rental fleet is maintained on a schedule, but individual cars slip through, and you are about to trust this one in an unfamiliar place. A basic mechanical check takes three minutes. Look at each tire for adequate tread and even wear, and for any bulge, gouge, or obvious underinflation; a visibly soft tire goes back to the counter, not onto the road. Confirm there is a spare tire or inflation kit and that the jack and tools are present, because discovering their absence on a road shoulder is the wrong time.
Turn on the headlights and walk the car to confirm low beams, high beams, brake lights, and turn signals all work, asking a companion to press the pedal if you have one. Run the wipers and washer fluid, since a dirty windshield and dry jets become a safety issue in the first rainstorm or on the first dusty road. Check the dashboard after starting: any warning light that stays on is a conversation with the agency before departure, not after. If anything on this list fails, ask for a different car. Agencies swap vehicles routinely, and the awkwardness of asking is far smaller than the consequences of a failure in the mountains at night.
Set Up the Cabin Before You Leave the Space
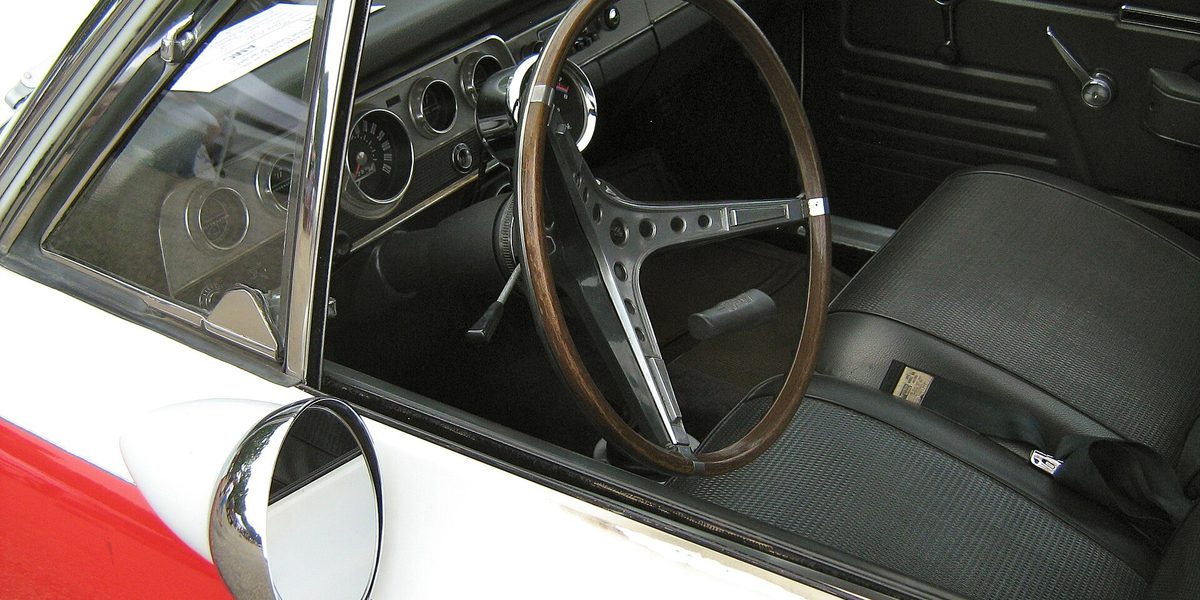
Every car places its controls differently, and hunting for the wiper stalk in a sudden downpour on an unfamiliar highway is a genuinely dangerous moment. Eliminate it in the parking space. Adjust the seat so you can press the pedals fully with a bend in your knee, then set the steering wheel, then the mirrors, in that order, since each depends on the last. Find and physically operate the headlights, high beams, wipers and washers, hazard lights, horn, defroster, and climate controls. Locate the fuel door release and note which side the filler is on, the parking brake, and how to work the gear selector, which varies more between cars than most drivers expect.
Pair your phone or mount it where you can see navigation without holding it, and set your first destination while parked. If the car has driving aids such as lane keeping or adaptive cruise control, learn what is switched on, because assistance you do not expect can startle you as badly as assistance that is missing. Only when you can operate everything without looking down should the car leave the space.
Plan the First Route and Learn the Local Rules
The first fifteen minutes of driving are the riskiest of the whole rental: you are managing an unfamiliar car, unfamiliar roads, and often fatigue from travel, all at once. Reduce the load by planning a gentle first route. Study the exit from the rental facility before you start moving, since airport lots often funnel drivers into fast merges with little warning. Prefer a first leg on simpler roads over the most aggressive highway option, even if it costs a few minutes, and if you have just stepped off a long flight, consider a meal or rest before driving at all.
If you are renting in another country, do your rules homework before the trip: which side of the road traffic drives on, how the right-of-way works at roundabouts and unmarked intersections, local speed conventions, and any equipment drivers are required to carry. Look up the local emergency number and the rules on tolls and urban driving zones, which in some places require permits or electronic passes. Five minutes of research prevents both fines and genuinely dangerous surprises.
Decide What Stays in the Car and What Stays on You
Sort your possessions deliberately, because a rental car in a tourist area is a known target. Keep on your person, always: your identification and driving documents, wallet, phone, and the rental agreement details or a photo of them, so a problem with the car never becomes a problem proving who you are. In the car, keep only what you can afford to lose, and keep it invisible, locked in the trunk before you arrive at a destination rather than moved there in view of onlookers in the parking lot.
It is worth keeping a small kit in the cabin for the trip itself: water, a couple of snacks, a phone charger that works from the car, and a paper map or written directions for areas where signal may vanish. When you park overnight, take everything of value out entirely, choose lit and busy parking when you can, and leave the glove box visibly empty. An empty-looking car is a boring car, and boring cars get left alone.
Know the Breakdown Procedure Before You Need It
Before leaving the lot, find the roadside assistance number for the rental company, which is usually printed on the agreement, a key tag, or a sticker inside the car, and save it in your phone along with the car's license plate number. Confirm what the agreement says about breakdowns, flat tires, and accidents: whom to call first, what the company covers, and what documentation it expects. If insurance is part of your booking, know what it requires from you at the scene.
Then set your personal procedure. If the car fails on the road, signal early and get fully off the roadway before stopping if the car allows it. Turn on the hazard lights, and keep occupants away from traffic, behind a barrier or well off the shoulder rather than sitting in the car on a fast road. Call the rental company's assistance line rather than arranging your own repairs, since unauthorized fixes often become your expense. In any collision, prioritize safety, contact emergency services if anyone may be hurt, then photograph everything and notify the rental company before the car moves again, following their instructions and local requirements exactly.
Final Thoughts
None of this requires mechanical expertise, and all of it together takes about ten minutes: photograph, inspect, adjust, plan, sort, and prepare. Run the checklist in the same order every rental until it becomes a ritual you would feel strange skipping. The reward is a trip where the car is simply transportation, the return counter holds no surprises, and the one time something does go wrong on the road, you already know exactly what to do.