A dull kitchen knife is more dangerous than a sharp one. That sounds backwards until you watch a dull blade skid off a tomato skin toward the fingers holding it. A sharp knife bites where you place it, needs less force, and makes cooking faster and genuinely more pleasant. Yet most home kitchens run on blades that have not been sharpened in years, mostly because sharpening feels like a mysterious craft. It is not. This guide explains the difference between honing and sharpening, walks through the three practical home methods from easiest to most rewarding, and covers the testing and daily habits that keep an edge alive between sessions.
Honing vs. Sharpening: Know Which One You Need
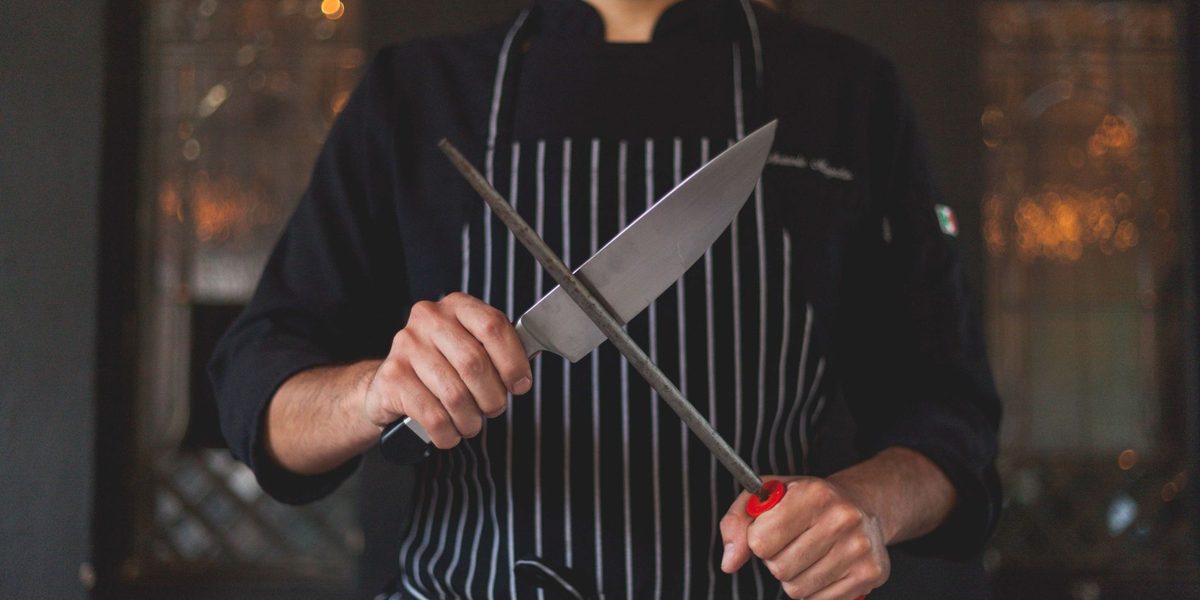
These two words get used interchangeably, but they are different jobs. A knife's edge is a microscopically thin line of steel, and ordinary cutting bends that line out of alignment long before it wears the metal away. Honing — done with the long steel rod that came with your knife block — straightens that bent edge back into line. It removes almost no metal and takes fifteen seconds. Sharpening grinds away a small amount of steel to create a brand-new edge, and it is only needed when honing no longer restores performance.
The practical rhythm for a home cook: hone briefly every few uses, and sharpen a handful of times per year depending on how much you cook. If your knife stopped responding to the honing rod, it is time to actually sharpen.
How to Hone With a Steel Rod
The safest technique keeps the rod vertical and stationary. Plant the rod's tip on a cutting board on the counter, holding the handle at the top. Place the heel of the blade against the rod near the handle, tilt the knife to roughly a fifteen-to-twenty degree angle — about the thickness of two stacked coins under the spine — and sweep the blade down and toward you so the entire edge, heel to tip, passes along the rod. Use light pressure, as if you were slicing a thin layer off the rod. Alternate sides, five to eight strokes per side.
Avoid the dramatic chef-show technique of slashing the knife through the air against a hand-held rod. It looks impressive and works fine with practice, but the vertical-rod method is just as effective and keeps the blade moving away from your knuckles while you learn.
Method One: The Pull-Through Sharpener
A pull-through sharpener is the entry point: a small device with slotted wheels or crossed carbide and ceramic rods set at a fixed angle. Place it on a stable counter, hold it firmly with your non-dominant hand, insert the knife's heel into the coarse slot, and draw the blade through toward you in one smooth stroke, heel to tip, with gentle downward pressure. Repeat three to six times, then finish with a few passes through the fine slot.
The honest trade-offs: pull-throughs remove more metal than necessary and cannot match the polish of a stone, so enthusiasts look down on them. But a knife maintained with a decent pull-through is dramatically sharper than a neglected one, and the method takes ninety seconds with zero skill required. For most households it is a perfectly reasonable choice. Do not use pull-through sharpeners on serrated blades or single-bevel Japanese knives, which need specialist care.
Method Two: The Whetstone, Step by Step
The whetstone is the method worth learning if you enjoy cooking, because it produces the best edge and works on nearly any knife. Most beginner-friendly stones are combination stones with a coarse side for repairing dull edges and a fine side for refining them. Many stones need a soak in water before use — follow the instructions for yours — and all need a non-slip base, such as a damp towel under the stone.
- Place the stone coarse-side up. Hold the knife handle in your dominant hand with your index finger on the spine, and rest two or three fingertips of your other hand flat on the blade's face — never on the edge.
- Set the blade on the stone at fifteen-to-twenty degrees, the same two-coin tilt used for honing.
- Sweep the blade across the stone in a broad arc, edge leading, so the full length from heel to tip contacts the stone during each stroke. Use moderate pressure on the pushing stroke and light pressure returning.
- After eight to ten strokes, feel carefully for a burr — a faint, rough lip of steel on the side opposite the one you just ground. Stroke your thumb across the blade's face toward the edge, never along it. The burr means you have fully reshaped that side.
- Flip the knife and repeat until a burr forms on the other side.
- Switch to the fine side of the stone and repeat the whole process with lighter pressure, then finish with a few alternating feather-light strokes per side to remove the burr entirely.
Keep the stone wet as you work, and keep your angle consistent — steadiness matters far more than hitting a precise number of degrees. Your first session may take twenty minutes; your fifth will take eight.
How to Test Sharpness Safely
Never test an edge by running a thumb along it. Use paper or produce instead. Hold a sheet of printer paper by one corner and slice into the hanging edge: a sharp knife glides through with a clean whisper, a dull one snags and tears. The tomato test is even more honest — a properly sharpened knife bites into tomato skin under its own weight with no sawing. If the blade slides or crushes, return to the stone or sharpener for a few more passes, paying attention to the section of the blade that fails, since edges often dull unevenly near the middle where most cutting happens.
Daily Habits That Keep Knives Sharp Longer
- Cut on wood or plastic boards only. Glass boards, stone counters, and ceramic plates destroy edges faster than anything else in the kitchen.
- Never scrape food across the board with the edge. Flip the knife and scrape with the spine.
- Hand-wash and dry immediately. Dishwashers batter edges against baskets and promote corrosion and handle damage.
- Store blades protected — a knife block, magnetic strip, or blade guards — never loose in a drawer where edges knock against metal utensils.
- Use the right knife for the job. Prying, twisting, and cutting through bones or frozen food chip fine edges; use sturdier tools for rough work.
When to Hand It to a Professional
Some jobs are not worth doing at home. A chipped edge, a broken tip, a blade that has been sharpened crooked over the years, or an expensive single-bevel Japanese knife all justify a professional sharpening service, which many kitchen shops and farmers markets offer inexpensively. Serrated bread knives also stay usable for many years and are best professionally serviced when they finally fade. Consider a professional pass as hitting the reset button: they restore correct geometry, and your home honing and sharpening then maintain it easily.
Final Thoughts
Sharp knives are a habit, not a luxury. Hone for fifteen seconds every few cooking sessions, sharpen with a pull-through or whetstone when the honing rod stops helping, test on paper rather than your thumb, and treat the edge kindly on the cutting board and in storage. The first time a freshly sharpened knife falls through an onion, you will understand why cooks are evangelical about this — and you will never willingly go back to sawing at your food.