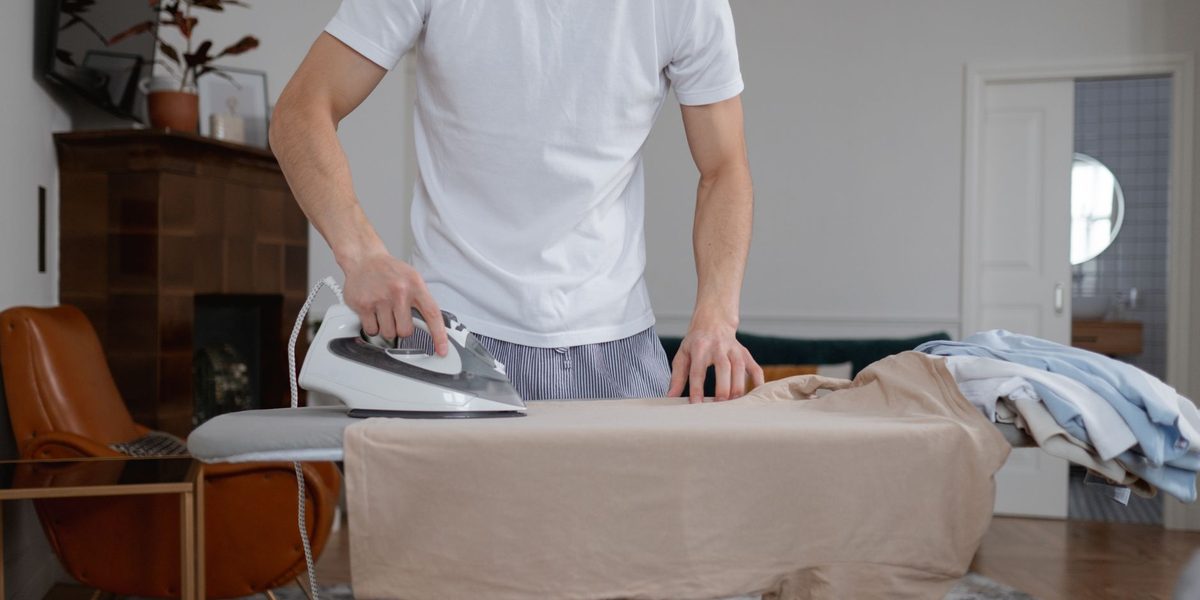
A crisply ironed shirt changes the way an entire outfit reads. The fabric sits flatter, the collar frames your face properly, and the whole garment looks deliberate rather than rumpled. The good news is that ironing a dress shirt is not a talent — it is a sequence. Professionals in laundries and tailoring shops follow the same order of operations every single time, and once you learn that order, a shirt takes five or six minutes instead of a frustrating quarter hour of chasing wrinkles you keep re-creating. This guide walks through the full process: preparing the shirt, setting up your equipment, and pressing each part in the sequence that keeps finished sections from getting crushed while you work on the rest.
Step 1: Start With a Slightly Damp Shirt
The single biggest secret in ironing is moisture. Heat alone relaxes wrinkles slowly; heat plus dampness relaxes them almost instantly. If you can plan ahead, pull the shirt out of the dryer while it is still slightly damp, or hang it after washing and iron before it dries completely. The fibers are pliable at that stage and respond to the iron with far less effort.
If the shirt is already bone dry, recreate that dampness. Fill a spray bottle with clean water and mist the shirt lightly all over, then roll it up for two or three minutes so the moisture distributes evenly through the fabric. Alternatively, use the spray button on your iron as you work. Either way, you should be pressing fabric that feels cool and faintly damp to the touch — not wet, just relaxed.
Step 2: Set Up Your Board and Iron Correctly
Set the ironing board at a height where your forearm is roughly parallel to the floor when your hand rests on the board. Too low and you will hunch; too high and you lose pressing pressure. Position the board so the pointed end is on your non-dominant side, which makes it easier to slide sleeves and shoulders over the narrow end.
Check the care label before touching the temperature dial. Most cotton dress shirts take a high setting with steam, cotton blends take a medium-high setting, and anything with significant synthetic content needs medium or lower. When in doubt, start cooler and increase the heat — you can always add heat, but you cannot undo a scorch mark or a shiny pressed-in sheen. Fill the reservoir with water if your iron produces steam, and let the iron come fully up to temperature before you begin. An iron that is still warming up drags and stretches fabric instead of gliding.
Step 3: Press the Collar First
Every professional starts with the collar, because it is the most visible part of the shirt and the easiest to press while the rest of the garment is still loose. Pop the collar up and lay it flat on the board with the underside facing you. Press from the points toward the center, working from each tip inward. Ironing toward the middle pushes any slight excess fabric into the center back of the collar where it will never be seen, instead of toward the points where a crease would be obvious.
Flip the collar over and repeat on the outside. Do not iron a sharp fold into the collar — leave it standing, and let it fold naturally when you hang the shirt. A softly rolled collar looks better and sits more comfortably against the neck than one with a hard pressed line.
Step 4: Move to the Cuffs and Sleeves
Unbutton each cuff completely, including any small gauntlet button on the sleeve opening, and lay the cuff flat with the inside facing up. Press the inside first, then the outside, steering the point of the iron around the buttons rather than over them. Ironing directly over buttons can crack them and leaves a shiny outline in the fabric.
For the sleeves, lay one sleeve flat on the board so the seam running under the arm sits along one edge. Smooth the fabric with your palm before the iron touches it — whatever wrinkles you press in now, you will have to press out later. Iron from the shoulder down toward the cuff. Whether you press a crease into the top fold of the sleeve is a style choice: a crease reads slightly more formal and military, while a rounded sleeve looks softer. If you want no crease, stop the iron just short of the folded edge. Repeat with the second sleeve.
Step 5: Press the Yoke, Back, and Fronts
The yoke is the panel across the shoulders. Slide one shoulder over the narrow end of the board, press it, then rotate the shirt and do the other shoulder. Next, drape the back of the shirt across the wide part of the board and press it in two or three overlapping passes, sliding the shirt along as you go. If the shirt has a center or side pleats in the back, press them flat in the direction they naturally fold.
Finish with the two front panels, saving the button placket for careful attention. Lay the non-button side flat and iron from the shoulder downward. On the button side, work the point of the iron between the buttons, and press the placket itself firmly — a crisp placket is one of the details that makes a shirt look professionally finished. Give a few extra seconds to the area around the collar and the top of the placket, since that triangle is what shows under a jacket or in a video call.
Step 6: Hang the Shirt Immediately
All the work you just did can be undone in thirty seconds by tossing the warm shirt over a chair. Fabric holds whatever shape it cools in. The moment you finish pressing, put the shirt on a hanger — ideally one with shaped shoulders — button the top button and one mid-chest button so the placket hangs straight, and let it cool and dry completely before it goes into the closet or onto your body.
Give hanging shirts a little breathing room in the closet. A freshly pressed shirt crushed between two coats will pick up new wrinkles overnight. If you are ironing several shirts for the week ahead, space them out and the pressing will last until you wear each one.
Common Mistakes That Create More Wrinkles
- Ironing in the wrong order. Doing the big panels first means dragging them across the board again while you press collars and cuffs, wrinkling what you already finished.
- Using a dry, half-heated iron. Low heat and no moisture force you to scrub back and forth, which stretches fabric and sets shine into it.
- Pressing over buttons, zips, or prints. Hard trims crack, and printed logos can melt onto the soleplate.
- Ignoring the care label. A synthetic-blend shirt on a full cotton setting can develop permanent glossy patches in seconds.
- Leaving the shirt crumpled afterward. Hanging immediately is the step that makes the rest worthwhile.
Caring for Your Iron So It Keeps Performing
A neglected iron sabotages good technique. Empty the water reservoir after each session so minerals do not build up inside, and if your area has hard water, use distilled or filtered water to keep the steam vents clear. When the soleplate picks up residue — often from starch spray or synthetic fibers — clean it with a soleplate cleaner or a paste of baking soda and water while the iron is cool, then wipe thoroughly. A smooth, clean soleplate glides effortlessly and will never surprise you with a brown streak on a white shirt.
Store the iron upright and let it cool fully before wrapping the cord. If yours has a self-clean or calc-clean function, run it every month or two according to the manual. These small habits keep steam output strong, and steady steam is what separates quick, satisfying ironing from a chore.
Final Thoughts
Ironing a dress shirt well comes down to three things: damp fabric, the right temperature, and the professional order — collar, cuffs, sleeves, yoke, back, fronts. Follow that sequence a few times and it becomes automatic muscle memory, turning a dreaded task into a five-minute routine. The payoff is a shirt that looks sharp all day and a skill you will use for the rest of your life.