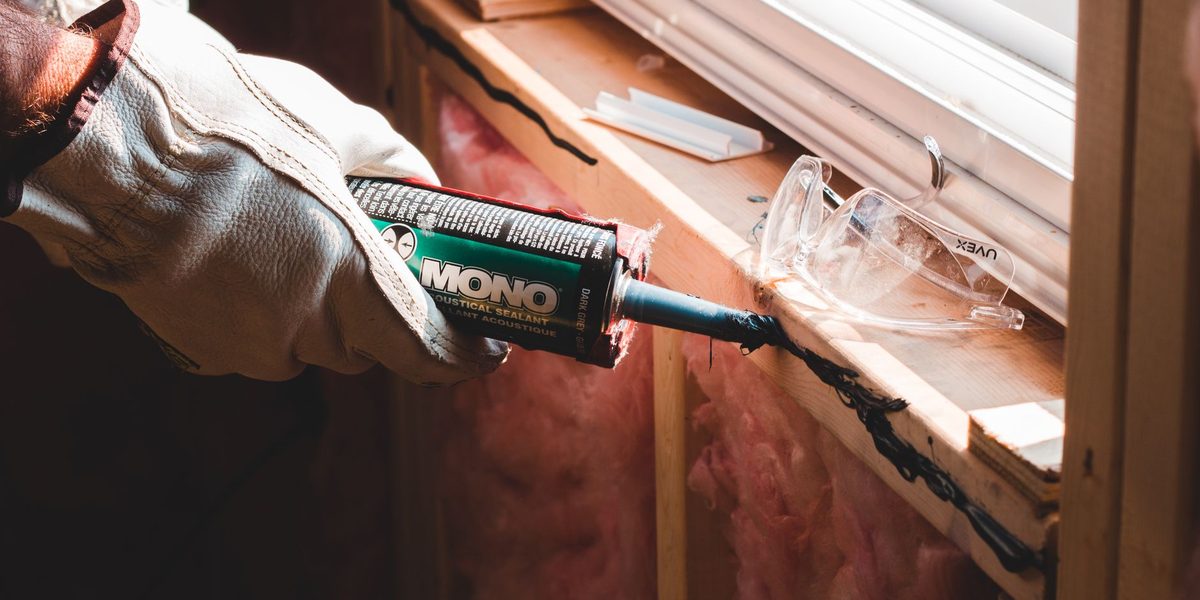
Old, cracked, or mildew-stained caulk does more than make a bathroom look tired. The flexible bead where your tub or shower meets the wall is the only thing standing between splashing water and the wood framing behind the tile, and once that seal fails, moisture creeps in silently and rot follows. The good news is that recaulking a bathtub or shower is one of the most beginner-friendly repairs in the entire house. The materials cost less than a takeout dinner, the job fits in a single afternoon plus curing time, and the skills involved are mostly patience and a steady hand. This guide walks through the full process: stripping the old caulk, prepping the joint properly, laying a clean new bead, and smoothing it into a line you will want to show people.
Choose the Right Caulk for the Job
Standing in the caulk aisle can be overwhelming, but for tubs and showers the decision narrows quickly. You want a product labeled for kitchen and bath use with mold and mildew resistance. The main choice is between pure silicone and siliconized acrylic latex. Silicone is more durable, more flexible, and more waterproof, which makes it the better long-term choice for wet joints, though it demands a cleaner surface and cannot be painted. Siliconized latex is easier for beginners to apply and smooth, cleans up with water, and takes paint, but generally will not last as long in a constantly wet environment.
For a first-timer sealing a tub surround, a quality kitchen-and-bath silicone or a hybrid formula is the sweet spot. Choose white for a classic look against white fixtures, or clear if your tile and tub colors differ and you want the joint to disappear. Buy a cartridge for a caulk gun rather than a small squeeze tube if you are doing the whole tub, because squeeze tubes are hard to drive smoothly over long runs, and consistency of pressure is what makes a bead look professional.
Gather Tools and Prepare the Space
The full kit for this project is short, and several items may already be in your junk drawer.
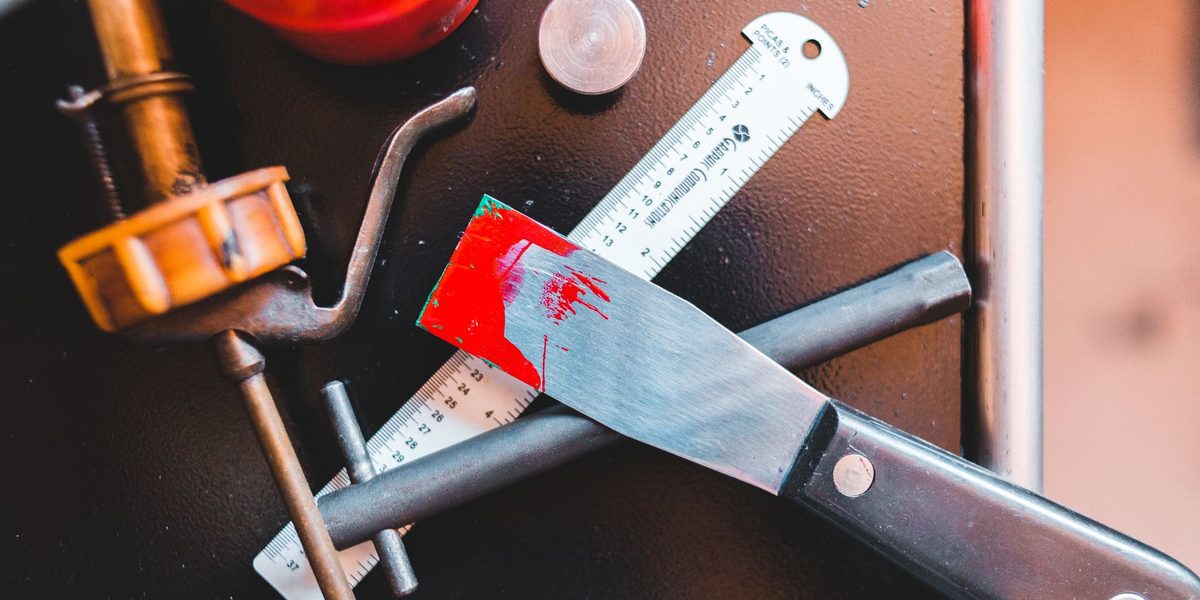
- Caulk remover tool or plastic razor scraper for stripping the old bead
- Utility knife with a fresh blade for slicing stubborn sections
- Needle-nose pliers for pulling long strips free
- Rubbing alcohol and clean rags for degreasing the joint
- Painter's tape for masking crisp edges
- Caulk gun and your chosen cartridge
- A smoothing tool or a gloved finger plus paper towels for the mess
Ventilate the bathroom by opening a window or running the exhaust fan, especially if you are using a solvent-based remover or pure silicone. Plan the timing, too: the tub or shower must stay completely dry for the cure period printed on the cartridge, often twenty-four hours and sometimes longer, so start the project when the household can use another bathroom.
Remove Every Bit of the Old Caulk
New caulk will not bond to old caulk, so this step decides whether your repair lasts years or weeks. Slice along both edges of the existing bead with the utility knife, keeping the blade angled away from the tub surface to avoid scratches. Then work the remover tool or scraper under one end and peel; well-aged caulk often comes out in satisfying strips you can pull with pliers. Silicone residue is stubborn, so go back over the joint with the scraper and remove every glossy trace. A dedicated caulk remover gel can soften what the blade cannot lift.
Once the joint is bare, kill any mildew with a bathroom cleaner or diluted household disinfectant, rinse, and let it dry. Then wipe the entire joint with rubbing alcohol on a rag to remove soap film and grease. Finally, and this is the step most people skip, let the joint dry completely, ideally overnight. Sealing moisture into the gap feeds future mold from the inside, where no scrubbing can reach it.
Tape the Joint for Crisp Lines
Professionals can freehand a perfect bead, but tape gives beginners the same result with none of the practice. Run a strip of painter's tape along the wall about an eighth to a quarter inch above the joint, and a second strip along the tub the same distance below it. Keep the gap between the tapes even along the whole run, because that gap defines the width of your finished bead. Press the tape edges down firmly.
One extra trick for a tub: fill it with water before you caulk. A tub full of water sits slightly lower on its supports, opening the joint to its widest position. Caulk applied and cured in that position will compress rather than stretch when the tub is filled later, which dramatically extends the life of the seal.
Apply the Bead With Steady Pressure
Cut the cartridge tip at a forty-five degree angle, making a small opening; you can always cut more, but you cannot uncut. Pierce the inner seal, load the gun, and squeeze until caulk just reaches the tip. Then work through the joint in one continuous motion wherever possible.
- Start in the corner farthest from the door and hold the gun at a forty-five degree angle to the joint.
- Squeeze with slow, even pressure while drawing the tip along the gap at a steady speed.
- Keep the bead sized so it slightly overfills the space between your tape lines.
- Release the pressure trigger just before you reach the end of each run to avoid a blob.
- Complete one full side before stopping, since joints look best when smoothed while uniformly fresh.
If the bead goes wrong, scrape it out immediately and lay it again; wet caulk erases easily, cured caulk does not. Work one wall at a time so nothing skins over before you smooth it.
Smooth, Pull the Tape, and Cure
Smoothing, or tooling, presses the caulk into the joint and shapes the surface. Wet a fingertip or a caulk-smoothing tool with a little water, or rubbing alcohol for silicone, and draw it along the bead in one long, light pass, wiping the residue onto a paper towel after each stroke. Aim for a slightly concave surface that sheds water. Resist the urge to keep fussing; the more passes you make, the rougher it gets.
Pull the tape as soon as the bead is smoothed, while the caulk is still wet, lifting each strip up and away at an angle. This leaves a knife-crisp edge. Then walk away and let it cure for the full time on the label before any water touches it. Humidity and temperature affect cure times, so when in doubt, give it extra hours rather than an early shower.
Know When the Problem Is Bigger Than Caulk
Caulk fixes a failed seal, but it cannot fix what a long-failed seal may have caused. If the wall around the joint flexes when pressed, if tiles are loose, if grout lines are crumbling in sheets, or if you find dark staining that returns no matter how often you clean, water may have already damaged the backing material behind the tile. Similarly, gaps wider than about half an inch, recurring cracks in a brand-new bead, or a tub that visibly shifts when you step in are signs of movement or structural issues that a bead of caulk will only mask. In those cases, have a contractor or experienced handyperson open up the area and assess it, because early intervention is dramatically cheaper than rebuilding a rotted wall.
Final Thoughts
A fresh, clean line of caulk is one of those small upgrades that makes an entire bathroom feel newer, and the skill transfers everywhere: kitchen backsplashes, window trim, baseboards, and door frames all rely on the same technique. Strip the old bead completely, clean and dry the joint like it matters, tape your lines, keep the gun moving smoothly, and give the cure time it demands. Do those five things and your first attempt will look like your fifth.