A wood deck lives a hard life. It bakes in summer sun, soaks through every storm, and gets ground down by foot traffic, patio furniture, and everything the trees above it can drop. Left alone, even good lumber turns gray, splinters, and eventually rots. The fix is a maintenance routine any homeowner can handle: a deep clean to strip away dirt and dead wood fibers, followed by a protective sealer that blocks water and sun damage. Done every couple of seasons, this weekend project can add many years to a deck's life and keep it looking like an outdoor room instead of a liability. Here is the full process from inspection to final coat.
Inspect and Repair Before You Clean
Start with a slow walk across the entire deck, looking down and then looking underneath if you can get access. Press a screwdriver into any dark or soft-looking boards; if the tip sinks in easily, the wood is rotting and the board should be replaced before you invest in cleaning and sealing. Hammer down or replace any popped nails, and drive loose screws snug. Wobbly railings deserve special attention, since a railing that fails when someone leans on it is a genuine safety hazard, not a cosmetic flaw.
Check the ledger area where the deck attaches to the house, the posts where they meet the ground, and the stair stringers, because these spots trap moisture and fail first. Widespread rot, a deck that sways underfoot, or corroded connections at the ledger are signs to bring in a professional deck contractor or inspector before proceeding. Sealing a structurally compromised deck just makes a dangerous deck look trustworthy.
Gather Your Tools and Materials
Everything you need fits in a couple of trips to the home center:
- Deck cleaner formulated for wood, or an oxygen-based cleaner
- Deck brightener if your wood is gray or tannin-stained
- Stiff-bristle push broom and a long-handled scrub brush
- Garden hose with a strong spray nozzle, or a pressure washer used carefully
- Pump sprayer for applying cleaner and brightener
- Plastic sheeting to protect nearby plants and siding
- Sandpaper or a pole sander for rough spots
- Deck sealer or stain-and-sealer combination
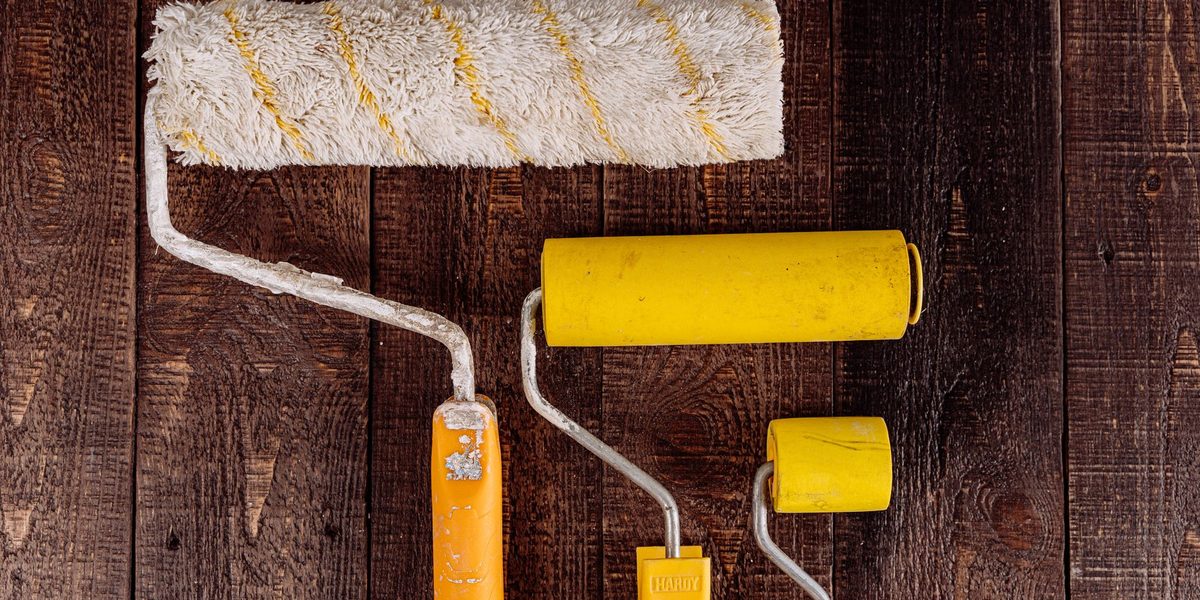
- Roller with an extension pole, plus a brush for edges and railings
- Safety glasses, waterproof gloves, and shoes with good grip
Choose your finish before cleaning day. Clear sealers show the most wood grain but offer the least sun protection, semi-transparent stains balance both, and solid stains behave almost like paint and hide tired wood best. Whatever you choose, buy enough to finish the job in one continuous batch so the color stays consistent.
Wash the Deck Thoroughly
Pick a cloudy, mild day, since cleaner that dries on hot boards leaves streaks. Sweep the deck, clear debris from the gaps between boards with a putty knife, and wet down surrounding plants before covering them with plastic. Then work through the wash in order:
- Mix the deck cleaner according to its directions and apply it with the pump sprayer, working in sections you can scrub before they dry.
- Let the cleaner dwell for the time the label specifies, usually ten to fifteen minutes, keeping the surface damp.
- Scrub with the stiff brush along the direction of the boards, putting real muscle into high-traffic areas and greasy spots near the grill.
- Rinse each section completely with the hose before moving to the next, flushing residue off the surface and out of the gaps.
- Do railings, balusters, and stairs last, washing from the top down so dirty runoff never crosses clean wood.
If you use a pressure washer, treat it with respect. Keep it on a low-pressure setting with a wide fan tip, hold the wand a consistent distance from the surface, and keep it moving in smooth strokes with the grain. Lingering in one spot or using a narrow tip will carve fuzzy gouges into softwood in seconds, and that damage has to be sanded out.
Brighten and Let the Wood Dry
If the clean deck still looks gray or has dark streaks around fasteners, apply a deck brightener with the pump sprayer, let it work for the labeled time, lightly scrub, and rinse. Brightener restores the wood's natural tone and also neutralizes leftover cleaner, which helps the sealer bond. Once the washing is done, patience becomes the main ingredient. The wood must dry thoroughly before sealing, which typically means at least two full days of dry weather, longer in humid conditions. Sealing damp wood traps moisture inside the boards, and the finish will peel or turn cloudy. While you wait, sand any fuzzy or splintered areas smooth and sweep off the dust.
Apply the Sealer
Check the forecast for a dry stretch with moderate temperatures, and avoid sealing in direct midday sun, which flashes the finish dry before it can soak in. Stir the sealer well, then start with the railings, balusters, and any benches, using the brush so drips land on unfinished decking where you can spread them out. For the deck surface, work the roller along two or three full-length boards at a time, always keeping a wet edge and finishing each board end to end in one pass. Stopping mid-board leaves lap marks that show forever.
Thin coats win. Apply only as much sealer as the wood can absorb, and back-brush puddles into the grain before they skin over. Most penetrating sealers want just one coat, or a second thin coat applied while the first is still fresh; check your label rather than guessing. Coat the end grain of boards and stair treads generously, since exposed ends drink up water faster than any other surface. When you finish, block off the stairs and give the deck the full cure time on the label before moving furniture back.
Common Mistakes to Avoid
Most disappointing deck jobs trace back to a few repeat offenders. Skipping the cleaning step and sealing over gray, dirty wood locks the grime in. Pressure washing too aggressively shreds the surface. Sealing before the wood is fully dry causes peeling within a season. Applying thick coats of penetrating sealer leaves sticky, shiny patches that never harden. And ignoring the weather forecast invites rain spots on a finish that needed one more dry day. None of these mistakes require skill to avoid, only a willingness to follow the sequence and wait out the drying times.
Keep It Protected Season After Season
Once the deck is sealed, maintenance gets easy. Sweep regularly so debris does not hold moisture against the wood, and clear the gaps between boards each spring and fall. Move planters occasionally, since anything that sits in one spot traps water beneath it. Test the finish once a year by sprinkling water on a high-traffic board: if it beads up, you are protected, and if it soaks in flat, schedule a wash and a fresh coat. Catching that moment early means a light cleaning and a single coat instead of another full restoration.
Final Thoughts
Cleaning and sealing a deck is less a test of skill than a test of sequence. Inspect and repair first, wash and brighten thoroughly, let the wood truly dry, and apply thin coats in good weather. Give one weekend to the process and a little attention each season afterward, and your deck will stay strong, splinter-free, and ready for every barbecue, morning coffee, and late summer evening you can throw at it.