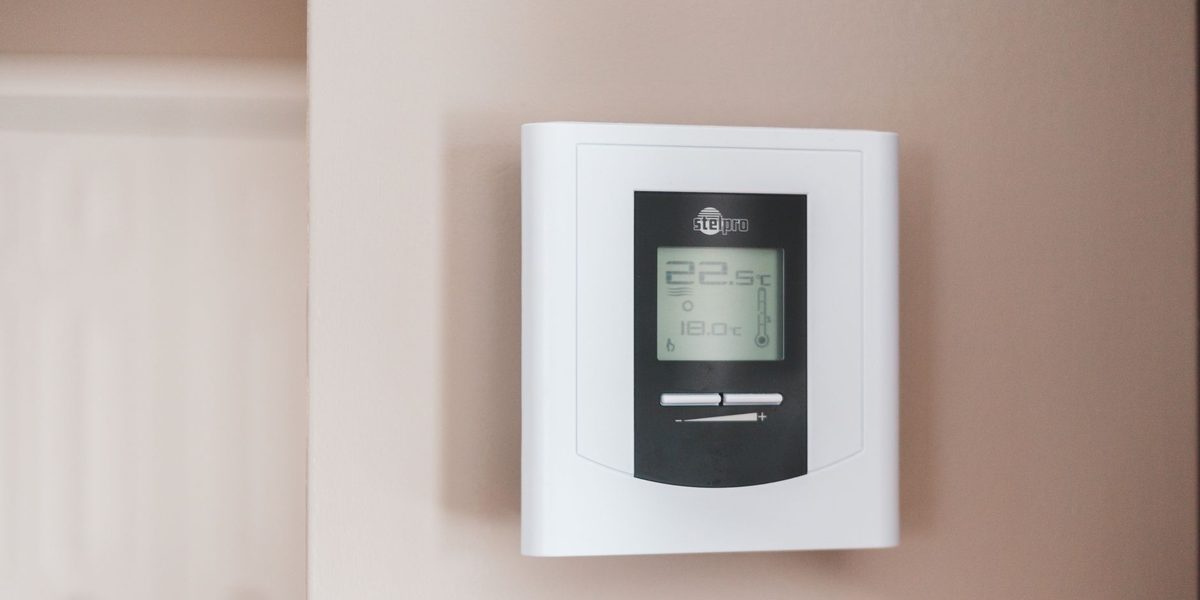
Swapping an old dial or slider thermostat for a programmable model is one of the highest-payoff upgrades a beginner can tackle. A programmable thermostat lets your heating and cooling system relax while you sleep or leave for the day, then bring the house back to comfort before you notice. The installation itself usually takes under an hour and requires only a screwdriver, a drill, and careful attention to a handful of small wires. This guide walks you through the whole process, from confirming your system is compatible to programming your first schedule, with the safety steps that keep a simple job simple.
Confirm Your System Is Compatible
Most homes with a furnace, central air conditioner, or heat pump use a low-voltage control system, and that is what standard programmable thermostats are designed for. Low-voltage systems use thin wires, roughly the diameter of a paper clip, connected to small screw terminals. Before buying anything, pop the cover off your current thermostat and look. If you see a cluster of thin colored wires landing on labeled terminals, you are in good shape.
If instead you find thick wires like the ones behind an outlet, wires capped with bulky connectors, or a thermostat that controls electric baseboard heaters, you likely have a line-voltage system carrying full household current. Stop there. Line-voltage thermostats are a different product entirely, and working on them carries a real shock hazard. That job belongs to a licensed electrician or HVAC professional. Similarly, if your existing thermostat contains a small glass tube of silvery liquid, that is a mercury switch; keep the tube intact and take the old unit to a household hazardous waste facility rather than the trash.
Gather Tools and Cut the Power
You will need only a modest kit for this project:
- New programmable thermostat with its mounting hardware and manual
- Small flat-head and Phillips screwdrivers
- Drill with a small bit for wall anchors
- Masking tape and a pen for labeling wires
- Small level and a pencil
- Phone or camera to photograph the wiring
- Wall anchors if the box does not include them
Now the most important step of the entire project: go to your electrical panel and switch off the breaker that powers the furnace or air handler. The thermostat wires are low voltage, but they are energized by a transformer in that equipment, and shorting two of them together while the power is on can blow a fuse on the furnace control board. That mistake will not hurt you, but it can leave your system dead until the fuse is replaced. Flip the breaker, then confirm the system is off by raising the thermostat setting and making sure nothing starts.
Remove the Old Thermostat and Label Every Wire
Pull or unscrew the cover from the old thermostat to expose the wiring plate. Before you loosen a single screw, take several clear photos showing which wire color lands on which terminal letter. Wire colors are conventions, not rules, so the letters on the terminals are your source of truth. Then work through the wires one at a time: loosen the terminal screw, free the wire, and immediately wrap it with a masking tape flag labeled with the terminal letter it came from, such as R, W, Y, G, or C.
As you free the last wire, clip a clothespin to the bundle or tape it to the wall. The wires run down inside the wall cavity, and if the bundle slips through the hole, retrieving it ranges from annoying to impossible. With the wires secured, unscrew the old mounting plate from the wall and set the whole unit aside.
Check for a Common Wire
Many programmable thermostats need a small continuous power supply delivered through a common wire, labeled C, while simpler models run on batteries alone. Look at your labeled bundle. If you have a wire on the C terminal, nearly any programmable model will work. If there is no C wire, you have options: choose a battery-powered programmable thermostat, look for an unused spare wire tucked into the wall cavity that could be connected at the furnace end, or use the power-adapter accessory some thermostats include. If none of those fit your situation and you want a model that requires constant power, an HVAC technician can pull a new cable in a short visit.
Mount the New Base and Connect the Wires
Thread the labeled wires through the opening in the new thermostat base and hold the base against the wall. Use the small level to get it straight, mark the screw locations with a pencil, then set the base aside and drill for the wall anchors. Tap in the anchors, reposition the base, and drive the mounting screws snug but not crushing tight.
Now match each labeled wire to the corresponding terminal on the new base, following this sequence:
- Straighten the exposed end of each wire and trim it so about a third of an inch of bare copper shows.
- Connect wires one at a time, matching your tape label to the terminal letter, and tug gently to confirm each is secure.
- Consult the new thermostat manual for any label differences; some systems use O or B wires for heat pumps, and the manual will map them.
- Push excess wire back into the wall opening and stuff a small piece of non-flammable insulation or the supplied plug into the hole so drafts inside the wall cannot fool the temperature sensor.
- Remove the tape flags, snap or screw the thermostat body onto the base, and insert batteries if the model uses them.
If any wire refuses to reach or the terminal layout does not match your labels at all, stop and reread the manual rather than guessing. Wiring mismatches will not usually cause damage with the power off, but they will cause head-scratching behavior later.
Restore Power and Test Every Mode
Return to the panel and flip the breaker back on. Set the thermostat to heat and raise the setpoint a few degrees above room temperature; you should hear the system start within a couple of minutes. Then switch to cool and lower the setpoint below room temperature to confirm the air conditioning responds, and check that the fan setting runs the blower on its own. Heat pumps deserve one extra check: make sure heating mode actually produces warm air, because a reversed O or B wire will cool when you ask for heat. If any mode fails, cut the breaker again and recheck your connections against your photos.
Program a Schedule That Fits Your Life
A programmable thermostat only saves energy if the schedule reflects how you actually live. Most models offer four daily periods: wake, leave, return, and sleep. Set comfortable temperatures for the times you are home and awake, and let the system drift several degrees during work hours and overnight. Avoid the classic mistake of cranking the setpoint far past your target to speed things up; most systems heat and cool at one fixed rate, so an extreme setting just overshoots. Give the schedule a week, then fine-tune it rather than overriding it daily, since constant manual overrides erase the savings the schedule was designed to deliver.
Final Thoughts
Installing a programmable thermostat comes down to a few disciplined habits: verify you have a low-voltage system, kill the breaker before touching anything, photograph and label every wire, and test each mode when you are done. Respect the two hard stop signs, line-voltage wiring and mercury tubes, and hand those to a professional. Do the rest yourself and you will gain a more comfortable house, lower utility bills, and the confidence that comes from understanding exactly how your home keeps itself comfortable.