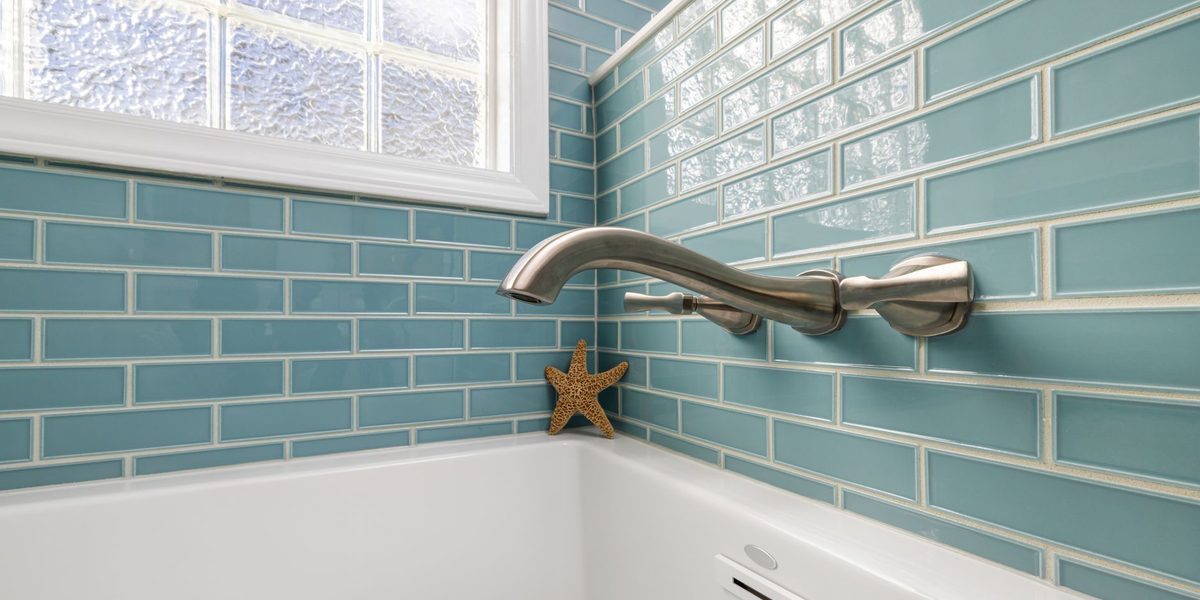
Few things age a bathroom faster than tired grout. The tile itself may be in perfect shape, but once the lines between the tiles turn dingy, stained, or cracked, the whole room looks worn out. The good news is that grout is one of the most forgiving materials in your home to work on. With a weekend, some inexpensive hand tools, and a little patience, you can deep-clean the grout you have or remove the worst sections and replace them entirely. This guide walks you through both jobs in order, because cleaning always comes first: many grout lines that look hopeless are simply dirty, and a thorough scrub can save you the effort of regrouting altogether.
Understand What You Are Working With
Before you touch a brush or a blade, take a close look at your grout. Surface staining, soap scum, and mildew are cleaning problems. Cracks, crumbling, missing chunks, and lines that flex or powder when you press them with a fingernail are structural problems that call for regrouting. Also note the type of joint. Sanded grout has a gritty texture and is used in wider joints, while unsanded grout is smooth and fills narrow lines. When you buy replacement grout, match what is already there so the repair blends in.
Pay attention to where the grout sits, too. The vertical and horizontal joints between tiles on a wall or floor should be grouted. The corner where two walls meet, or where tile meets the tub, is a movement joint and should be finished with flexible caulk instead of grout, since rigid grout in those corners will crack. This article focuses on the grout lines themselves; if your corner seams are failing, plan a separate caulking session after the grout work is done.
Gather Your Tools and Materials
Having everything on hand before you start keeps the project moving. For a typical bathroom cleaning and regrouting job you will want the following:
- Stiff nylon grout brush or an old toothbrush for detail work
- Oxygen-based cleaner or a paste of baking soda and water
- Spray bottle, bucket, and clean rags
- Grout saw or carbide-tipped grout removal tool
- Utility knife and a flat-head screwdriver for stubborn spots
- Vacuum with a crevice attachment
- Replacement grout matched to your joint width and color
- Rubber grout float and two large sponges
- Penetrating grout sealer and a small applicator brush
- Safety glasses, dust mask, and rubber gloves
Everything on this list is inexpensive and available at any home center. If you have large areas of failed grout, an oscillating multi-tool with a grout removal blade will save your wrists, but hand tools are fine for a shower surround or a small floor.
Deep-Clean the Grout First
Start with a hot rinse to loosen soap scum, then apply your cleaner. An oxygen-based cleaner mixed with warm water works well on most stains; a baking soda paste with a little water is a gentler option for delicate or colored grout. Spread the cleaner along the grout lines, let it sit for ten to fifteen minutes, and then scrub each line with the grout brush using short, firm strokes. Work in sections about two feet square so the cleaner never dries on the surface. Rinse thoroughly with clean water and wipe dry with a rag.
Avoid mixing cleaning chemicals, and never combine anything containing bleach with anything containing ammonia, as the fumes are dangerous. Run the bathroom fan and crack a window while you work. Once the wall or floor is dry, evaluate the results in good light. If the grout looks uniform and sound, skip ahead to sealing. If sections are still stained deep down, cracked, or crumbling, mark those areas with painter's tape and move on to removal.
Remove the Failing Grout
Removing grout is the most tedious part of the job, so put on your safety glasses and dust mask, queue up something to listen to, and settle in. Hold the grout saw at a slight angle and drag it along the center of the joint with moderate pressure, letting the teeth do the work. Your goal is to remove at least two-thirds of the depth of the old grout so the new material has room to bond; you do not need to dig all the way to the wall behind the tile.
Work slowly near tile edges. The most common mistake at this stage is rushing and chipping the glazed edge of a tile, which turns a cheap grout repair into a tile replacement. Use the utility knife to clean the corners of each joint and the screwdriver tip to pop out loose fragments. When all the marked joints are cleared, vacuum the lines thoroughly with the crevice tool, then wipe them with a damp sponge and let everything dry. Dust left in the joints is the top cause of new grout failing early.
Mix and Apply the New Grout
Mix the grout in small batches according to the directions on the bag, aiming for a consistency like smooth peanut butter. Let it rest for the slaking time listed on the package, then stir once more without adding water. Working in sections, follow this sequence:
- Scoop grout onto the rubber float and press it diagonally across the joints at roughly a forty-five degree angle, forcing it deep into each line.
- Make several passes from different directions so every joint is packed full with no voids.
- Tilt the float nearly upright and sweep diagonally across the tile to scrape off the excess.
- Wait until the grout firms up slightly, usually fifteen to thirty minutes, then wipe gently with a damp, well-wrung sponge, rinsing the sponge constantly.
- Shape the joints with light sponge pressure so they sit just below the tile surface, even and consistent.
- After a hazy film forms on the tile faces, buff it off with a soft, dry cloth.
Resist the urge to flood the surface with water while sponging. Too much water pulls pigment and cement out of fresh joints, leaving them weak and blotchy. Damp is enough.
Cure, Seal, and Finish
Fresh grout needs time to cure before it faces moisture, so keep the shower or floor dry for the period listed on the grout package, typically a few days. Once curing is complete, apply a penetrating sealer to every grout line with a small brush or applicator bottle, wipe any excess off the tile faces before it dries, and add a second coat if the first soaks in quickly. Sealer is what keeps your new grout from staining the way the old grout did, so do not skip it. Finish the project by running a fresh bead of tub-and-tile caulk along the movement joints in the corners and where tile meets the tub, and your surround is done.
Common Mistakes to Avoid
A few errors account for almost every disappointing grout job. Do not grout over cracked or crumbling grout without removing it first, because the new layer is too thin to survive. Do not skip the vacuuming step, since dusty joints reject fresh grout. Do not mix one giant batch that hardens in the bucket before you can use it. Do not use grout in corners or along the tub, where movement demands caulk. And do not put the bathroom back into service before the cure time is up, no matter how finished it looks.
When to Call a Professional
Regrouting is squarely a beginner-friendly project, but know its limits. If tiles are loose, hollow-sounding when tapped, or falling off the wall, water has likely gotten behind them and damaged the backing material, which is a repair job rather than a grout job. Widespread cracking that returns after regrouting can signal structural movement or a failing substrate. Soft, spongy walls around a tub or shower deserve a professional inspection before any cosmetic work. Spending a little on an expert assessment beats grouting over a hidden leak.
Final Thoughts
Grout work rewards patience more than skill. Clean first, remove only what has truly failed, pack the new joints full, sponge gently, and seal when cured. Follow that order and your bathroom tile will look crisp and fresh for years, and you will have earned a repair skill you can use in kitchens, entryways, and laundry rooms for the rest of your homeowning life.