Replacing a showerhead is the rare home project that combines a five-minute skill ceiling with a daily quality-of-life payoff. Whether yours is crusted with mineral scale, spraying in six directions, or simply older than your mortgage, swapping it takes one adjustable wrench, a roll of thread-seal tape, and no plumbing experience whatsoever. And if your real complaint is weak flow, this job doubles as the diagnosis: most low-pressure showers are caused by something you will hold in your hand during this project. Here is the full walkthrough, including the troubleshooting most guides skip.
What You Need
- New showerhead (fixed or handheld — installation is nearly identical)
- Adjustable wrench or slip-joint pliers
- Thread-seal tape (PTFE tape, commonly called plumber's tape)
- An old cloth or a plastic bag and rubber band
- Old toothbrush and white vinegar for cleanup
No water shutoff is required — the shower valve already blocks water until you turn the handle. Lay a towel over the drain so dropped parts cannot vanish into it.
Step 0: Choose the Right Replacement
Five minutes of choosing saves years of mild disappointment, so pick the new head deliberately. Fixed heads are the simplest and most durable, with the fewest joints to leak. Handheld heads add a hose and bracket — more parts, but they transform rinsing the tub, bathing kids and pets, and accessibility, which is why most households end up preferring them. Dual heads combine both at the cost of a bulkier fitting. Beyond type, three details matter more than the marketing photos suggest.
- Spray pattern and nozzle count decide feel far more than raw flow numbers; wide heads with many nozzles feel gentler, tight patterns feel stronger at identical flow.
- Rubber nozzles clean with a thumb-rub and shrug off hard water; bare metal or plastic nozzles scale up faster.
- Nearly all showerheads worldwide share the same standard thread size, so compatibility is rarely a concern — your new head threads onto your existing arm without adapters in almost every case.
If your household water is hard, weight your choice toward easy-clean nozzles over any other feature; scale is what actually kills showerheads.
Step 1: Remove the Old Showerhead
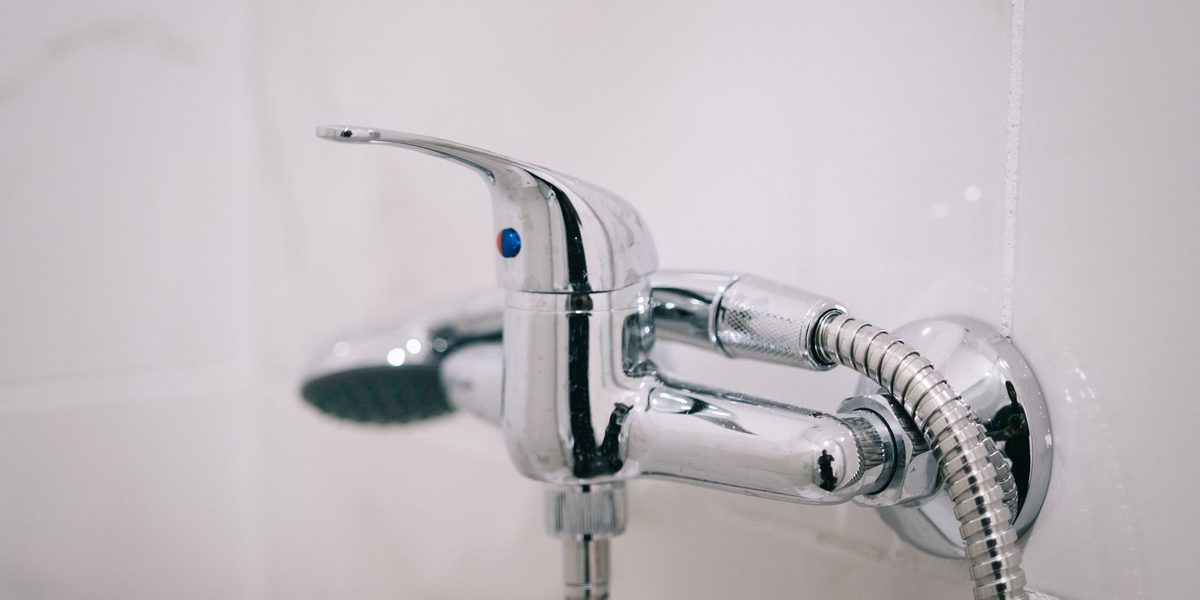
Grip the old head at its base connector — the hexagonal collar where it meets the angled pipe coming out of the wall (that pipe is the shower arm) — and turn counterclockwise. Hand force alone often does it. If it will not budge, wrap the collar with a cloth to protect the finish and use the wrench, holding the shower arm steady with your other hand or a second wrench so you are not twisting the arm inside the wall. Steady, moderate force wins; sharp jerks are what crack fittings. A head fused on by years of mineral scale can be loosened by wrapping a vinegar-soaked cloth around the joint for an hour first.
With the head off, look inside the shower arm threads and pick out any remnants of old tape or washer material. Clean threads are the foundation of a leak-free install.
Step 2: Tape the Threads
Wrap thread-seal tape around the shower arm threads two to three times, clockwise when viewed from the end of the pipe — the same direction the new head will screw on, so tightening snugs the tape rather than peeling it. Press it into the threads with a fingertip. This step takes ten seconds and prevents the slow drip-at-the-joint that plagues untaped installs. Skip the tape only if your new head ships with a rubber gasket and its instructions explicitly say so.
Step 3: Install the New Head
Thread the new head on clockwise by hand until snug. Most modern heads are designed for hand-tightening plus at most a gentle quarter-turn with a cloth-wrapped wrench — overtightening cracks plastic internals and squeezes out the seal. For handheld kits, the sequence is the same, but you are threading the holder bracket onto the arm, then attaching the hose to the bracket and the head to the hose, with a rubber washer seated inside each hose nut. Missing washers are the number-one cause of handheld leaks; they ship inside the box, sometimes bagged separately.
Turn on the shower and check the joint. A slight weep means tighten another eighth-turn; a spray from the joint means re-do the tape. Done — under ten minutes in most homes.
Step 4: If Your Flow Is Weak, Diagnose in This Order
Weak shower flow has a short list of causes, and they are worth checking in sequence before blaming the house plumbing.
- Scale-clogged nozzles. Mineral deposits close off spray holes gradually. If the old head sprays unevenly or whistles, soak it (or the new head, in future years) in a bowl of warm white vinegar for an hour, then scrub the nozzles with a toothbrush. Rubber-nozzled heads can be cleared by rubbing the nozzles with a thumb.
- The flow restrictor. Every modern head ships with a small flow-limiting disc in the inlet, and a partially blocked one chokes flow badly. With the head off, look into the inlet: a colored plastic disc or star-shaped insert behind the filter screen. Rinse the screen and restrictor of grit. Note that the restrictor also keeps your water use and heating bills sane, so clean it rather than removing it, and check local rules before altering it.
- The filter screen. A tiny mesh screen sits in the head inlet or hose nut and catches pipe debris — one plumbing repair upstream can pack it with grit in a day. Rinse it clean; this single item cures a large share of "pressure died suddenly" complaints.
- A kinked or degraded handheld hose. Hoses collapse internally with age; test by connecting the head directly to the arm. If flow returns, replace the hose.
- The shower valve. If flow is weak from a clean head with the restrictor out of the equation, and especially if it worsened gradually, the balancing cartridge inside the wall valve may be scaled or failing. Cartridge replacement is a manageable project but involves shutting off water and disassembling the valve trim — the reasonable point at which to weigh calling a plumber.
One more check: if every fixture in the house runs weak, not just the shower, the problem is upstream — a partially closed main valve, a clogged whole-house filter, or a failing pressure regulator — and no showerhead will fix it.
Step 5: Maintain the Win
Twice a year, give the head a vinegar soak before scale gets a foothold — either remove it, or fill a plastic bag with vinegar, band it around the head so the nozzles are submerged, and leave it for an hour before running hot water through. Wipe rubber nozzles weekly if your water is hard. A maintained head keeps its spray pattern for a decade; a neglected one degrades in a year or two of hard water.
One last habit worth building: whenever you take the head off for a soak, inspect the shower arm itself. A wobbly arm means the fitting inside the wall is loosening, and catching it early — snugging it gently, or resealing its threads the same way you sealed the head — prevents the slow inside-the-wall drips that turn into stained ceilings a floor below. The arm is the one part of this assembly you cannot see failing, so make the thirty-second check part of the routine.
That is the whole project: one wrench, one roll of tape, a methodical five-check diagnosis, and the strongest shower your plumbing can deliver.