Few home repairs deliver more satisfaction per dollar than patching a hole in drywall. Whether you are dealing with a nail hole left behind by a picture frame, a doorknob-shaped dent in the hallway, or a fist-sized opening from a furniture-moving mishap, the fix follows a predictable process that almost anyone can learn. You do not need years of experience or a truck full of tools. You need the right materials, a little patience between coats, and a willingness to sand until the wall feels smooth under your palm. This guide walks you through every stage, from assessing the damage to matching the paint, so your repair disappears into the wall instead of announcing itself to every guest.
Assess the Damage First
Before you buy anything, take a close look at the hole and figure out which category it falls into, because the size of the damage determines the method you will use. Tiny punctures from nails and screws need nothing more than a dab of spackle. Dents and holes up to about half an inch can be filled directly. Holes from about half an inch up to roughly six inches call for a mesh patch or a scrap of drywall cut to fit. Anything larger than that requires cutting back to the studs and installing a new piece of drywall, which is a bigger project than this guide covers.
Also check the wall around the hole. Press gently on the surrounding drywall to make sure it feels solid, not soft or crumbly. If the paper facing is torn and flapping, trim the loose edges with a utility knife so they do not create bumps under your patch. If you see any sign of moisture, such as staining, bubbling paint, or a musty smell, stop and find the source of the water before repairing the wall, because patching over a leak only hides a problem that will come back worse.
Gather Your Tools and Materials
Having everything within reach before you start keeps the job moving and prevents a half-finished patch from drying out while you run to the store. For most small repairs, your shopping list is short and inexpensive.
- Spackle or lightweight joint compound for filling and finishing
- A self-adhesive mesh patch for holes larger than half an inch
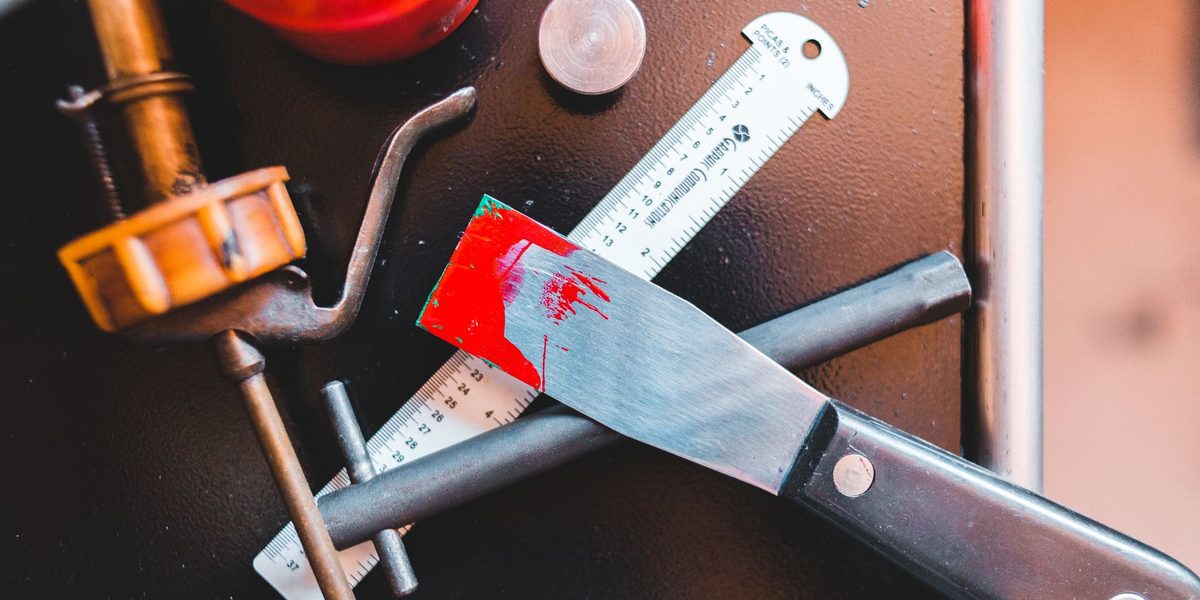
- Putty knives in two sizes, roughly two inches and four to six inches
- Sanding sponge or fine-grit sandpaper, in the 120 to 220 grit range
- A utility knife for trimming loose paper and ragged edges
- Primer and matching wall paint with a brush or small roller
- A drop cloth and a dust mask to protect floors and lungs
If your hole is on the larger end, add a drywall scrap, a drywall saw, and a couple of thin wood strips to serve as backing. Every item on this list earns its keep on future repairs, so consider it an investment in your homeowner toolkit rather than a one-time expense.
Fill Tiny Nail and Screw Holes
For the smallest holes, the process takes minutes. Scrape a small amount of spackle onto the corner of your putty knife and press it into the hole at an angle, dragging across the opening so the compound packs in fully. Then make a second pass with the knife held nearly flat against the wall to scrape away the excess, leaving the fill flush with the surface. Because spackle shrinks slightly as it dries, expect to apply a second thin coat after the first has dried, usually within an hour or two for lightweight formulas.
Once the final coat is dry, sand lightly with a fine sanding sponge using small circular motions. Run your fingertips over the spot with your eyes closed; your hands will catch ridges and depressions that your eyes miss. When the repair feels indistinguishable from the surrounding wall, wipe away the dust with a barely damp cloth and you are ready for paint.
Patch Medium Holes With Mesh
Holes between half an inch and six inches need reinforcement, because compound alone will crack and fall through an unsupported gap. A self-adhesive mesh patch solves this neatly. Here is the sequence that produces a flat, invisible repair.
- Trim any ragged drywall edges and loose paper around the hole with a utility knife.
- Wipe the area with a dry cloth so the adhesive grips clean drywall, then center the mesh patch over the hole and press it firmly.
- Load your wider putty knife with joint compound and spread a thin coat over the entire patch, feathering the edges two to three inches beyond the mesh.
- Let the coat dry completely, then apply a second, wider coat, extending the feathered edge farther onto the wall.
- Apply a third coat if the mesh pattern still shows, widening the blend each time.
- Sand the dried compound smooth, working from the center outward with light pressure.
The secret to an invisible patch is width, not thickness. Each coat should be thin and should extend farther than the last, so the slight hump over the patch tapers so gradually that light raking across the wall reveals nothing. Beginners tend to glob on one thick coat and sand for an hour; three thin coats with minimal sanding produces a far better result in less total time.
Sand and Prime Like It Matters
Sanding is where good patches become great ones, and it is also where impatience shows. Use fine-grit paper or a sanding sponge and keep your pressure light, letting the abrasive do the work. Check your progress frequently by holding a work light or flashlight at a shallow angle to the wall; this raking light exaggerates every imperfection and shows you exactly where to sand next. Wear a dust mask, because joint compound dust is fine enough to hang in the air, and lay a drop cloth to catch the powder that falls.
Never skip primer. Dried joint compound is more porous than painted drywall, so paint applied directly over a patch absorbs differently and leaves a dull, flat ghost of the repair that shows in certain light no matter how well you sanded. One coat of primer seals the compound and gives your topcoat a uniform surface. Let the primer dry fully according to the label before painting.
Match the Paint and Blend the Repair
If you saved leftover paint from when the room was last painted, stir it thoroughly and test a small dab in an inconspicuous spot, because paint on the wall fades and ages while paint in the can does not. If you have no leftovers, most paint stores can scan a chip of your existing paint and mix a close match; you can often cut a small chip from inside a closet or behind a switch plate where the removal will never be noticed.
When you paint the patch, do not stop at the edge of the repair. Feather the new paint outward with a light touch, or better yet, repaint the entire wall from corner to corner. Corners create natural visual breaks, so a whole repainted wall reads as uniform even if the shade is a hair different from the adjacent walls. Use the same applicator type that created the original finish, since a roller leaves a subtle texture that a brush cannot replicate.
Know When to Call a Pro
Most small and medium drywall repairs are firmly within reach of a first-timer, but a few situations justify hiring help. If the hole is larger than about six inches, sits on a ceiling, or falls in a textured wall whose pattern you cannot replicate, a drywall professional will finish faster and blend better than most beginners can. If the damage keeps recurring in the same spot, something structural may be moving behind the wall, and that deserves an expert eye. And if you find mold, significant water damage, or suspect the wall contains older hazardous materials, stop work and bring in a qualified contractor before disturbing anything further.
There is no shame in tackling the small stuff yourself and leaving the complicated repairs to someone with a stilts-and-sprayer setup. Every professional was once a beginner with a putty knife.
Final Thoughts
Patching drywall rewards patience more than skill. Thin coats, generous feathering, gentle sanding, and a proper coat of primer will make your repair vanish, while rushing any one of those steps leaves a bump or a shiny ghost that catches your eye forever after. Start with the smallest holes in your home to build confidence, keep your leftover materials sealed and labeled for next time, and within a repair or two you will wonder why you ever considered paying someone else to do it.