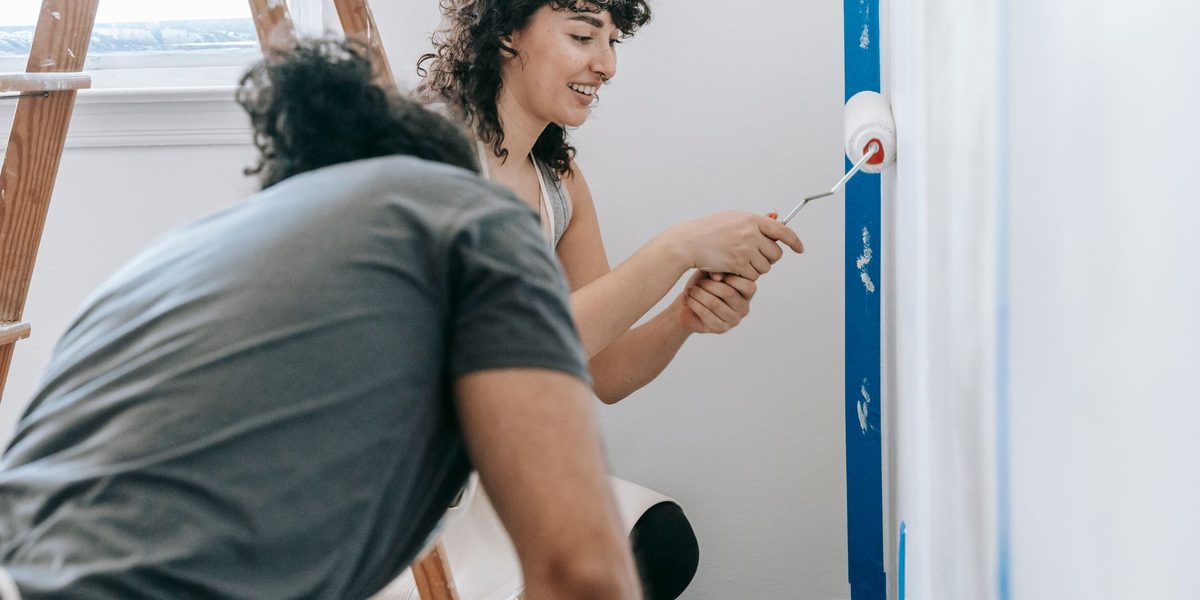
Painting a room is the classic first home improvement project, and for good reason: the materials are affordable, the skills are learnable in an afternoon, and the transformation is dramatic. Yet the difference between a crisp, professional-looking room and a streaky one with speckled baseboards comes down almost entirely to what happens before the roller ever touches the wall. Professionals spend more time preparing than painting, and that ratio is the single best habit a beginner can copy. This walkthrough covers the full sequence, from clearing the room to peeling the tape, so you finish with walls you are proud to show off.
Plan Your Paint and Quantities
Start by choosing your finish, because sheen matters as much as color. Flat and matte finishes hide wall imperfections but scuff easily, which makes them best for ceilings and low-traffic adult spaces. Eggshell and satin offer a slight glow and wipe clean more easily, making them the workhorse choices for living rooms, bedrooms, and hallways. Semi-gloss stands up to moisture and scrubbing, which is why it is the standard for trim, doors, kitchens, and bathrooms.
To estimate quantity, measure the perimeter of the room, multiply by the wall height to get square footage, and subtract a rough allowance for doors and windows. A gallon typically covers a bedroom-sized room with one coat, but plan on two coats for almost every job, especially when covering a darker color or painting over patched spots. Buy all your paint at once and have the store box the cans together, meaning they blend them, so slight batch differences never show up mid-wall. Test your color on a large swatch board or a patch of wall and look at it in morning, afternoon, and evening light before committing, since colors shift dramatically with lighting.
Clear, Clean, and Repair the Walls
Move furniture out of the room if possible; otherwise, cluster it in the center and cover it completely. Remove switch plates, outlet covers, curtain hardware, and picture hooks, and drop the screws into a labeled bag so nothing wanders off. Lay canvas or plastic drop cloths across the entire floor, not just under your work area, because drips travel farther than you expect.
Paint bonds poorly to dust and grease, so wipe the walls down with a barely damp cloth or a sponge and mild cleaner, paying extra attention to kitchens, bathrooms, and the wall zones above heaters. While you clean, mark every nail hole, dent, and scuff with a small piece of tape, then go back and fill each one with spackle, sand smooth when dry, and spot-prime the repairs. Skipping the spot-prime step leaves dull ghost patches that show through even two topcoats.
Tape and Protect the Edges
Painter's tape rewards a slow hand. Apply it along baseboards, door casings, and window trim in overlapping strips no longer than your arm can comfortably manage, pressing the edge down firmly with a putty knife or an old plastic card so paint cannot bleed underneath. Tape the tops of baseboards with the tape extending outward to act as a mini drip shelf. If your ceiling and walls will be different colors, tape the ceiling line as well, or plan to cut in freehand if you have a steady hand and a quality angled brush.
Do not leave tape on the walls for days on either end of the job. Apply it the day you paint, and remove it while the final coat is slightly soft, pulling slowly at a forty-five degree angle. Waiting until paint fully cures over the tape edge can cause the dried film to tear away in flakes along your crisp new line.
Cut In Before You Roll
Cutting in means painting a border of two to three inches along every edge a roller cannot reach: ceiling lines, corners, and around trim, outlets, and fixtures. Use a quality two-to-three-inch angled sash brush, dip only a third of the bristle length into the paint, and tap off the excess rather than wiping the brush dry on the rim. Draw the brush along the edge in long, smooth strokes, letting the tapered tip of the bristles create the line.
Work in sections and roll each wall soon after cutting it in, while the brushed border is still wet. This technique, called keeping a wet edge, lets the rolled texture blend into the brushed band so you avoid the telltale picture-frame effect of a visibly brushed border around every wall. If you must pause, stop at a corner rather than mid-wall, because a dried edge in the middle of a wall almost always shows as a stripe.
Roll the Walls With the Right Technique
Rolling well is a rhythm, not a race. Load the roller in the tray, roll it up the slope a few times to distribute paint evenly, and start on the wall a few inches away from a corner. The classic sequence looks like this.
- Roll a large N or W shape, roughly three feet square, without lifting the roller.
- Fill in the shape with overlapping vertical strokes, still without lifting.
- Finish the section with light, straight top-to-bottom passes to even out the texture.
- Move to the adjacent section and overlap the previous one while it is still wet.
- Reload the roller whenever it starts to squeak or drag, which signals it is running dry.
Choose your roller cover to match the surface: a shorter nap for smooth drywall and a longer nap for textured walls. Do not press hard to squeeze out the last of the paint; pressure creates ridges at the roller edges and a blotchy fill. Let the first coat dry for the time the can specifies, resist the urge to touch up half-dried spots, and apply the second coat with the same method. Nearly every touch-up on tacky paint makes things worse, while a full second coat makes everything better.
Handle Trim, Doors, and Details
Most painters do walls first and trim second, taping the fresh wall edge once it has dried overnight. Trim paint is typically a harder, glossier formula, applied with a brush in long strokes that follow the length of each board. Doors look best painted in a set order, panels first, then the horizontal rails, then the vertical stiles, so brush marks follow the construction of the door. Remove or tape the hardware rather than trying to paint around it freehand, and leave doors slightly ajar until fully dry so they do not stick shut.
Clean Up and Cure
Water-based paint cleans up with warm water and a little dish soap; work the brush bristles and roller cover until the water runs clear, spin or squeeze out the excess, and let everything dry before storing. Seal leftover paint by laying plastic wrap across the can opening before tapping the lid down, then store it somewhere that does not freeze, and label the can with the room it belongs to. Pour tray leftovers back into the can only if they are free of debris.
Remember that dry to the touch is not the same as cured. Most interior paints feel dry within hours but continue hardening for days or even weeks. Hang art gently after a few days, but wait longer before scrubbing walls or letting furniture rest against them. If your project involves a home built in an era when lead paint was common and you plan to sand old layers, have the paint tested first and follow safe practices or hire a certified professional, because lead dust is a genuine health hazard, especially for children.
Final Thoughts
A great paint job is a stack of small, unglamorous decisions: cleaning the walls, spot-priming the patches, pressing the tape, keeping a wet edge, and waiting for real drying time between coats. None of these steps is difficult, and together they produce the crisp lines and even color that make a room feel professionally finished. Take your time on the first room, and by the second one you will have a system, and probably a few opinions about roller naps that you never expected to hold.