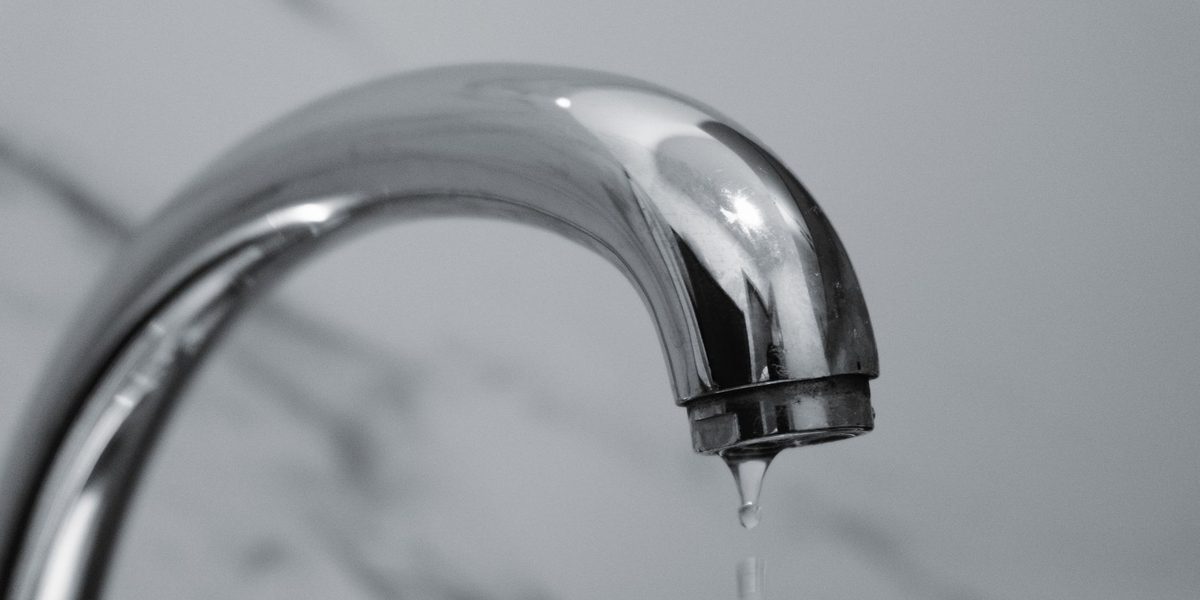
A dripping faucet has a special talent for being ignored by day and unbearable at midnight. Beyond the noise, every drip is treated water headed straight down the drain, and a steady leak can add up to a surprising amount of waste over a month. Fortunately, the cause is almost always a small rubber or plastic part that costs pocket change, and the repair asks nothing more than basic tools and an orderly approach. This guide walks you through identifying your faucet type, opening it up, swapping the worn part, and putting everything back together without drama.
Why a Dripping Faucet Deserves Quick Attention
A leak never fixes itself, and it rarely stays the same size. The worn washer or seal that lets one drop past today erodes a little more with every use, because water forced through a small gap under pressure gradually cuts channels into rubber and even into the metal valve seat beneath it. Catch the leak early and you replace one soft part; wait a year and you may be resurfacing or replacing the seat itself.
There are quieter costs, too. Constant moisture around the spout or handle base feeds mineral crust and grime, stains sinks, and can work its way into the counter around the faucet base. A leak on the hot side also means your water heater is slowly and pointlessly reheating replacement water around the clock. Ten minutes of diagnosis now beats all of that.
Know Your Faucet Type
Faucets come in four basic designs, and identifying yours determines the repair. Compression faucets are the traditional two-handle style where each handle tightens down to stop the flow; they seal with rubber washers and are the most common source of drips. Cartridge faucets may have one or two handles and control water through a replaceable plastic or brass cartridge that slides out in one piece. Ball faucets are single-handle designs, common at kitchen sinks, using a slotted ball with springs and rubber seats. Ceramic-disk faucets use a wide cylinder with polished ceramic plates and usually fail only when debris scratches a seal.
A quick tell: if a two-handle faucet requires you to crank each handle firmly to shut off the water, it is almost certainly compression. If the handles move a quarter or half turn between off and full, you have cartridges or disks. Single-handle faucets are cartridge, ball, or disk — the parts you find inside will settle it.
Tools and Materials Checklist
Gather your kit before touching the faucet, since a mid-repair hardware run with the water shut off is nobody's idea of a good afternoon:
- Adjustable wrench and channel-lock pliers
- Flat-head and Phillips screwdrivers, plus a hex key set for many single-handle models
- Replacement washers, O-rings, or a matching cartridge — buy after you open the faucet, taking the old part with you
- Plumber's grease for lubricating O-rings and threads
- White vinegar and a scouring pad for mineral deposits
- Rag or towel to line the sink and protect the finish while gripping trim
Many faucet makers sell inexpensive repair kits containing every soft part for a given model line, which takes the guesswork out of matching individual washers and springs.
Prepare the Work Area
Shut off the water first. Look under the sink for two small supply valves and turn them clockwise until they stop; if they are seized or absent, use the home's main shutoff instead. Open the faucet afterward to drain the remaining pressure and confirm the water is truly off. This one step separates a tidy repair from an indoor fountain.
Next, close the sink stopper or lay a rag across the drain — small screws and clips have an uncanny attraction to open drains. Line your work surface with a towel and set parts down in a row, in the exact order you remove them, snapping a photo at each stage. Faucet reassembly is trivial when the parts are sequenced and miserable when they are jumbled.
Step-by-Step: Fixing a Compression Faucet
Drips from the spout on a two-handle compression faucet come from a worn seat washer, and drips around a handle come from the O-ring or packing. The fix follows the same path either way:
- Pry off the decorative cap on top of the leaking handle and remove the handle screw beneath it, then lift the handle straight off.
- Unscrew the packing nut with a wrench and thread the entire stem out of the faucet body.
- At the bottom of the stem, remove the screw holding the rubber seat washer, and replace the washer with an exact match in size and profile — flat for flat, beveled for beveled.
- Roll the old O-ring off the stem, grease a new one lightly, and roll it into place.
- Feel inside the faucet body for the valve seat. If it is rough or pitted, smooth it with an inexpensive seat-dressing tool or replace the seat; a new washer against a rough seat leaks again within weeks.
- Reassemble in reverse order, tightening the packing nut snug but not brutal.
If both handles are the same age, replace the washers on both sides while everything is apart — the second one is never far behind the first.
Fixing Cartridge, Ball, and Ceramic-Disk Faucets
For a cartridge faucet, remove the handle, take off any retaining clip or nut, and pull the cartridge straight up, noting its orientation. Some cartridges sit tight after years of mineral buildup and need a gentle rocking pull with pliers. Take the old cartridge to the store for an exact match, grease the new O-rings, and slide the replacement in facing the same direction, or your hot and cold will swap. Ball faucets involve more small parts — a cam, a ball, plus rubber seats and springs down in the body — so buy the complete repair kit and replace the seats and springs as a set, seating each spring under its rubber cup with a fingertip or pencil.
Ceramic-disk faucets rarely need new disks. Lift out the cylinder, remove the rubber seals on its underside, and clean both the seals and their ports with vinegar to dissolve mineral grit. Replace the seals if they look flattened or nicked. With any faucet type, turn the water back on slowly with the faucet open; a sudden slug of pressure and debris can damage a fresh ceramic cartridge.
Test Your Work and Know When to Call a Plumber
With everything reassembled, run both hot and cold for a minute, then shut off and watch the spout for a full few minutes. Check under the sink with a dry fingertip along the supply connections. A faint weep at a handle usually means a packing nut needs another quarter turn. If the drip persists after new soft parts, suspect the valve seat or a hairline crack in the faucet body.
Call a plumber — or simply replace the faucet — when the shutoff valves under the sink are seized, when corroded parts refuse to come apart without force, when the faucet body itself is cracked or the finish is flaking into the water, or when a bargain-grade faucet would cost more in parts than a new fixture. There is no shame in that math; even professionals often recommend replacement over repair for worn-out budget faucets.
Final Thoughts
Fixing a leaky faucet is the classic gateway plumbing repair: low stakes, cheap parts, and a result you can hear the moment you finish. Shut off the water, keep the parts in order, match replacements exactly, and be gentle with your tightening. Do that, and the midnight drip becomes a five-dollar memory rather than a standing appointment with your plumber.