Kitchen cabinets take more daily abuse than almost anything else in the house. Doors get swung hundreds of times a week, drawers get slammed with a hip while your hands are full, and steam, grease, and fingerprints coat every surface near the stove. Over the years the result is predictable: doors that sag and rub, drawers that stick or droop, handles that spin loose, and a finish that looks dull no matter how often you wipe it. The good news is that almost none of this requires a carpenter. An afternoon with a screwdriver and a few inexpensive supplies can make a tired kitchen feel crisp again. This tune-up walks through the whole job, from hinges to hardware to a final deep clean.
Gather Your Supplies
A cabinet tune-up needs only a small kit, and you probably own most of it already:
- Phillips and flat-head screwdrivers, plus a stubby screwdriver for tight corners
- Drill with driver bits for hardware swaps
- Wooden toothpicks or hardwood matchsticks and wood glue for stripped screw holes
- Dry lubricant or paraffin wax for drawer slides and hinges
- Grease-cutting cleaner or a mix of warm water and dish soap
- Soft cloths and an old toothbrush for corners and crevices
- Felt or rubber bumper pads for doors and drawer fronts
- Wood filler and a matching touch-up marker for dings and scratches
- Replacement screws in a couple of common sizes
Empty each cabinet or drawer as you work on it. Working around a full drawer is how screws get dropped into the silverware and glasses get knocked off shelves.
Fix Sagging and Misaligned Doors
Open a problem door and look at the hinges. Most modern cabinets use concealed hinges with two or three adjustment screws built in, and those screws are the secret to perfectly aligned doors. One screw moves the door side to side, another moves it up and down, and a third moves it in and out from the cabinet face. Close the door, note which direction it needs to travel, then make quarter-turn adjustments and check after each one. Work on one hinge at a time and match the other hinge to it, and within a few minutes a door that rubbed its neighbor for years will swing clean.
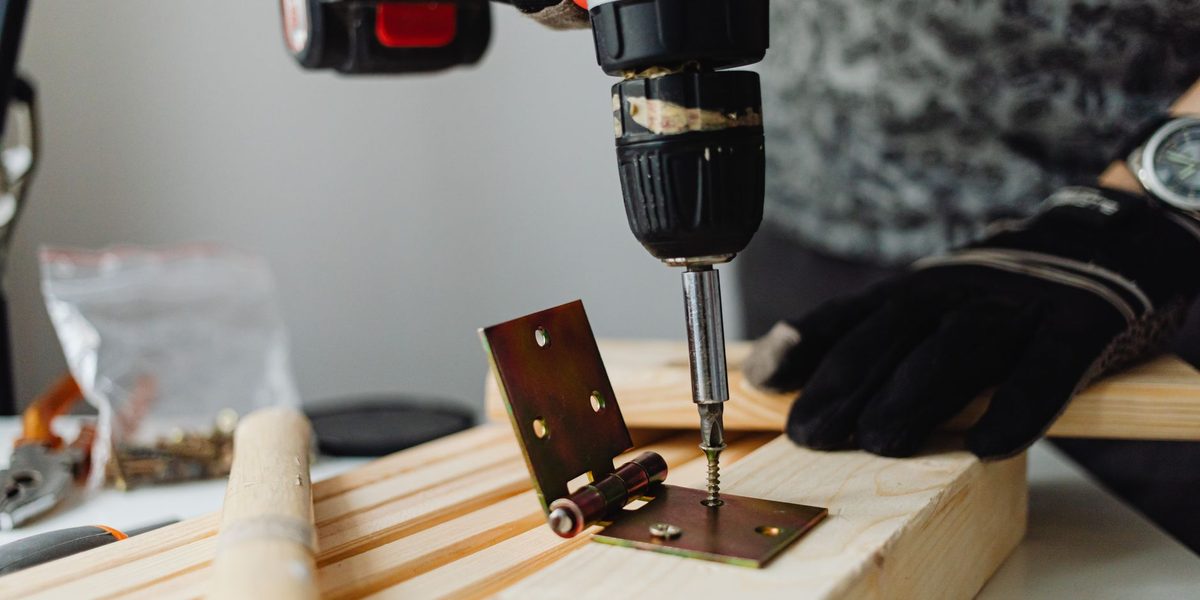
Older cabinets with simple visible hinges adjust differently: alignment problems there almost always come from loose screws. Tighten every hinge screw on the door and the frame. If a screw spins without gripping, the hole is stripped. Remove the screw, dip a few toothpicks in wood glue, press them into the hole, snap them flush, and let the glue set. Drive the screw back in and it will bite like new wood. This same trick rescues loose handles, drawer fronts, and even loose hinge plates on the cabinet frame.
Get Drawers Gliding Again
Sticky drawers usually come down to three culprits: dirt in the slides, worn rollers, or a drawer box coming apart. Pull the drawer all the way out; most modern slides release with a small lever or clip on each side, while older drawers lift out over a stop. Vacuum the slide tracks and wipe them clean, because years of crumbs and dust behave like sand in the mechanism. Then check the small rollers or bearings. If a plastic roller is cracked or ground flat, note the slide's length and mounting style and buy a matching replacement pair; slides are standardized, cheap, and installed with a handful of screws.
If the slides are healthy but movement is still rough, apply a dry lubricant or rub paraffin wax along the tracks and rollers. Avoid oily sprays in a kitchen, since oil holds dust and eventually makes things worse. While the drawer is out, inspect the box itself. Reglue any corner joints that have worked loose and clamp them square, and check the bottom panel. A drawer bottom that sags under the weight of pots can usually be flipped over for a fresh start or stiffened with a thin strip of wood glued beneath it.
Tighten and Refresh the Hardware
Now do a full hardware pass across the kitchen in one sweep:
- Tighten every knob and pull, holding the knob while you snug the screw from inside the door.
- Repair any stripped hardware holes with the toothpick-and-glue method.
- Tighten the mounting screws that hold each hinge to the cabinet frame, not just the door side.
- Check catches and magnetic latches, adjusting them so doors close with a soft, positive click.
- Add felt or rubber bumpers to any door or drawer front that slaps the frame when it closes.
If your budget allows a small upgrade, this is also the moment to swap dated knobs and pulls for new ones. As long as the new hardware uses the same hole spacing, the swap takes seconds per door and changes the look of the kitchen more than any other single-afternoon project. Measure the distance between screw holes on your existing pulls before shopping so everything drops into the same holes.
Deep-Clean and Touch Up the Finish
Kitchen cabinets collect a thin film of airborne grease that ordinary dusting never removes, and it is the main reason older cabinets look dull. Wash each door and drawer front with a grease-cutting cleaner or warm, soapy water, working with the grain and using the toothbrush around handles, panel edges, and hinge plates where grime builds thickest. Rinse with a cloth wrung out in clean water and dry immediately, since standing water is the enemy of any wood finish. Do not forget the cabinet interiors, the shelf edges, and the toe kicks at floor level.
With everything clean, walk the kitchen with your touch-up supplies. Rub scratches with a matching touch-up marker or filler stick, press wood filler into deeper dings and wipe it flush, and color-match the repair once it dries. Small chips at the bottom corners of doors and along drawer edges disappear surprisingly well under a careful touch-up, and the overall effect of clean, mark-free fronts is dramatic.
Know When It Is More Than a Tune-Up
A tune-up has limits worth respecting. Cabinet boxes that are pulling away from the wall need to be re-anchored into studs, and if you are not confident finding solid framing, that is a job for a handyman or carpenter, because a falling upper cabinet is genuinely dangerous. Water-damaged panels under a sink, delaminating surfaces that peel in sheets, and shelves that sag from failed supports may mean refacing or replacement makes more sense than repair. Likewise, if you dream of a new color, painting cabinets well is its own multi-day project with real prep requirements, so treat this tune-up as the foundation and plan the paint job separately.
Final Thoughts
A kitchen cabinet tune-up is the rare project that costs almost nothing, requires no special skills, and delivers results you feel every single day. Aligned doors close softly, drawers glide instead of fighting back, hardware stays tight, and clean fronts make the whole room brighter. Put it on the calendar once a year, and the same afternoon of small adjustments will keep even a modest kitchen feeling well-built and cared for far longer than its age suggests.