Checks may feel like a relic in a tap-to-pay world, but they refuse to disappear. Landlords, contractors, small businesses, government offices, schools, and plenty of individuals still ask for them, and the first time someone hands you a checkbook with an expectant look is a bad moment to admit you have never filled one out. The skill takes five minutes to learn and, done correctly, protects you from delays, bounced payments, and even fraud. This guide walks through every field on a standard check, the conventions that keep checks from being altered or rejected, how to void a check when asked for one, and the record-keeping habits that keep your account out of trouble.
Know the Anatomy Before You Write
A standard personal check has six areas you fill in and a few that are pre-printed. Across the top left sits your name and address. The top right holds the date line. The center line beginning "Pay to the order of" is the payee line, with a small numeric amount box to its right. Below the payee line runs a long blank line for the written amount. The bottom left offers a memo line, and the bottom right is the signature line. Along the very bottom edge are pre-printed strings of numbers: the bank's routing number, your account number, and the check number, which also appears in the top right corner.
One habit applies to every field: use a pen, ideally black or blue ink. Pencil can be erased and rewritten by anyone who handles the check.
Step 1: Date the Check
Write the current date on the date line in a standard format. This is usually the day you write the check. Some people write a future date hoping the recipient will wait to deposit it — a practice called postdating — but banks are generally not obligated to honor the future date and may process the check whenever it arrives. If the money will not be in your account until payday, the safer move is simply to wait to hand over the check, and to tell the recipient when to expect it.
Step 2: Name the Payee Precisely
On the "Pay to the order of" line, write the full name of the person or the exact business name being paid. Precision matters: a check made out to a nickname, a misspelled business, or an abbreviated company name can be refused at deposit. When paying a business, ask exactly how the check should be made out — the answer is sometimes a parent company or a name that differs from the sign on the door.
Never make a check out to "Cash" unless you are withdrawing money for yourself at your own bank and the check will not leave your hand. A check payable to Cash is like currency: anyone holding it can deposit or cash it, with no way to trace or recover it if lost.
Step 3: Write the Amount Twice — Numbers and Words
The small box gets the amount in numerals, with dollars and cents, written tight against the pre-printed dollar sign so nothing can be squeezed in front of your first digit. The long line below the payee gets the same amount in words: the dollars spelled out, the word "and," then the cents expressed as a fraction over one hundred. Seventy-two dollars and fifty cents becomes Seventy-two and 50/100. If the amount is even, write the cents as a zero fraction — One hundred twenty and 00/100 — rather than leaving the cents ambiguous.
After the fraction, draw a horizontal line through the remaining blank space to the end. That strike-through is a real security measure: it prevents anyone from appending words that change the amount. If the numeric box and the written words ever disagree, banks are guided by the written words, so treat the word line as the authoritative version and double-check it before moving on.
Step 4: Use the Memo Line, Then Sign
The memo line is optional but valuable. Use it to note what the payment is for — an apartment number and month for rent, an invoice number for a business, an account number for a utility. It helps the recipient credit your payment correctly and gives you a paper trail if a dispute ever arises about whether or what you paid.
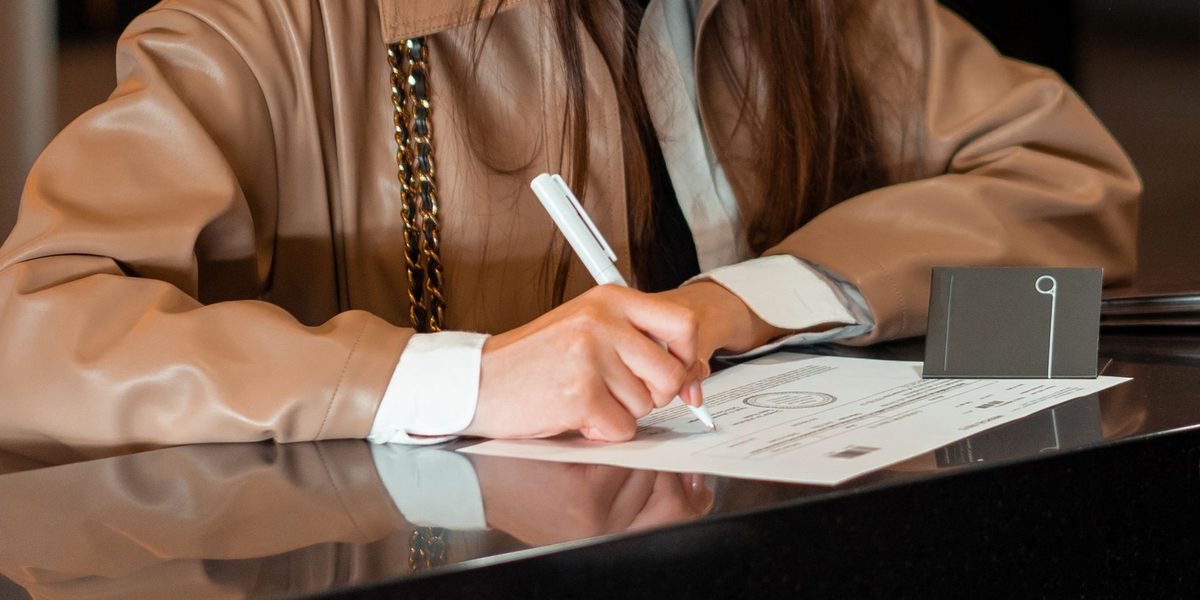
The signature line is what makes the check a live instrument. Sign your name the way it appears in your bank's records, and make the signature consistent with how you always sign. Two cautions: never sign a check before the other fields are filled in — a signed blank check is an open invitation — and if you make a significant mistake elsewhere on the check, do not rely on messy corrections. Write VOID across it in large letters and start a fresh check, noting the voided number in your records.
How to Void a Check on Request
Employers and companies setting up direct deposit or automatic payments often ask for a voided check, because the bottom row of numbers gives them your routing and account numbers in a verified format. To provide one, take a blank check and write VOID in large letters across the entire face, firmly in pen, without covering the number strip at the bottom. Do not sign it and do not fill in any other field. Record that check number as voided in your register. A voided check cannot be cashed, but it still displays your account details, so hand it only to parties you trust with them.
Keep Records and Balance the Account
Every checkbook comes with a register — the small ledger where you note the check number, date, payee, and amount of each check, plus deposits. It feels old-fashioned, but it solves a genuinely modern problem: checks do not leave your balance the moment you write them. A check can be deposited days or weeks later, and the spendable number in your banking app quietly overstates what is truly yours until then. Recording each check, or logging it in your notes app if paper offends you, prevents the classic overdraft caused by a forgotten check surfacing at the worst time.
Review your account periodically and match cleared checks against your records. Anything that never clears after a couple of months deserves a follow-up with the payee, and a check that clears for the wrong amount deserves an immediate call to your bank.
Security Habits Worth Keeping
- Write tight and fill space. Start amounts hard against the dollar sign, and strike through unused space on the word line.
- Use pen, never pencil, and consider a gel pen, which resists chemical washing techniques used by check fraudsters.
- Never sign blank checks, and store your checkbook somewhere secure, not in your car.
- Mail checks thoughtfully: use a security envelope, and prefer handing mail to a post office over leaving it in an outgoing mailbox with the flag raised.
- Shred old checks from closed accounts and deposited-check images you no longer need.
- Report lost or stolen checks to your bank promptly and ask about a stop payment on any check you fear has gone astray.
Final Thoughts
Writing a check correctly is a sequence of small precisions: today's date, the payee's exact name, matching amounts in numbers and words with the gaps closed, a useful memo, and a consistent signature — recorded afterward so your balance stays honest. Learn it once and the skill quietly serves you for decades, ready for every landlord, plumber, and school fundraiser that still asks for paper.